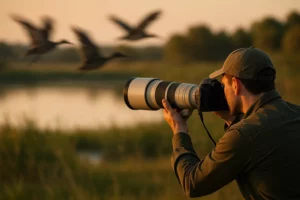
8 Tips for Capturing the Perfect Picture of a Forest with Animals
Have you ever come home from a forest hike with hundreds of blurry, empty shots — and zero keepers? You’re not alone. Forest wildlife photography is one of the most rewarding yet challenging genres in photography. The good news is that with the right approach, anyone can dramatically improve their results. These 8 tips for capturing the perfect picture of a forest with animals will help you go from frustrated beginner to confident wildlife photographer — whether you’re shooting deer in a local woodland or wolves in a remote wilderness.

In 2026, wildlife photography has never been more accessible, thanks to smarter cameras and a wealth of expert knowledge. Let’s put that knowledge to work for you.
Key Takeaways
- 🌅 Shoot at golden hour — early morning and late afternoon light is softer and animals are more active
- 🎯 Always focus on the animal’s eye closest to the camera for images that feel alive
- 📷 Use a telephoto lens (300mm+) and fast shutter speed (1/1000s+) to freeze motion without disturbing wildlife
- 🌿 Move slowly, wait patiently — natural behavior moments make far more powerful images than posed shots
- 🖥️ Edit with a light touch — preserve natural colors and avoid over-processing
The Essential Setup: Gear, Light, and Animal Knowledge
Before you ever press the shutter, success in forest animal photography depends on three foundations: knowing your subject, understanding light, and having the right gear ready to go.
1. Research Your Animal Before You Go
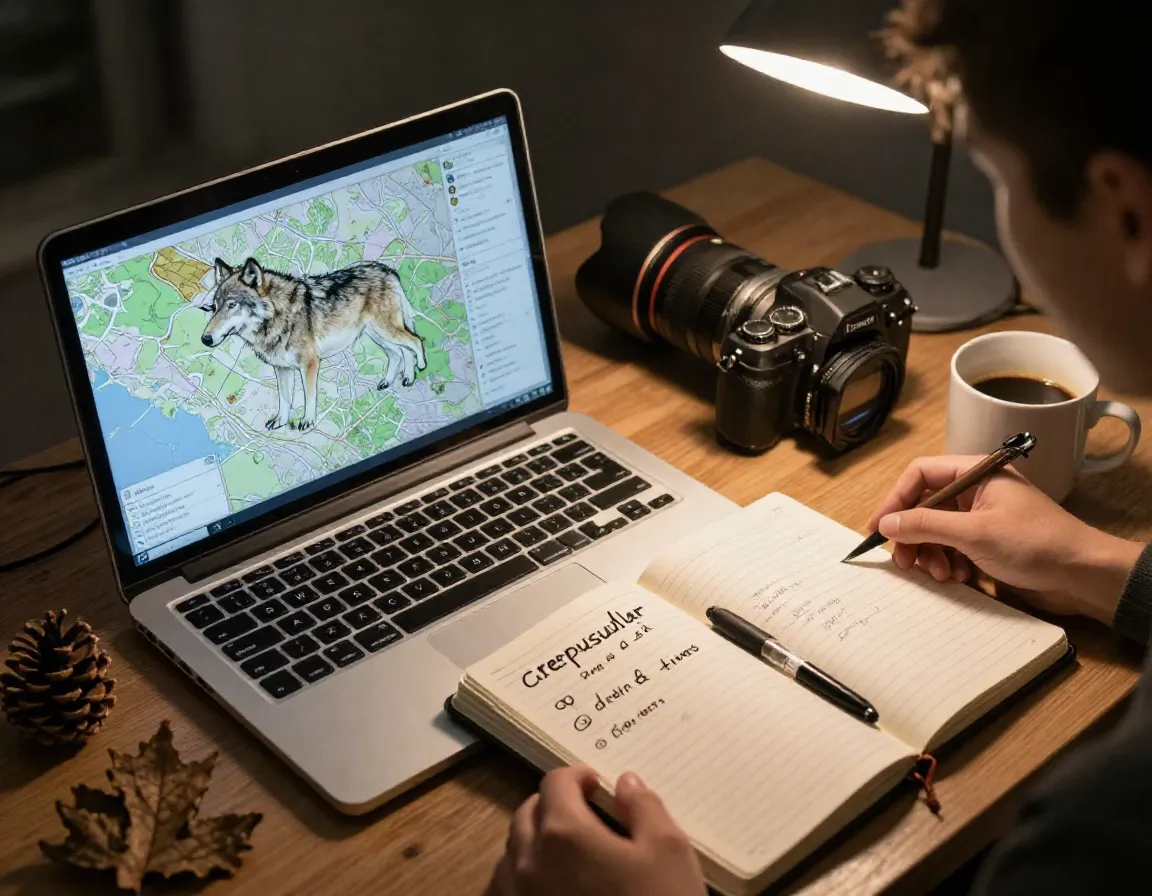
One of the most overlooked steps is simply doing your homework. Study the specific animal’s habitat, sleep patterns, feeding times, and behavior before your shoot [1]. Knowing whether an animal is crepuscular — active at dawn and dusk, like wolves and snow leopards — helps you position yourself at the right time and place [2].
Ask yourself:
- Where does this animal feed?
- What time of day is it most active?
- What sounds or movements will scare it away?
This preparation alone can double your chances of getting a great shot. Think of it as scouting: the more you know before you arrive, the less time you waste in the field.
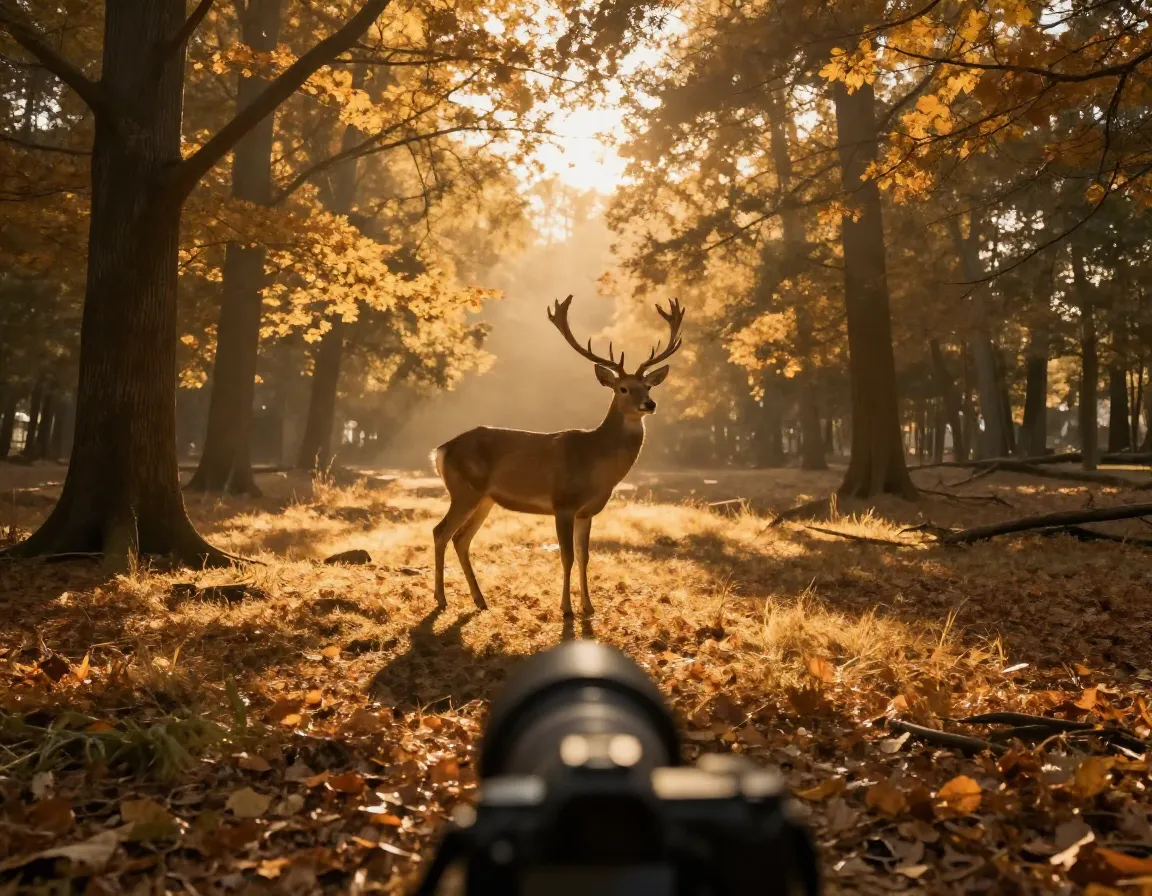
2. Shoot During Golden Hour
“The best wildlife photographers don’t just find great animals — they find great light.”
Timing is everything. Shoot during golden hour — the first hour after sunrise and the last hour before sunset — when the light is warm, soft, and directional [3]. This light wraps beautifully around fur, feathers, and foliage, giving your images a natural glow that midday light simply cannot produce.
Avoid harsh midday light at all costs. It creates deep, unflattering shadows under an animal’s eyes and blows out bright patches of fur or sky [4]. If you must shoot midday, look for animals in open shade.
| Time of Day | Light Quality | Animal Activity |
|---|---|---|
| Golden Hour (AM/PM) | Soft, warm, directional | High |
| Midday | Harsh, flat, high contrast | Low |
| Overcast | Diffused, even | Moderate |
3. Master Your Camera Settings
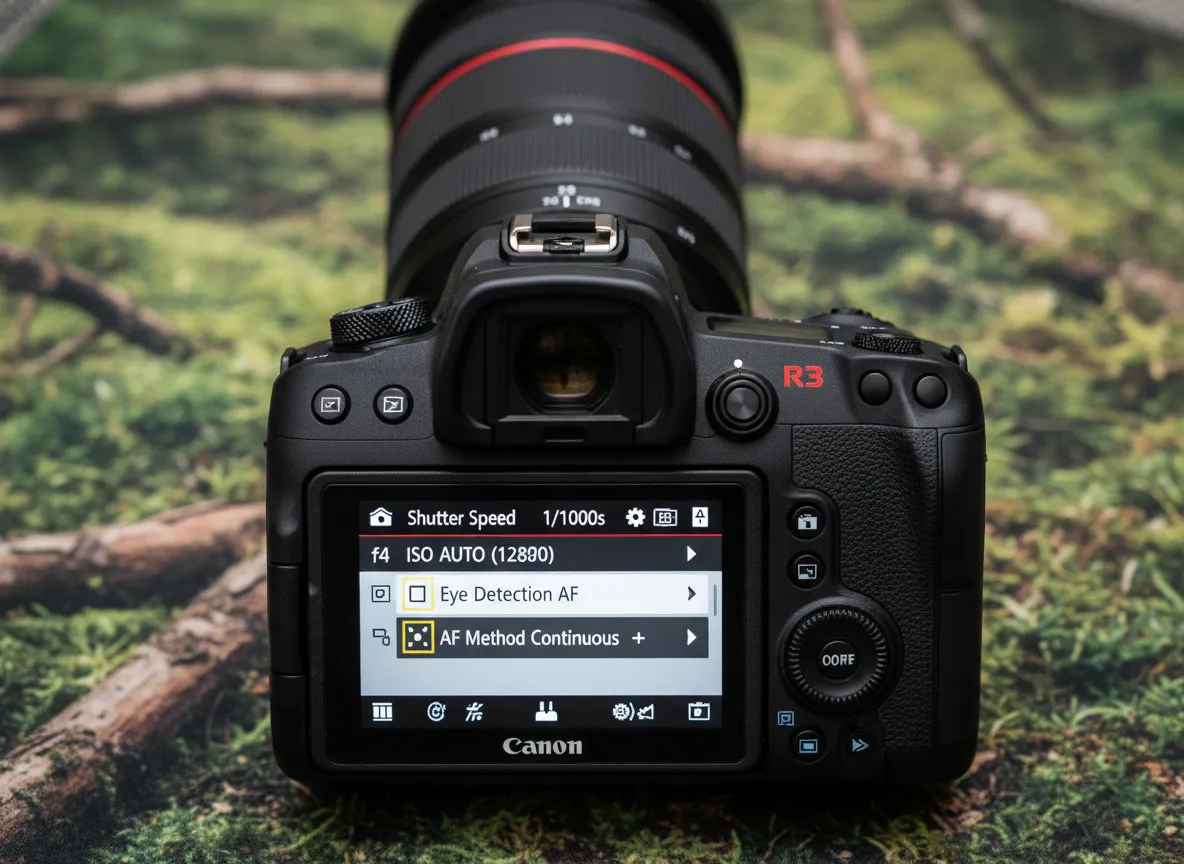
You don’t need the most expensive camera, but you do need to understand your settings. Here are the key numbers to remember:
- Shutter speed: Use 1/1000s or faster to freeze animal movement [1]. A deer flicking its ear or a bird landing can blur instantly at slower speeds.
- Aperture: Set between f/2.8 and f/5.6 to keep the animal’s eyes sharp while softening the busy forest background [1][3].
- ISO: Raise it as needed in low forest light — modern cameras handle high ISO well.
- Drive mode: Use continuous burst mode to capture multiple frames per second during action.
Modern cameras like the Canon R3 feature eye-detect autofocus technology that can find and track animal eyes even as they move through dense forest [1]. If your camera has this feature, use it — it’s a game-changer for bird and wildlife photographers.
4. Choose the Right Lens
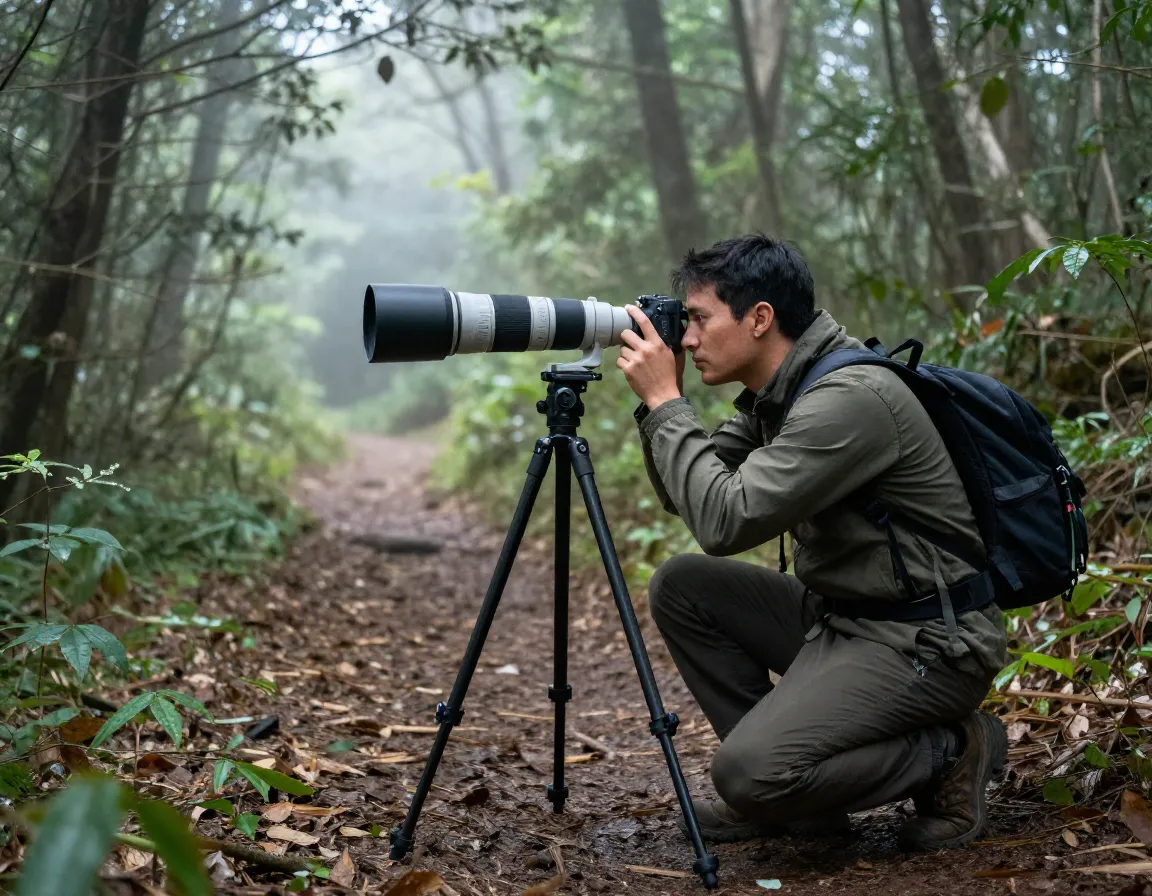
For forest wildlife photography, a telephoto lens of 300mm or longer is essential [4]. It lets you stay far enough away to avoid disturbing the animal while still filling your frame with detail.
The good news: one quality zoom lens — such as a 100–400mm or 150–600mm — can cover almost every wildlife situation you’ll encounter in a forest setting [3]. You don’t need a bag full of primes.
In the Field: Composition, Patience, and Ethical Practice
Once you’re in the forest with your gear ready, the real work begins. These next four tips for capturing the perfect picture of a forest with animals focus on what happens when you’re face-to-face with your subject.
5. Always Focus on the Animal’s Eye
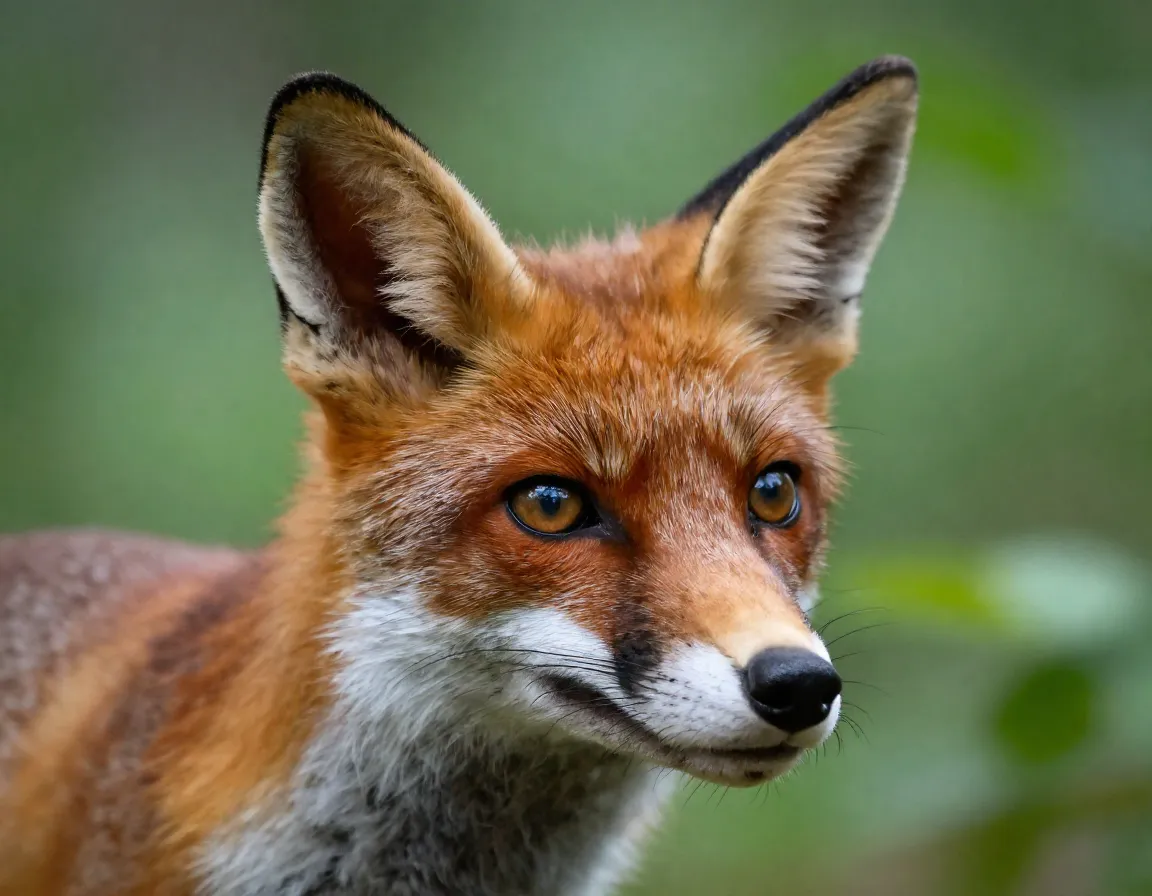
This is the single most important compositional rule in wildlife photography: always focus on the eye closest to the camera [3]. Sharp eyes make a photo feel alive and create an instant emotional connection with the viewer. Soft eyes, even with a perfectly sharp body, make a photo feel flat and amateurish.
Use your camera’s eye-detection autofocus if available, or manually place your focus point directly on the near eye. Once you make this a habit, your keeper rate will improve dramatically.
Pair this with the rule of thirds: place the animal’s eye or body along one of the grid lines rather than dead center [4]. This creates a more balanced, visually interesting composition.
6. Get Down to Eye Level
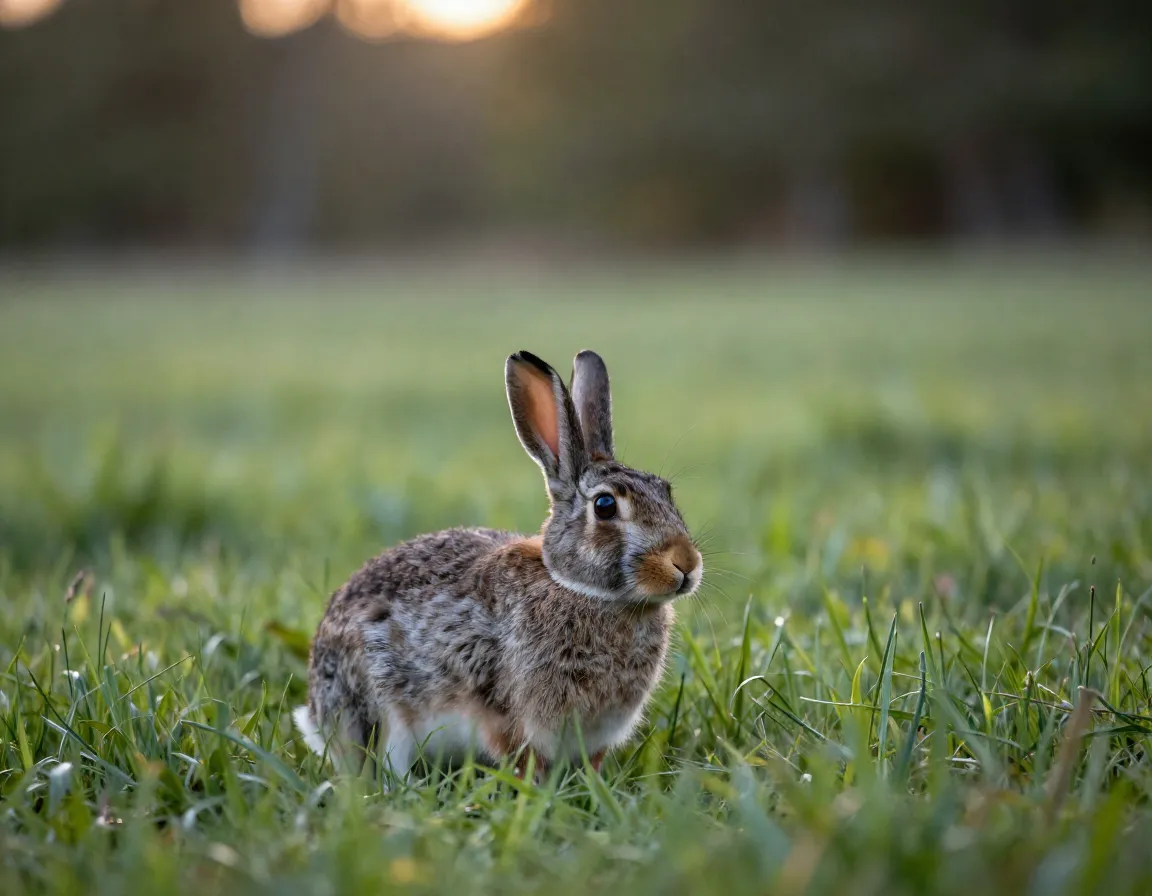
Most beginners shoot from a standing position — looking down at the animal. This creates a disconnected, documentary feel. Instead, get down to the animal’s eye level [4].
Crouch, kneel, or even lie flat on the forest floor. This small change creates a sense of intimacy and equality between viewer and subject. It also changes your background: instead of seeing the messy forest floor, you’ll capture a beautiful blur of green foliage behind your subject [3].
Lowering your angle even slightly can transform a snapshot into a powerful image.
7. Move Slowly, Wait Patiently, and Avoid Busy Backgrounds
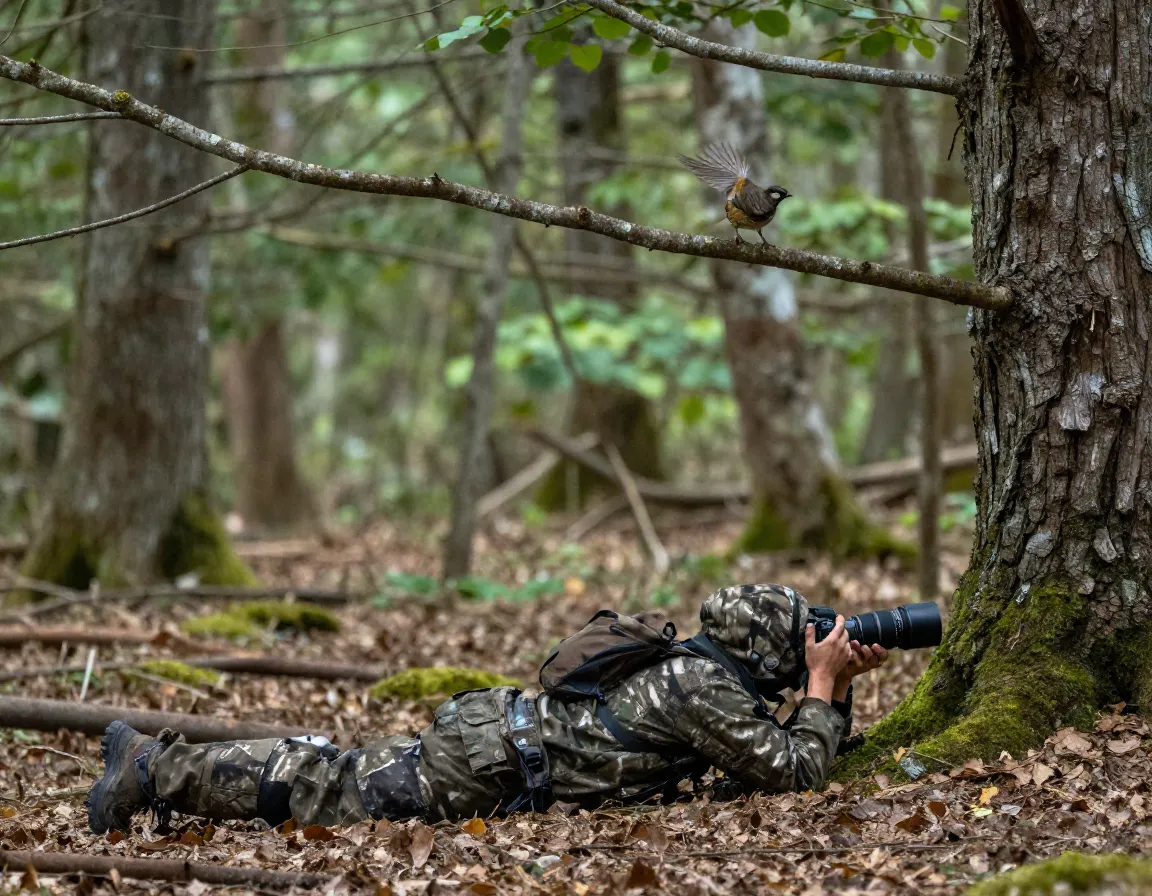
These three habits work together and define the difference between good and great forest wildlife photographers.
Move slowly and quietly, using trees, rocks, and bushes as natural cover [4]. Sudden movements trigger an animal’s flight response. Take a few steps, pause, observe, then move again.
Wait for natural behavior moments — feeding, yawning, stretching, or animal interactions — rather than settling for a static, alert pose [4]. These candid moments tell a story and are far more compelling.
Avoid busy backgrounds filled with branches, bright patches of sky, or cluttered undergrowth [3]. Use a wide aperture (f/5.6 or wider) to blur distracting elements and separate your subject cleanly from the forest behind it [3].
🌿 Patience is not just a virtue in wildlife photography — it’s the most important skill you can develop.
Take multiple shots of every scene. Wait for the animal to turn its head, make eye contact, or catch a shaft of golden light. The perfect frame often comes just after you think nothing is happening [3].
8. Edit with a Light Touch
The work doesn’t end when you leave the forest. Post-processing is part of every professional workflow — but restraint is key.
Avoid over-editing your forest animal photos [3]. Resist the urge to crank up saturation or apply heavy presets that make colors look artificial. The goal is to enhance what was already there, not to create something that wasn’t.
Here’s a simple editing checklist:
- Exposure: Lift shadows slightly to reveal detail in dark forest areas
- White balance: Warm it slightly to enhance golden hour tones
- Sharpening: Apply targeted sharpening to the animal’s eye only
- Cropping: Remove edge distractions while keeping enough negative space
- Color: Keep it natural — avoid neon greens or oversaturated skies
Use tools like Adobe Lightroom or Capture One for non-destructive editing. Always work on a copy of your original file.
Conclusion
Mastering the 8 tips for capturing the perfect picture of a forest with animals comes down to preparation, patience, and practice. Research your subject before you go, shoot in golden hour light, dial in your camera settings, and always lock focus on that near eye. In the field, get low, move slowly, and wait for the moments that tell a real story. Back at your desk, edit with a gentle hand to preserve the natural beauty you worked so hard to capture.
Your actionable next steps for 2026:
- Pick one local forest animal and spend 30 minutes researching its behavior
- Set your alarm for sunrise and practice your camera settings before you leave home
- Head out for a single golden hour session — even in your nearest park
- Review your shots critically: are the eyes sharp? Is the background clean?
Every great wildlife photograph started with a single decision to go out and try. 🌲📷
References
[1] The Best Guide To Nature Photography Tips 2026 – https://www.dereknielsen.com/news/the-best-guide-to-nature-photography-tips-2026/
[2] 10 Tips To Improve Your Wildlife Nature Photography – https://www.nathab.com/blog/10-tips-to-improve-your-wildlife-nature-photography
[3] How To Take Amazing Wildlife Photos On Your 2026 Safari – https://www.redetoursandsafaris.com/article/how-to-take-amazing-wildlife-photos-on-your-2026-safari
[4] Beginners Guide To Wildlife Photography – https://progradedigital.com/beginners-guide-to-wildlife-photography/
[5] Wildlife Photography Tips – https://www.pangolinphoto.com/wildlife-photography-tips