8 Stages of the Kilimanjaro Mountain Hike: A Complete Trail Guide
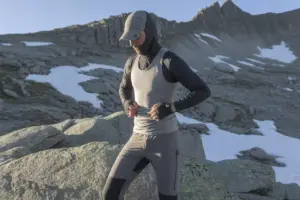
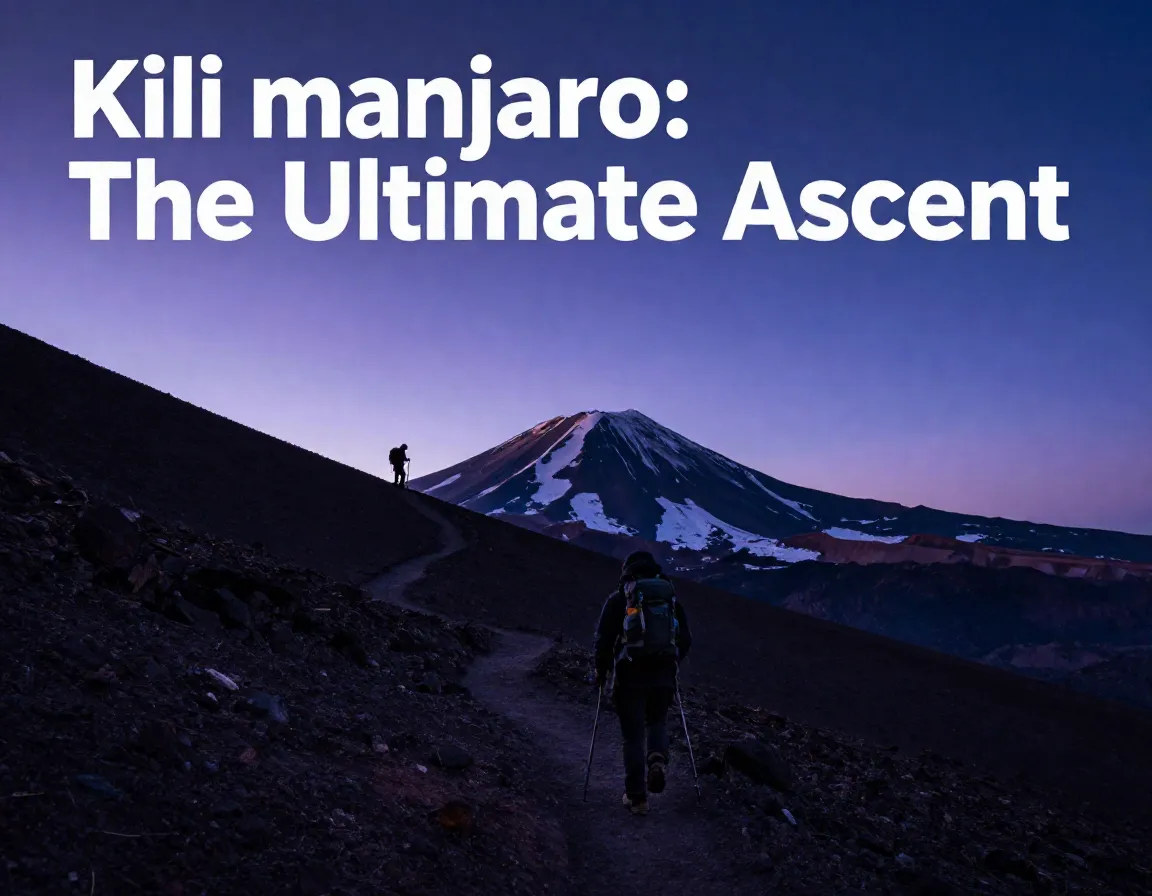
Imagine standing at 5,895 meters above sea level, watching the African sunrise paint the sky in shades of gold and crimson — that is the reward waiting at Uhuru Peak, the “Roof of Africa.” 🏔️ Whether you are a seasoned trekker or an ambitious first-timer, understanding the 8 Stages of the Kilimanjaro Mountain Hike: A Complete Trail Guide is the single most important step you can take before lacing up your boots. This guide breaks down every day of the legendary 8-Day Lemosho Route — widely considered the best path to the summit — so you know exactly what to expect, when to push, and when to rest.
Key Takeaways
- ✅ The 8-Day Lemosho Route offers an 85–90% summit success rate, the highest of any Kilimanjaro route [1]
- ✅ Gradual altitude gain and a built-in acclimatization day are the primary reasons for that high success rate [2]
- ✅ The route covers diverse ecosystems — rainforest, moorland, alpine desert, and arctic summit zone
- ✅ Summit day (Day 7) is the longest and most demanding, covering ~12 km round-trip in 10–14 hours [2]
- ✅ Proper preparation, pacing, and hydration are more important than raw fitness
Why Choose the 8-Day Lemosho Route?
Before diving into the 8 Stages of the Kilimanjaro Mountain Hike: A Complete Trail Guide, it helps to understand why this specific route stands above the rest.
“The Lemosho Route is recommended as the best route for the highest summit chance and most beautiful scenery compared to all other major routes.” [3]
The popular 6–7 day Machame Route attracts large crowds and posts a lower success rate of 75–80% because it moves faster and allows less time for acclimatization [1]. The Lemosho Route solves that problem by spreading the ascent over eight days, letting your body adjust gradually to the thinning air.
| Route | Duration | Success Rate | Difficulty |
|---|---|---|---|
| Lemosho | 8 days | 85–90% | Moderate–High |
| Machame | 6–7 days | 75–80% | High |
| Marangu | 5–6 days | ~65% | Moderate |
| Rongai | 7 days | ~80% | Moderate |
The choice is clear. Now, let’s walk through every stage. 🥾
The 8 Stages of the Kilimanjaro Mountain Hike: A Complete Trail Guide
1. Day 1 — Lemosho Gate to Mti Mkubwa Camp

Distance: ~6 km | Duration: 3–4 hours | Elevation: 2,100 m
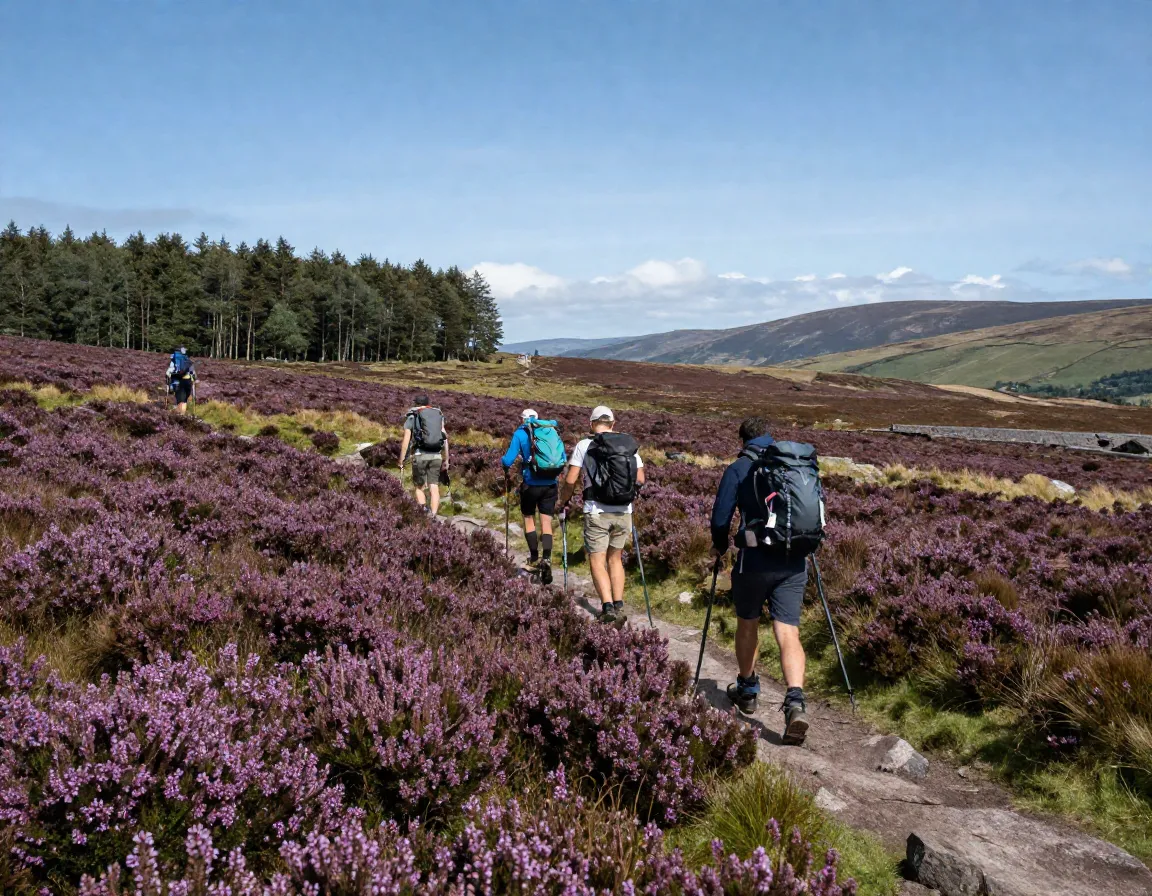
Your adventure begins at Lemosho Gate, where park rangers check permits and porters organize loads. The first stage is a gentle, almost meditative walk through a dense montane rainforest. Colobus monkeys swing overhead, and the air smells of damp earth and wild ginger. Because the distance is short and the terrain is forgiving, Day 1 is all about settling into the rhythm of the trail. Arrive at Mti Mkubwa Camp (“Big Tree Camp”) in the early afternoon, giving you time to eat a hot meal and rest [2].
Pro tip: Drink at least 3–4 liters of water today. Hydration is your best defense against altitude sickness later.
2. Day 2 — Mti Mkubwa Camp to Shira 1 Camp
Distance: ~8 km | Duration: 5–6 hours | Elevation: 3,500 m
The trail climbs steadily out of the forest canopy and into open moorland, where giant heather and lobelia plants create an otherworldly landscape. The temperature drops noticeably, and the sky opens up. You gain significant elevation today — roughly 1,400 meters — so slow, deliberate steps are essential. By the time you reach Shira 1 Camp, you will feel the altitude for the first time [2]. Headaches are common; they are normal. Rest, eat, and hydrate.
3. Day 3 — Shira 1 Camp to Shira 2 Camp
Distance: ~10 km | Duration: 4–6 hours | Elevation: 3,850 m
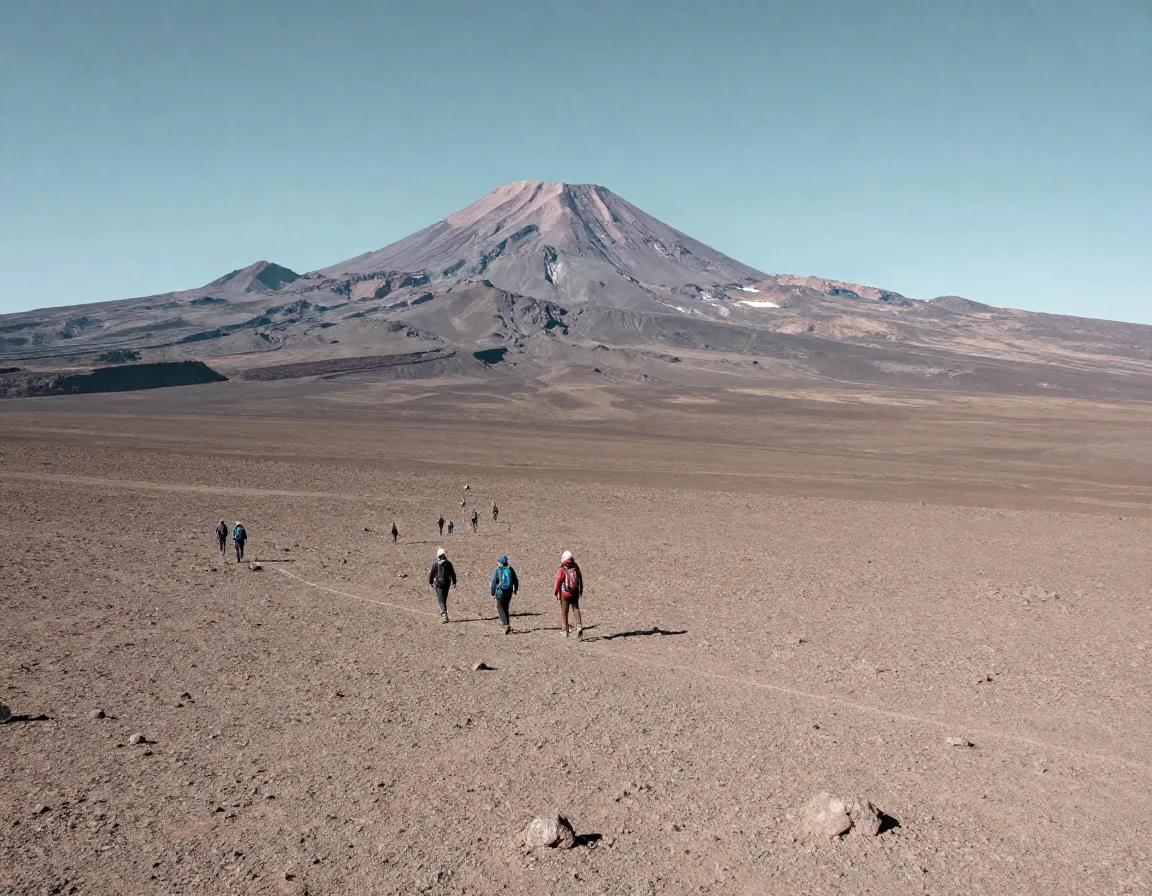
Day 3 takes you across the Shira Plateau, the remnant of Kilimanjaro’s oldest volcanic caldera. The landscape feels lunar — vast, windswept, and strangely beautiful. The walking is relatively flat compared to Day 2, which gives your lungs a chance to adapt. Shira 2 Camp sits at 3,850 meters and offers stunning views of Kibo, the main volcanic cone [2]. On clear evenings, the summit appears close enough to touch.
4. Day 4 — Shira 2 Camp to Barranco Camp via Lava Tower
Distance: ~10 km | Duration: 6–8 hours | Elevation: Peak 4,600 m → Camp 3,950 m
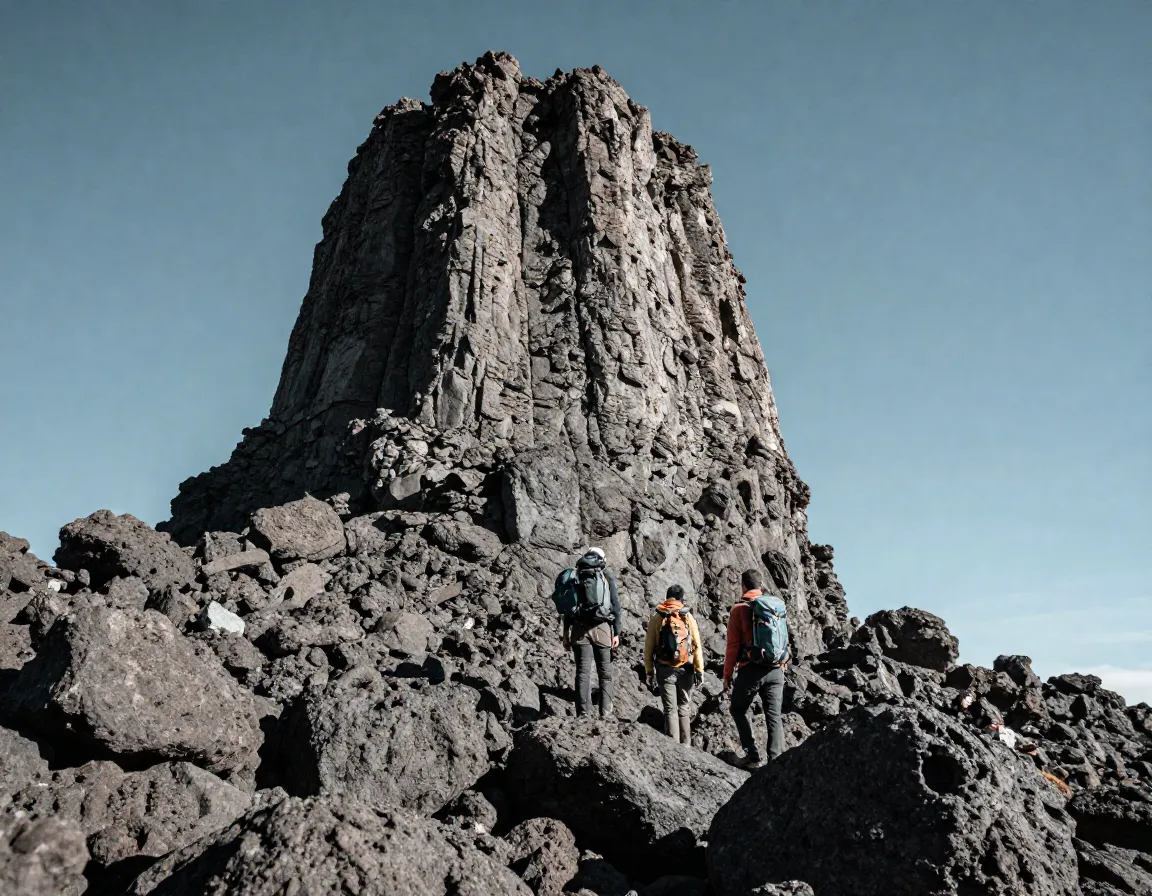
This is the route’s signature “climb high, sleep low” acclimatization day. You ascend to Lava Tower at 4,600 meters — well above the danger threshold for altitude sickness — before descending to Barranco Camp at 3,950 meters for the night [2]. This deliberate up-and-down triggers your body to produce more red blood cells without the risk of sleeping at dangerous altitude. Many climbers feel surprisingly energized by the time they reach camp.
💡 “Climb high, sleep low” is the golden rule of high-altitude trekking. The Lemosho Route builds this principle into every stage.
5. Day 5 — Barranco Camp to Karanga Camp
Distance: ~5 km | Duration: 4–5 hours | Elevation: 4,035 m
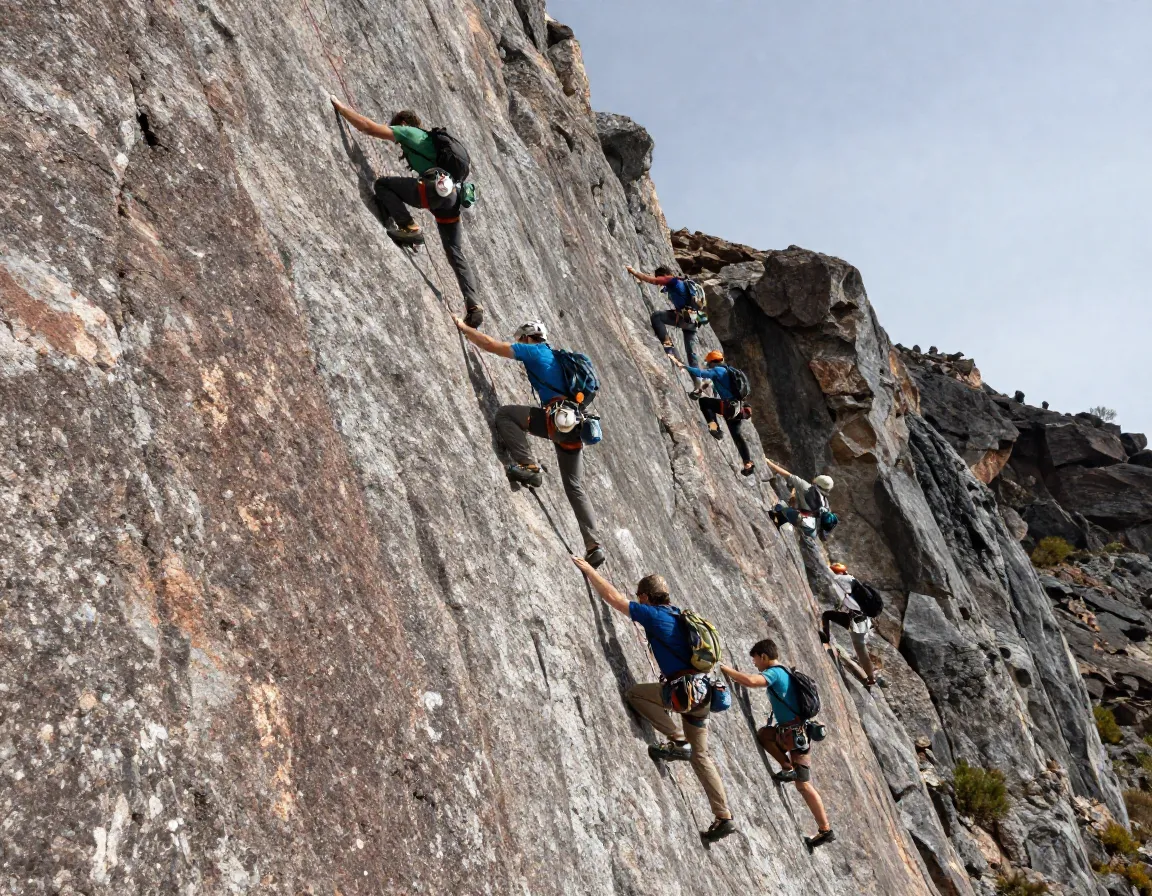
Day 5 begins with the famous Barranco Wall — a 300-meter scramble up a near-vertical volcanic cliff. It looks terrifying from below, but the handholds are solid and guides lead the way. Most climbers describe it as exhilarating rather than scary. After the wall, the trail descends into a valley and climbs again to Karanga Camp. This stage also serves as a critical rest and acclimatization day, and research confirms it significantly improves summit success rates [1]. Take it easy in the afternoon.
6. Day 6 — Karanga Camp to Barafu Camp
Distance: ~4 km | Duration: 3–4 hours | Elevation: 4,600 m
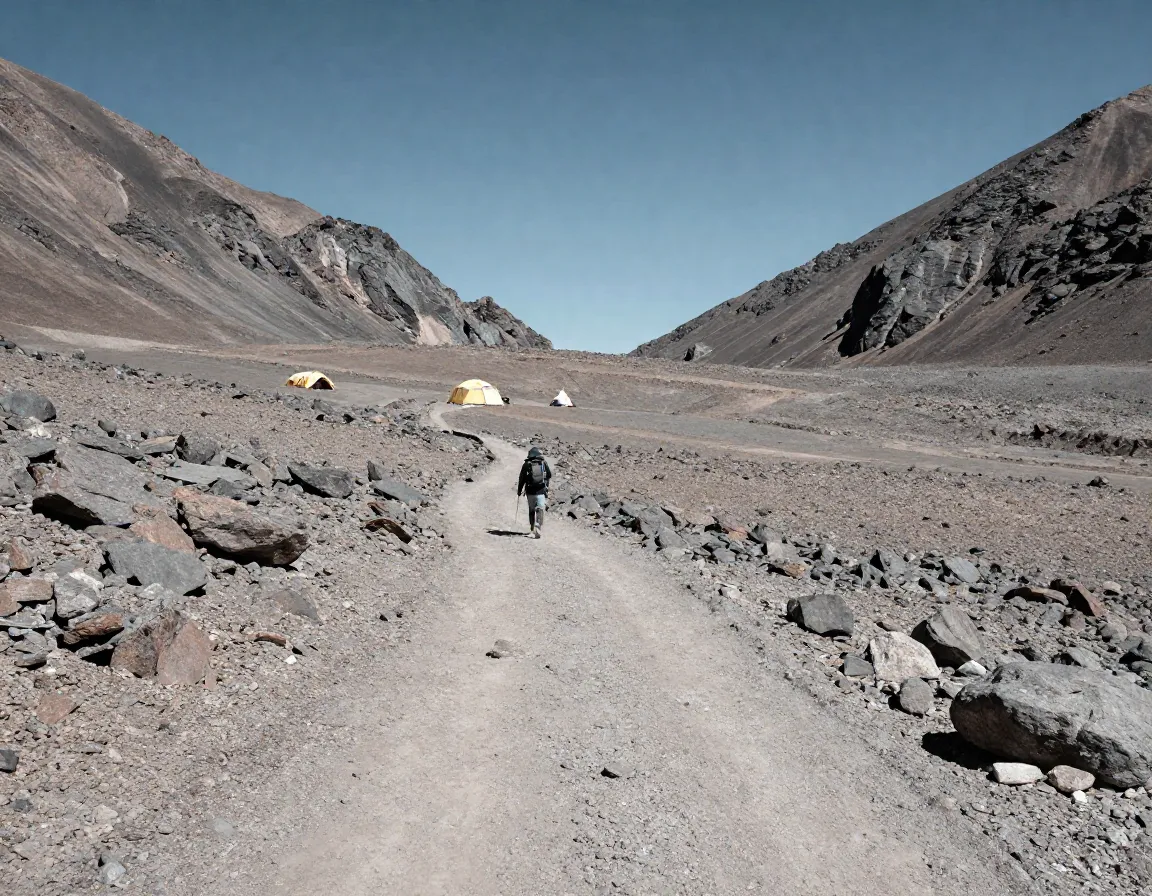
The shortest walking day on the route, Day 6 moves you through stark alpine desert to Barafu Camp — the summit base camp [2]. The landscape is stripped of vegetation; only rock and ice remain. Guides brief the team on summit-night procedures: wake time (typically midnight), gear checks, and pacing strategy. Sleep as much as possible this afternoon, even if nerves make it difficult. You will need every reserve of energy for what comes next.
Essential gear for summit night:
- Layered thermal clothing (base, mid, outer shell)
- Insulated gloves and balaclava
- Trekking poles
- Headlamp with fresh batteries
- High-calorie snacks
7. Day 7 — Barafu Camp to Uhuru Peak to Mweka Camp

Distance: ~12 km round-trip | Duration: 10–14 hours | Elevation: 5,895 m (summit) → 3,100 m (camp)
This is the day everything has been building toward. 🌟 Climbers leave Barafu Camp around midnight under a sky blazing with stars. The ascent is slow, cold, and relentless — one foot in front of the other through scree and ice. At Stella Point (5,756 m), the crater rim comes into view. Then, after another 45 minutes, you reach Uhuru Peak at 5,895 meters, just as the sun rises over the African plains [2].
The descent is long but joyful. You drop all the way to Mweka Camp at 3,100 meters in the same day — a total of 12 kilometers round-trip in 10–14 hours [2]. Celebrate, but keep moving; the mountain is not finished with you yet.
8. Day 8 — Mweka Camp to Mweka Gate

Distance: ~10 km | Duration: 3–4 hours | Elevation: 1,640 m
The final stage is a triumphant walk down through the rainforest, retracing the ecological zones in reverse. Legs are tired, but spirits are high. At Mweka Gate (1,640 m), rangers stamp your summit certificate and porters receive their tips [2]. From there, a vehicle transfers you back to Moshi, where a hot shower and a celebratory meal await.
Quick-Reference Stage Summary
| Day | Route Segment | Distance | Elevation |
|---|---|---|---|
| 1 | Lemosho Gate → Mti Mkubwa | 6 km | 2,100 m |
| 2 | Mti Mkubwa → Shira 1 | 8 km | 3,500 m |
| 3 | Shira 1 → Shira 2 | 10 km | 3,850 m |
| 4 | Shira 2 → Barranco (via Lava Tower) | 10 km | 3,950 m |
| 5 | Barranco → Karanga | 5 km | 4,035 m |
| 6 | Karanga → Barafu | 4 km | 4,600 m |
| 7 | Barafu → Uhuru → Mweka Camp | 12 km | 5,895 m |
| 8 | Mweka Camp → Mweka Gate | 10 km | 1,640 m |
Conclusion
The 8 Stages of the Kilimanjaro Mountain Hike: A Complete Trail Guide reveals why the Lemosho Route is the gold standard for summit success. Its gradual ascent, built-in acclimatization days, and breathtaking scenery give every prepared climber a genuine shot at Uhuru Peak. The 85–90% success rate is not luck — it is the result of intelligent route design matched with smart trekking habits [1][2].
Your actionable next steps:
- Book at least 6 months in advance — quality operators fill up fast, especially for the dry seasons (January–March and June–October)
- Train specifically — focus on cardiovascular fitness, leg strength, and multi-day hiking with a loaded pack
- Choose a reputable licensed operator — guide quality is the single biggest variable in your success
- Invest in proper gear — especially layering systems and broken-in boots
- Study each stage — knowing what is coming reduces anxiety and improves pacing decisions
The mountain will test you. But with the right route, the right preparation, and this guide in hand, Uhuru Peak is absolutely within reach. 🌍
References
[1] Kilimanjaro Climbing Guide 2026 Routes Costs What To Expect – https://www.machupicchu.org/kilimanjaro-climbing-guide-2026-routes-costs-what-to-expect.htm
[2] 8 Days Lemosho Route – https://www.redetoursandsafaris.com/8-days-lemosho-route.html
[3] Climb Kilimanjaro Guide 2026 – https://teamkilimanjaro.com/climb-kilimanjaro-guide-2026