9 Techniques for Taking Beautiful Photographs of Nature That Will Transform Your Shots
There is a moment every nature photographer knows — the one where the light turns gold, a hawk lands on a nearby branch, and everything lines up perfectly. But without the right skills, that moment disappears before you can capture it. The good news? Mastering the 9 techniques for taking beautiful photographs of nature covered in this guide will help you be ready when that moment arrives. Whether you shoot wildlife on safari or wildflowers in your backyard, these proven methods will elevate your images from snapshots to stunning works of art.

Key Takeaways
- 📸 Camera settings matter — shutter speed, aperture, and ISO all work together to create sharp, well-exposed nature shots.
- 🌅 Lighting is everything — golden hour and overcast skies produce the most flattering natural light.
- 🎯 Autofocus technology like animal eye detection keeps moving subjects sharp with minimal effort.
- 🗂️ Shooting in RAW format gives you maximum control during post-processing.
- 🌿 Composition techniques like leading lines and focus stacking add depth and visual storytelling to your images.
The Core Camera Settings Behind Great Nature Photography
Before we dive into each of the 9 techniques for taking beautiful photographs of nature, it helps to understand that great outdoor photography is built on a foundation of smart camera settings. Get these right, and everything else falls into place.
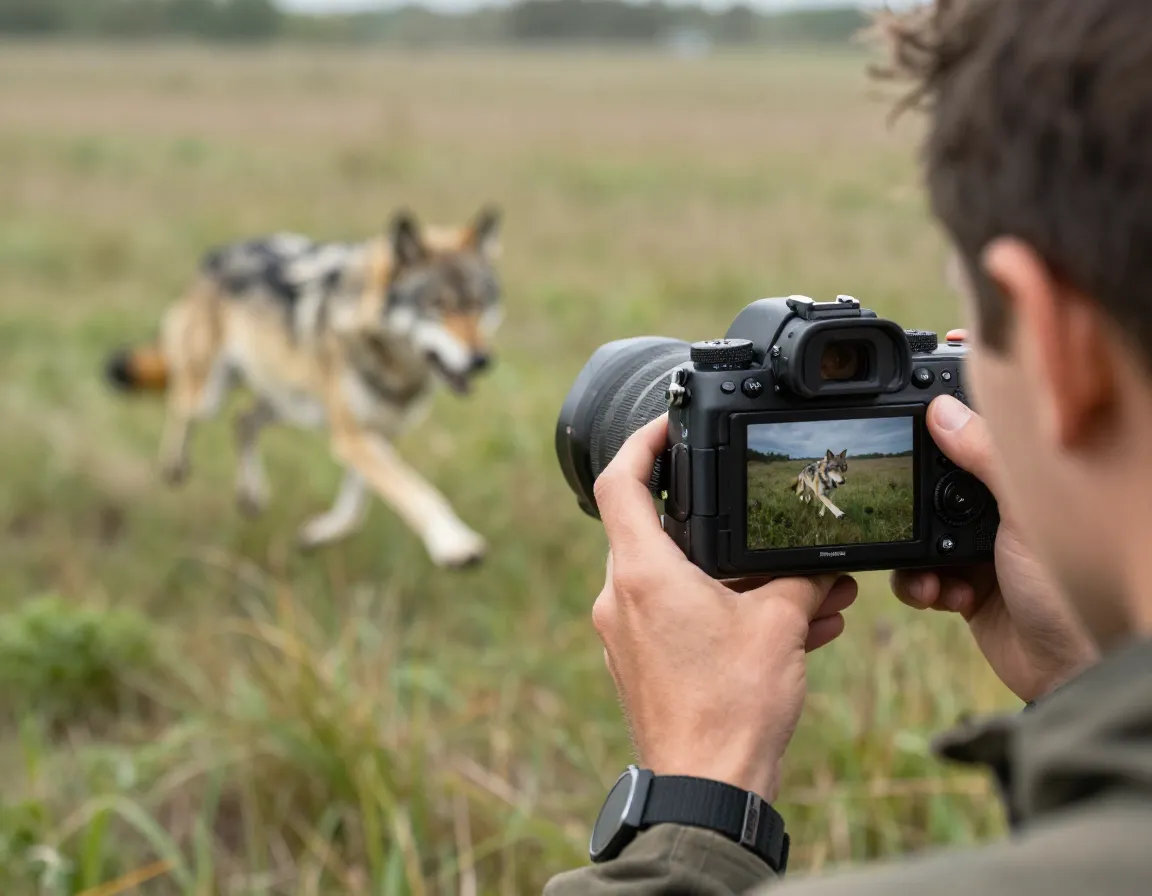
1. Use Continuous Autofocus With Animal Eye Detection
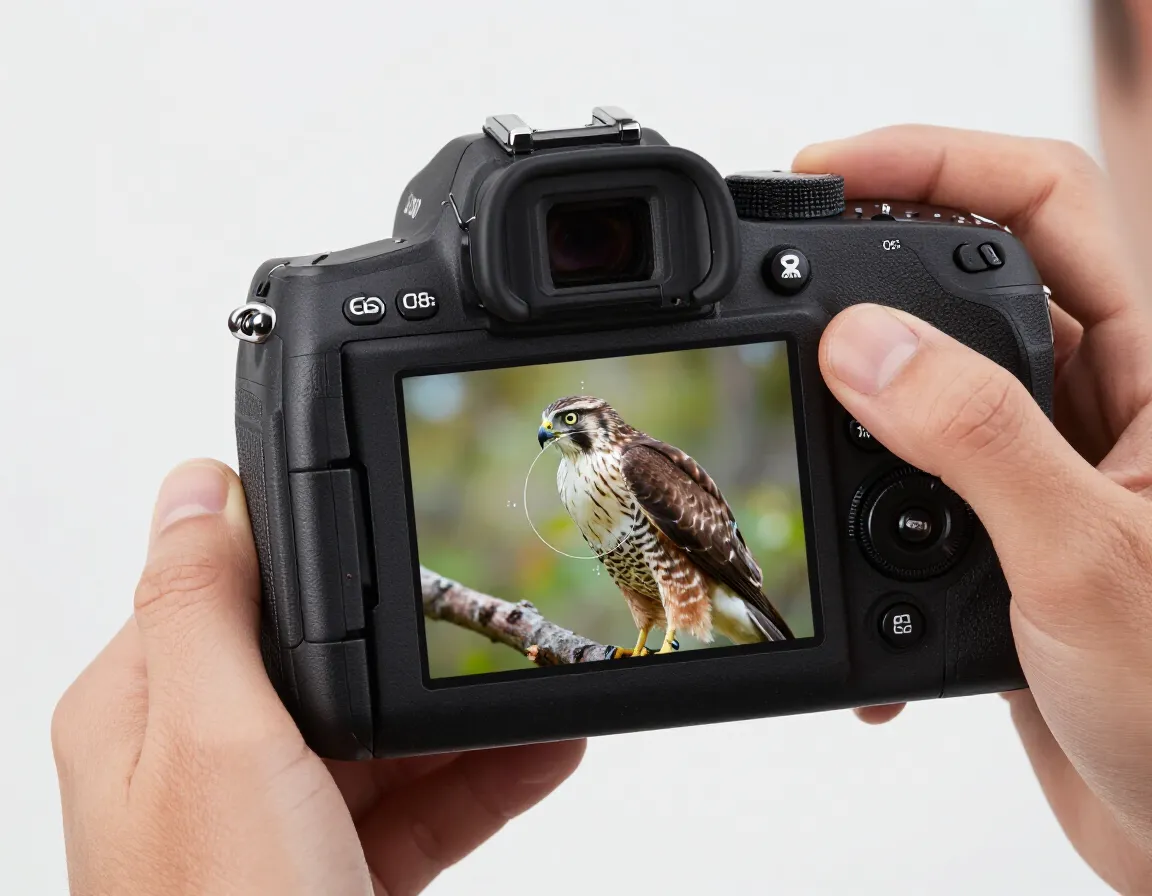
One of the biggest game-changers in modern nature photography is continuous autofocus (AF-C) combined with animal eye detection. Cameras like the Canon EOS R3 can automatically locate and lock onto an animal’s eye, even as it moves through the frame [1][2].
Why does this matter? Because in wildlife photography, a sharp eye is the difference between a keeper and a throwaway. When a bird is in flight or a fox is darting through tall grass, manually tracking focus is nearly impossible. Let the camera do the heavy lifting so you can focus on framing.
💡 “The eye is the soul of a wildlife portrait. If the eye is sharp, the image works.”
Pro tip: Set your AF area to the widest tracking zone available and let eye detection take over. You will be surprised how rarely you miss focus.
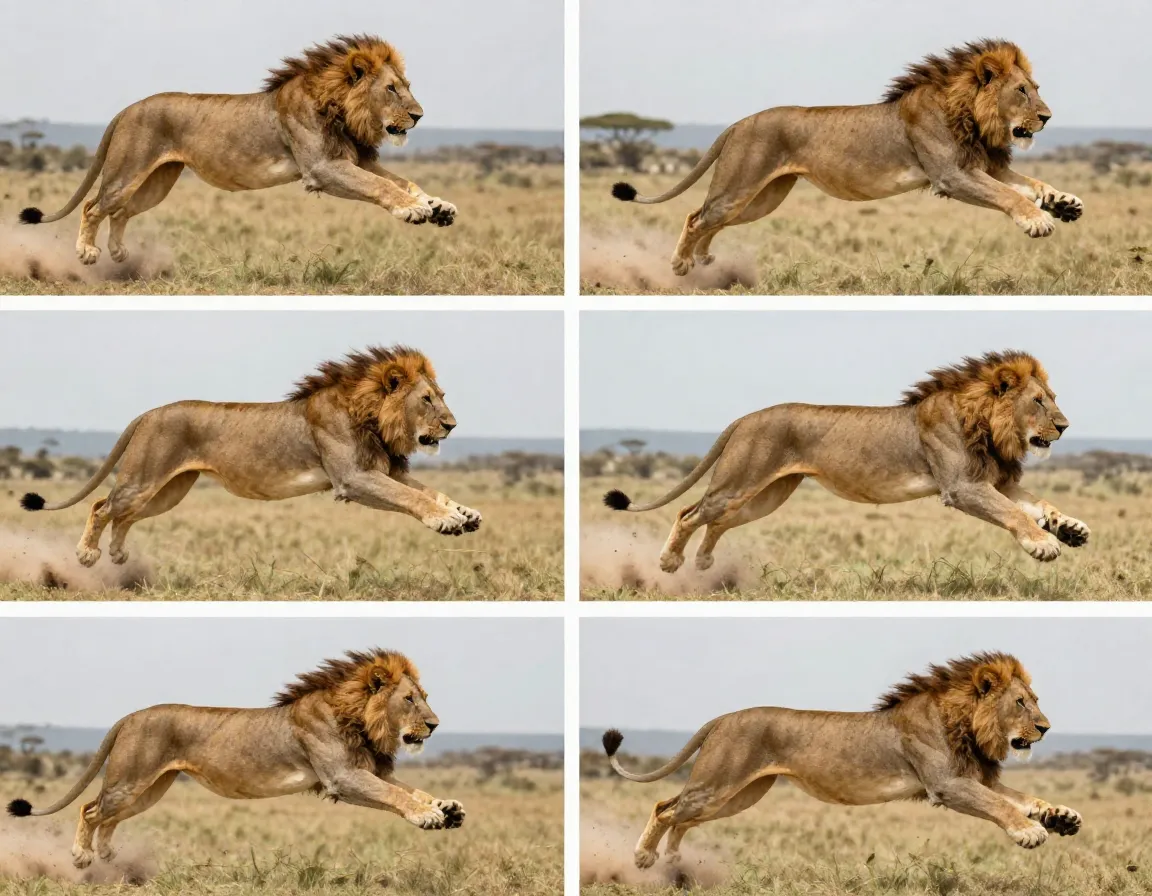
2. Set Fast Shutter Speeds to Freeze Motion
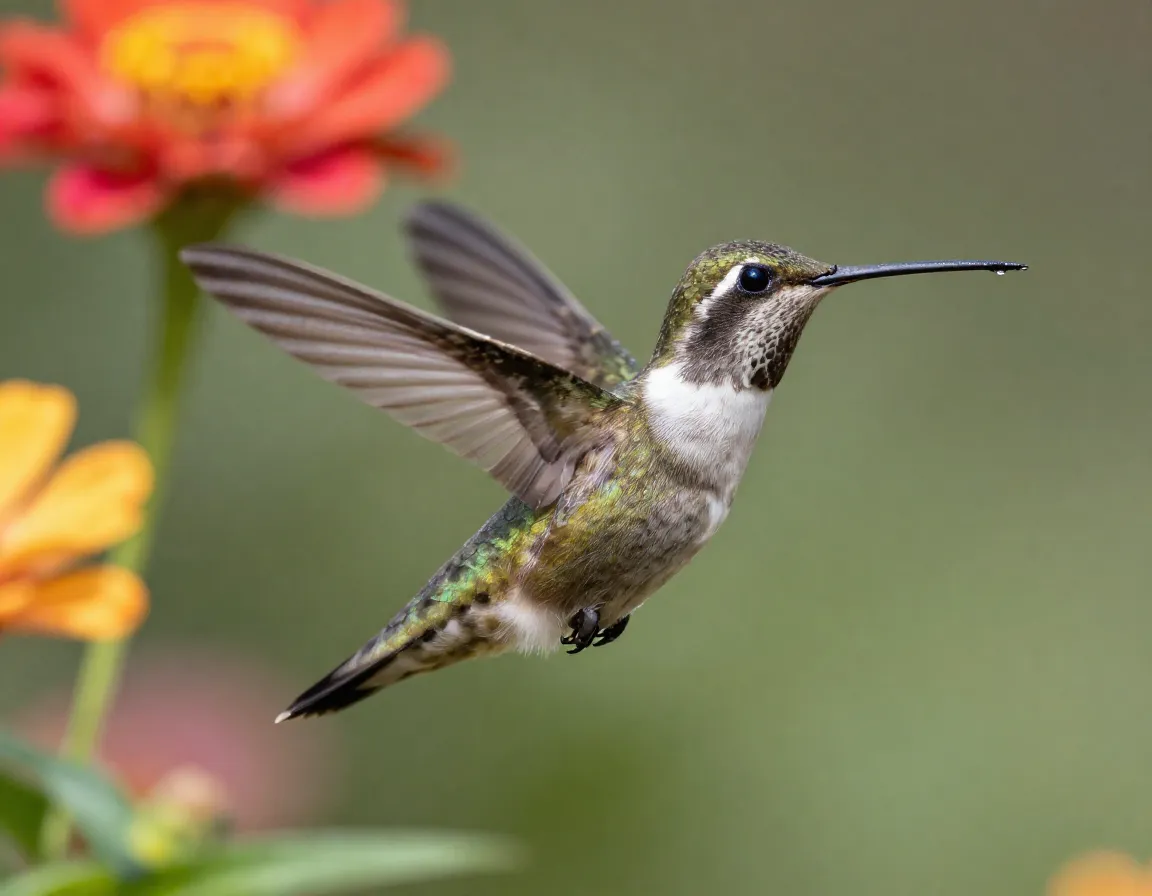
Nothing ruins a wildlife shot like motion blur — unless it is intentional. For most moving subjects, you want a shutter speed of at least 1/500s. For birds in flight, push that to 1/1000s or faster [1][2].
Here is a quick reference table:
| Subject | Recommended Shutter Speed |
|---|---|
| Stationary animals | 1/250s – 1/500s |
| Running mammals | 1/500s – 1/800s |
| Birds in flight | 1/1000s – 1/2000s |
| Insects in motion | 1/800s – 1/1500s |
Fast shutter speeds require more light or a higher ISO, so be prepared to adjust your exposure triangle accordingly.
3. Optimize Your Aperture for Subject Separation

Aperture controls depth of field — how much of your image is in focus. For wildlife portraiture, an aperture between f/2.8 and f/5.6 creates a beautifully blurred background that makes your subject pop [1][3].
- f/2.8 – f/4: Dreamy bokeh, great for close-up animal portraits
- f/4 – f/5.6: Slight background blur with a bit more environmental context
- f/8 and above: Sharp foreground and background, ideal for landscapes
The sweet spot for separating an animal from its environment is often f/4 [1]. It blurs the background enough to reduce distractions while keeping enough detail to show the habitat.
4. Dial In Your ISO for Clean, Low-Noise Images
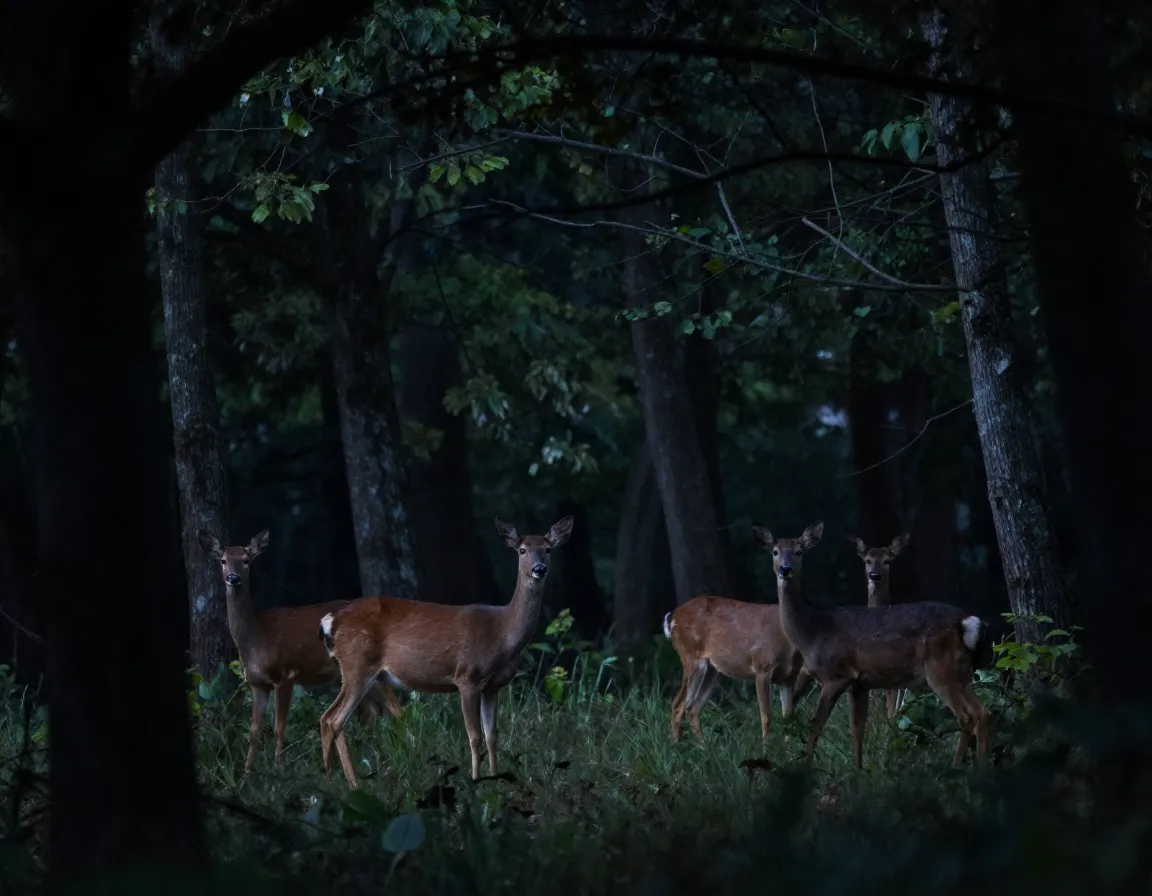
ISO controls your camera’s sensitivity to light. Start with ISO 800–1600 for a clean baseline in most outdoor conditions. In low-light situations — like dawn in a dense forest — you can push to ISO 6400 while still maintaining usable image quality on modern cameras [1][2].
Key ISO tips:
- Always use the lowest ISO that gives you a correct exposure
- Shoot in RAW (see Technique 8) to recover shadow detail without excessive noise
- Use your camera’s in-body noise reduction sparingly — it can soften fine detail
Advanced Techniques for Taking Beautiful Nature Photographs
Now that the settings are locked in, let’s explore the creative and technical methods that separate good nature photos from truly unforgettable ones. These next five of the 9 techniques for taking beautiful photographs of nature focus on composition, timing, and workflow.
5. Use Burst Mode for Fast-Moving Subjects
Wildlife does not wait for you. Burst mode — also called continuous shooting — lets you fire off a rapid series of frames in a single moment [1]. This is essential when:
- Animals are running, jumping, or taking flight
- You are on safari and action happens without warning
- You want to choose the single best frame from a sequence
Modern mirrorless cameras can shoot 20–30 frames per second. Use that power wisely. Burst mode is not a substitute for good timing, but it dramatically increases your chances of capturing the perfect expression or peak action moment.
6. Master Back-Button Focus for Better Control
Most beginners use the shutter button to both focus and take a photo. Back-button focus separates these two functions, giving you far more control over when and how your camera tracks a subject [2].
Here is how it works:
- Assign autofocus to a button on the back of your camera (usually the AF-ON button)
- Use your thumb to activate and hold focus
- Use your index finger to fire the shutter independently
This technique is especially useful during extended wildlife encounters, where you may want to hold focus on a stationary animal and then quickly switch to tracking as it moves.
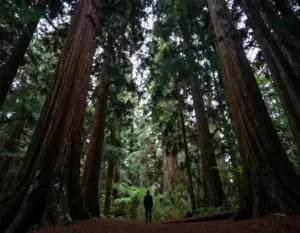
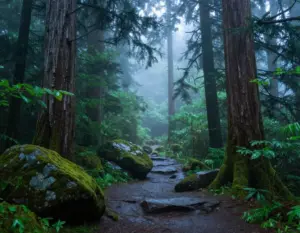
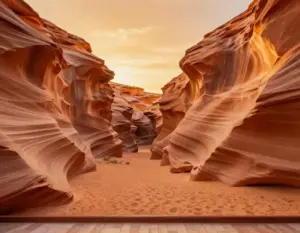
7. Apply Leading Lines to Strengthen Composition

Great nature photography is not just about technical sharpness — it is about visual storytelling. Leading lines are one of the most powerful compositional tools available to outdoor photographers [1][2].
Natural leading lines include:
- 🌊 Shorelines and rivers curving toward a subject
- 🪵 Fallen logs pointing into a forest scene
- 🌾 Rows of tall grass or reeds
- 🏔️ Mountain ridgelines guiding the eye across the frame
These lines draw the viewer’s gaze naturally through the image and toward your main subject. They also add a sense of depth and scale that flat compositions cannot achieve.
8. Shoot in RAW Format for Maximum Editing Flexibility
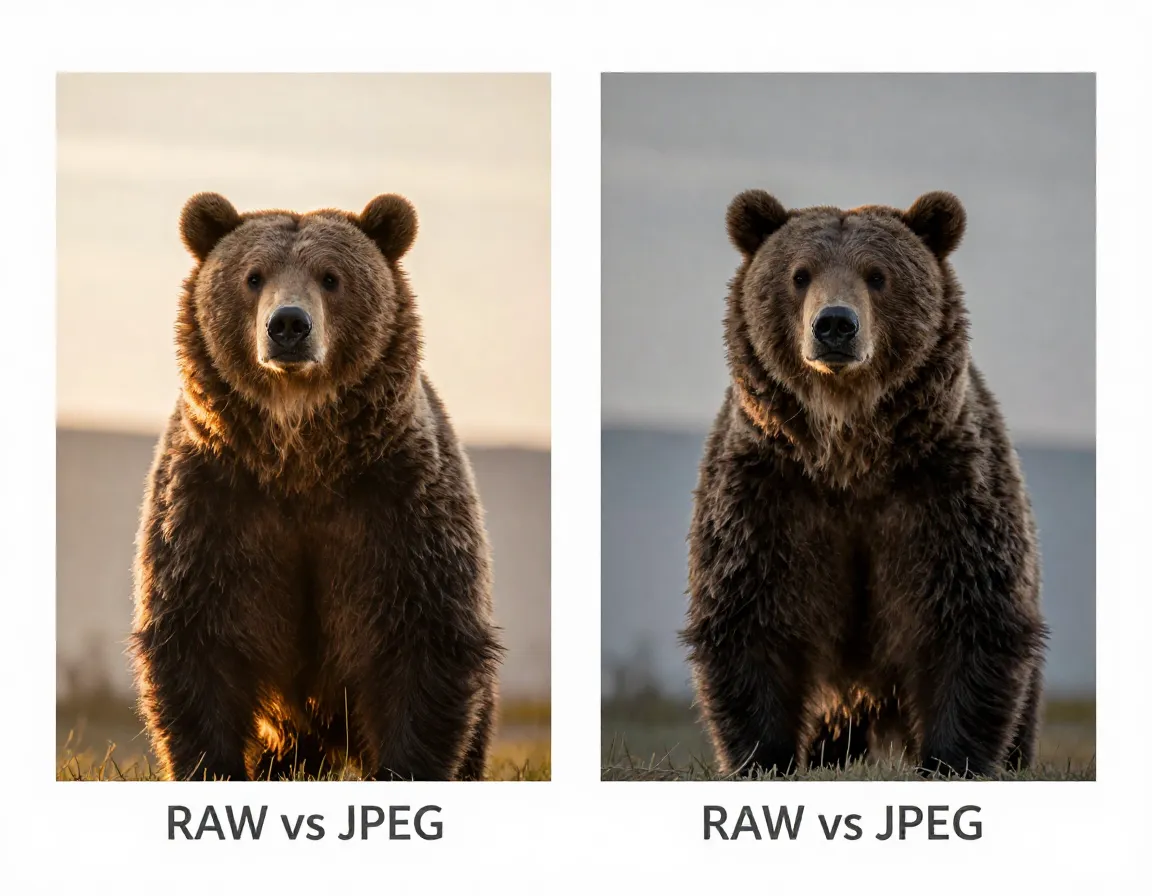
If you are still shooting JPEG, this is the single change that will have the biggest impact on your post-processing results. RAW files retain all the data your sensor captures, giving you far more latitude to adjust exposure, white balance, and shadow detail in editing [2].
RAW vs. JPEG at a glance:
| Feature | RAW | JPEG |
|---|---|---|
| File size | Large | Small |
| Editing flexibility | Maximum | Limited |
| Color depth | 12–14 bit | 8 bit |
| In-camera processing | None | Applied |
| Best for | Professional editing | Quick sharing |
In challenging lighting — like a backlit animal at sunrise — RAW can save an image that JPEG would throw away.
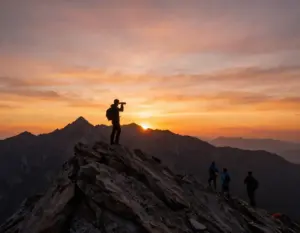
9. Leverage Golden Hour Lighting and Practice Focus Stacking

The final two techniques work beautifully together. Golden hour — the hour after sunrise and before sunset — produces warm, soft light that wraps around your subjects, enhances texture, and creates those beautiful catchlights in animal eyes [2]. Overcast days are also underrated: clouds act as a giant diffuser, eliminating harsh shadows and keeping colors rich and saturated.
Focus stacking takes sharpness to the next level [1]. By shooting multiple frames at slightly different focus distances and blending them in post-processing, you can achieve razor-sharp detail across an entire scene — from a flower petal in the foreground to a mountain in the background.
Together, these techniques produce images with:
- ✅ Flattering, natural light
- ✅ Front-to-back sharpness
- ✅ Rich color and texture
- ✅ Professional-quality depth
Conclusion
Mastering the 9 techniques for taking beautiful photographs of nature is a journey, not a destination. Start by locking in your camera settings — fast shutter speeds, smart aperture choices, and the right ISO range. Then layer in creative tools like leading lines, burst mode, and back-button focus. Shoot in RAW, chase golden hour light, and experiment with focus stacking.
Your actionable next steps:
- 📷 Switch your camera to RAW format today
- 🔘 Set up back-button focus on your next outing
- 🌅 Plan one shoot specifically around golden hour this week
- 🦅 Try animal eye detection on a local bird or pet to practice
- 🗺️ Scout a location with strong natural leading lines before your next nature session
The best nature photographs are the result of preparation meeting opportunity. With these techniques in your toolkit, you will be ready.
References
[1] The Best Guide To Nature Photography Tips 2026 – https://www.dereknielsen.com/news/the-best-guide-to-nature-photography-tips-2026/
[2] Wildlife Photography Tips Master Nature Photography In 2025 – https://www.curlewcall.org/wildlife-photography-tips-master-nature-photography-in-2025/
[3] Ultimate Guide Nature Outdoor Photography – https://digital-photography-school.com/ultimate-guide-nature-outdoor-photography/