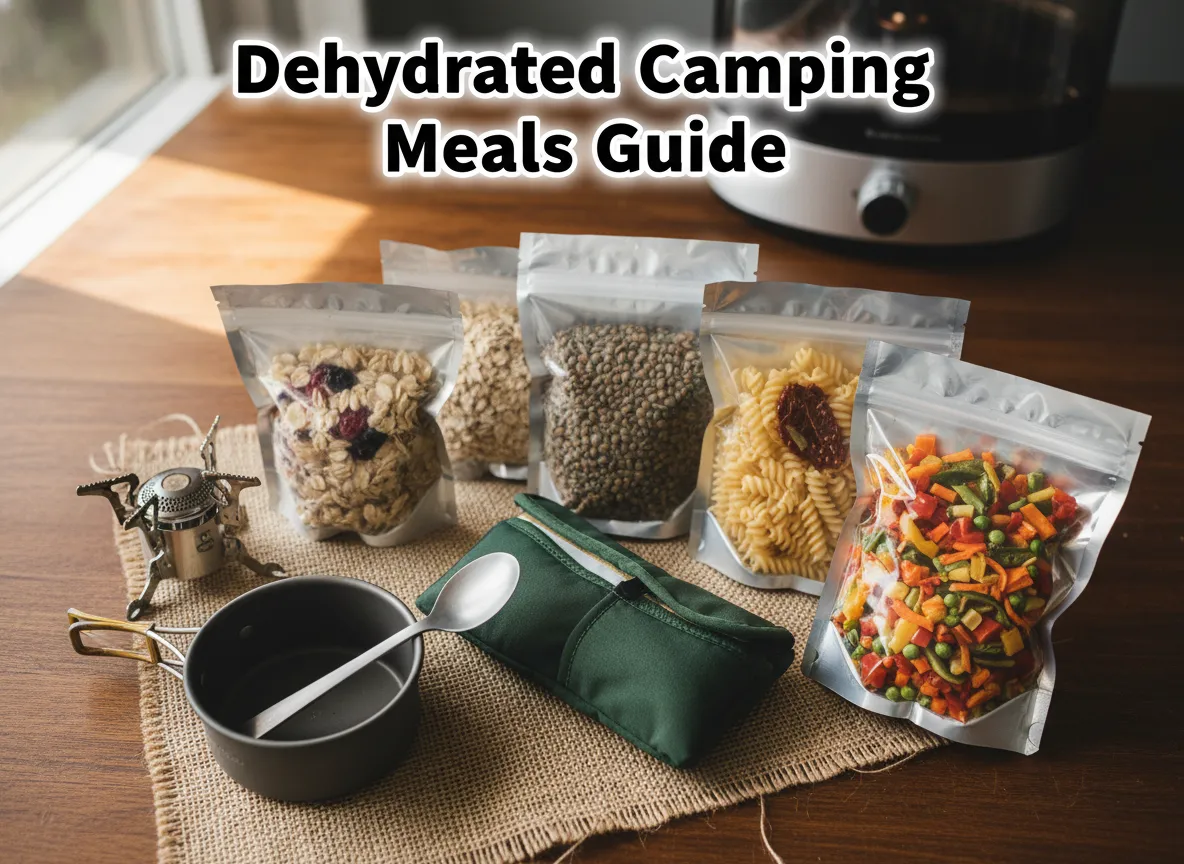
8 Make-Ahead Camping Meals: A Guide to Dehydrated Food
Imagine arriving at your campsite after a 10-mile hike, exhausted and starving — and pulling out a hot, flavorful meal that weighs almost nothing and was ready before you even left home. That’s the magic of dehydrated make-ahead camping food, and it’s changing the way outdoor enthusiasts eat on the trail. This complete guide to 8 Make-Ahead Camping Meals: A Guide to Dehydrated Food walks you through everything you need to know to prep, pack, and enjoy real food in the wilderness.
Key Takeaways 🏕️
- Dehydrating food at home saves significant weight, cost, and prep time compared to store-bought freeze-dried meals.
- Make-ahead meals can be prepped weeks in advance, giving you more freedom on trip day.
- Proper storage (vacuum-sealed, cool, dark) extends shelf life up to 12 months or more.
- Nutrition doesn’t have to suffer — dehydrated meals can be packed with protein, fiber, and complex carbs.
- Eight versatile meal ideas cover breakfast, lunch, dinner, and snacks for any camping style.
Why Dehydrated Make-Ahead Camping Meals Are a Game-Changer
Before diving into the list, it’s worth understanding why dehydration is one of the best meal-prep strategies for campers and backpackers alike.
Dehydration removes 80–95% of a food’s moisture, dramatically reducing weight without stripping most nutrients. A 2023 review published in the Journal of Food Science and Technology confirmed that properly dehydrated foods retain the majority of their macronutrients and many micronutrients, making them a reliable backcountry nutrition source.
Here’s a quick comparison:
| Meal Type | Average Weight (per serving) | Shelf Life | Cost per Serving |
|---|---|---|---|
| Fresh camping food | 14–20 oz | 1–3 days | $4–$8 |
| Store-bought freeze-dried | 3–5 oz | 25+ years | $8–$15 |
| Home-dehydrated meals | 3–6 oz | 6–12 months | $2–$5 |
💡 Pull Quote: “Home-dehydrated camping meals can cost 50–70% less than commercial freeze-dried options while delivering comparable nutrition and far better flavor customization.”
The bottom line: making your own dehydrated meals gives you full control over ingredients, portion sizes, and taste — something no store-bought pouch can match.
The Complete List: 8 Make-Ahead Camping Meals: A Guide to Dehydrated Food
Here are eight proven dehydrated meal ideas, organized from morning to night, with practical prep tips for each one.
1. Dehydrated Oatmeal Power Breakfast
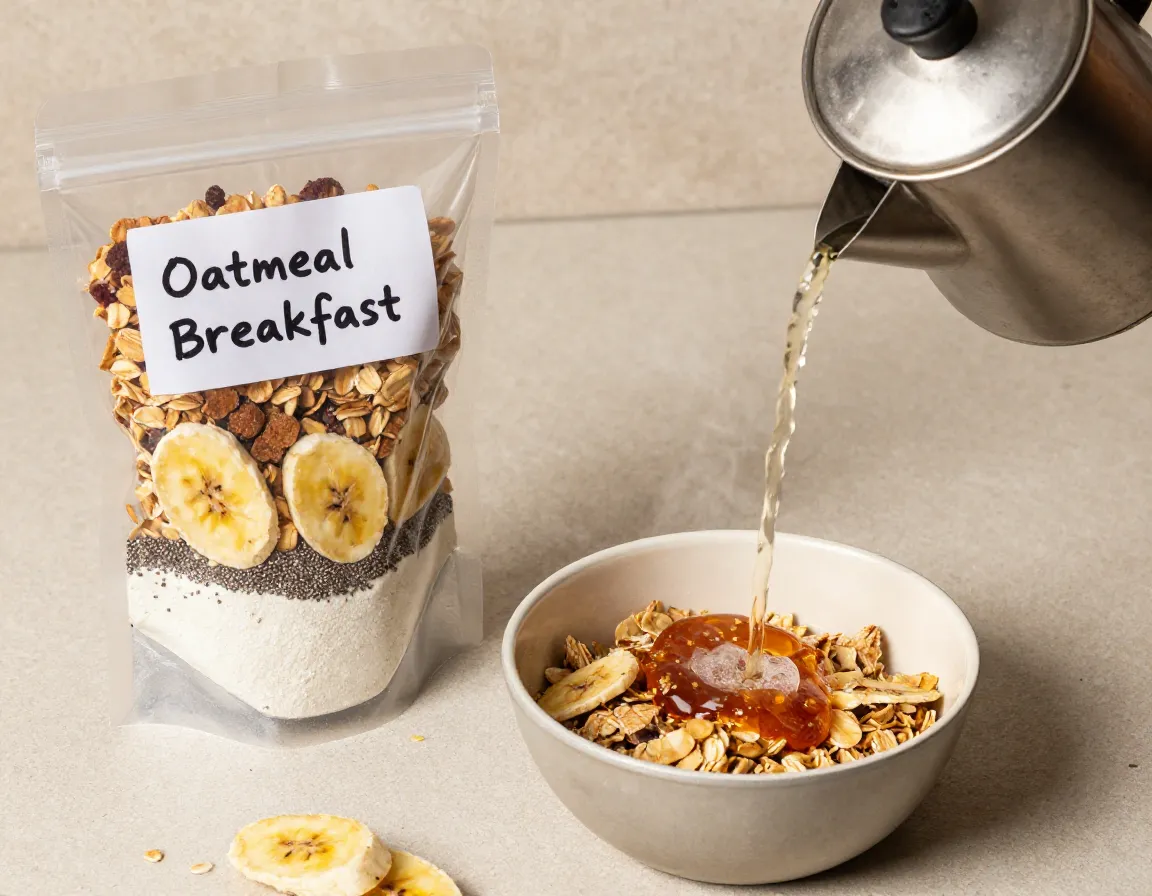
Best for: Early-morning starts, high-energy hiking days
Start your camping day strong with a customized oatmeal blend. Dehydrate cooked rolled oats at 135°F for 6–8 hours until completely dry and crumbly. Mix in dehydrated banana slices, chia seeds, brown sugar, and powdered whole milk before sealing in a zip-lock or vacuum bag.
At camp: Add boiling water, stir, and wait 5 minutes. Done.
- 🕐 Prep time: 8 hours (mostly passive dehydrating)
- 📦 Packed weight: ~3 oz per serving
- 🔥 Calories: ~380 per serving
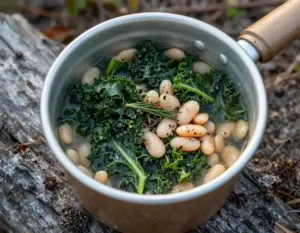
2. Lentil and Vegetable Soup
Best for: Cold nights, high-altitude camps
Cook red lentils with diced carrots, celery, onion, and your favorite spices until soft. Spread the mixture thinly on dehydrator trays and dry at 135°F for 8–10 hours. Lentils dehydrate exceptionally well and rehydrate quickly — making them one of the best protein sources for trail cooking.
Pro tip: Add a small packet of olive oil separately. Fat doesn’t dehydrate well, so always pack it on the side.
3. Chicken and Rice Casserole
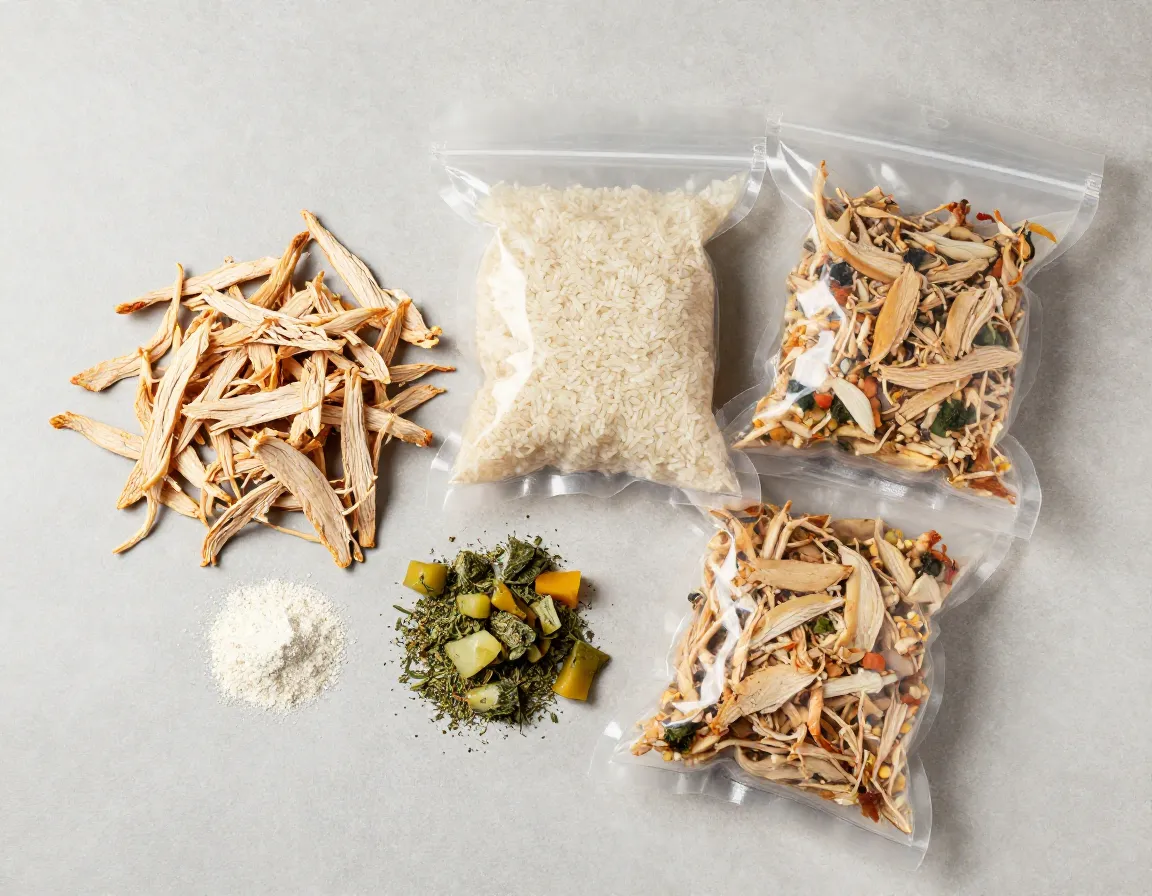
Best for: Multi-day backpacking trips needing high protein
Cook chicken breast fully, shred it finely, and dehydrate at 160°F for 6–8 hours until completely dry and brittle. Separately dehydrate cooked white rice at 135°F for 4–6 hours. Combine with dehydrated vegetables, chicken bouillon, and dried herbs in a single bag.
⚠️ Safety Note: Meat must reach an internal temperature of 165°F before dehydrating and should be fully dried to a jerky-like consistency. Store meat-based meals in the refrigerator or freezer until your trip.
4. Pasta Primavera with Marinara
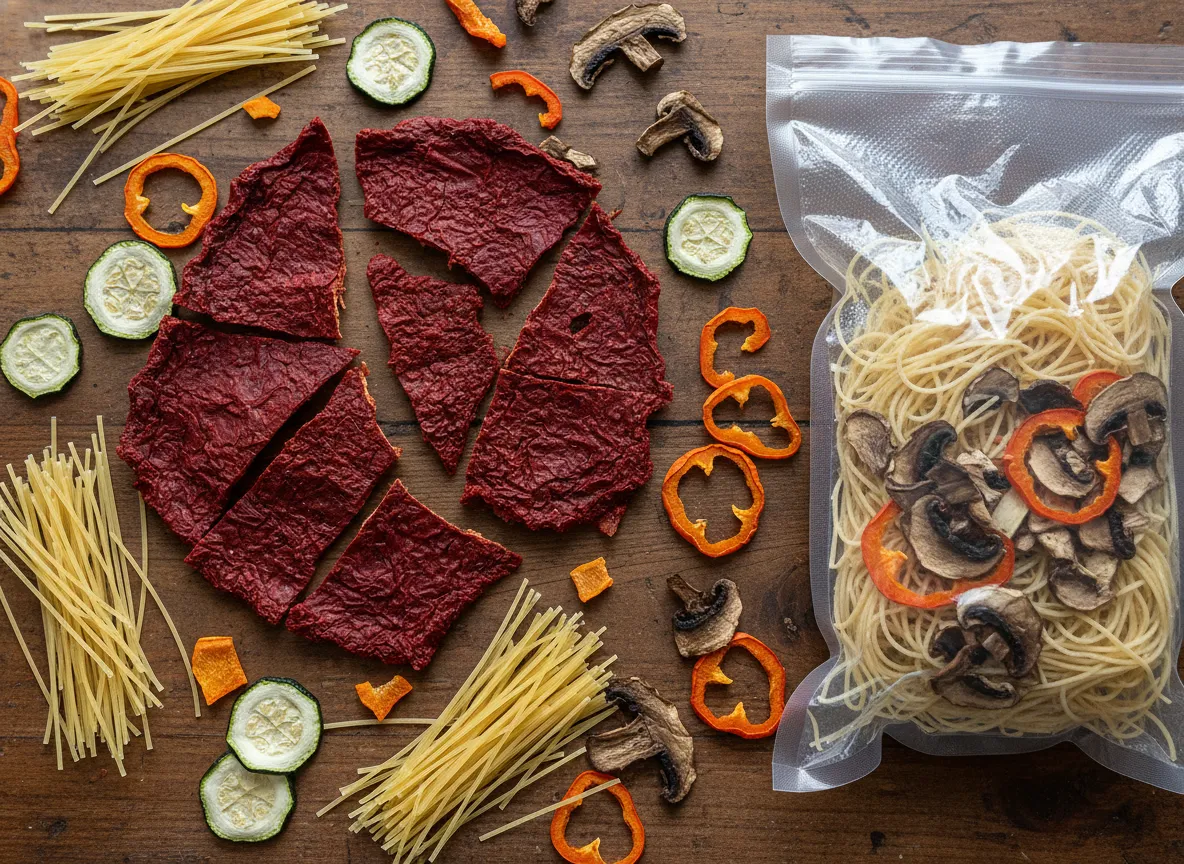
Best for: Family camping, car camping with a camp stove
Dehydrate your favorite marinara sauce by spreading it on a fruit leather tray at 135°F for 8–10 hours until it forms a dry, crackable sheet. Break it into pieces and bag it with thin pasta (angel hair rehydrates fastest) and dehydrated zucchini, bell pepper, and mushrooms.
At camp: Boil water, cook pasta, crumble in the sauce sheet, and add a splash of olive oil. Ready in under 15 minutes.
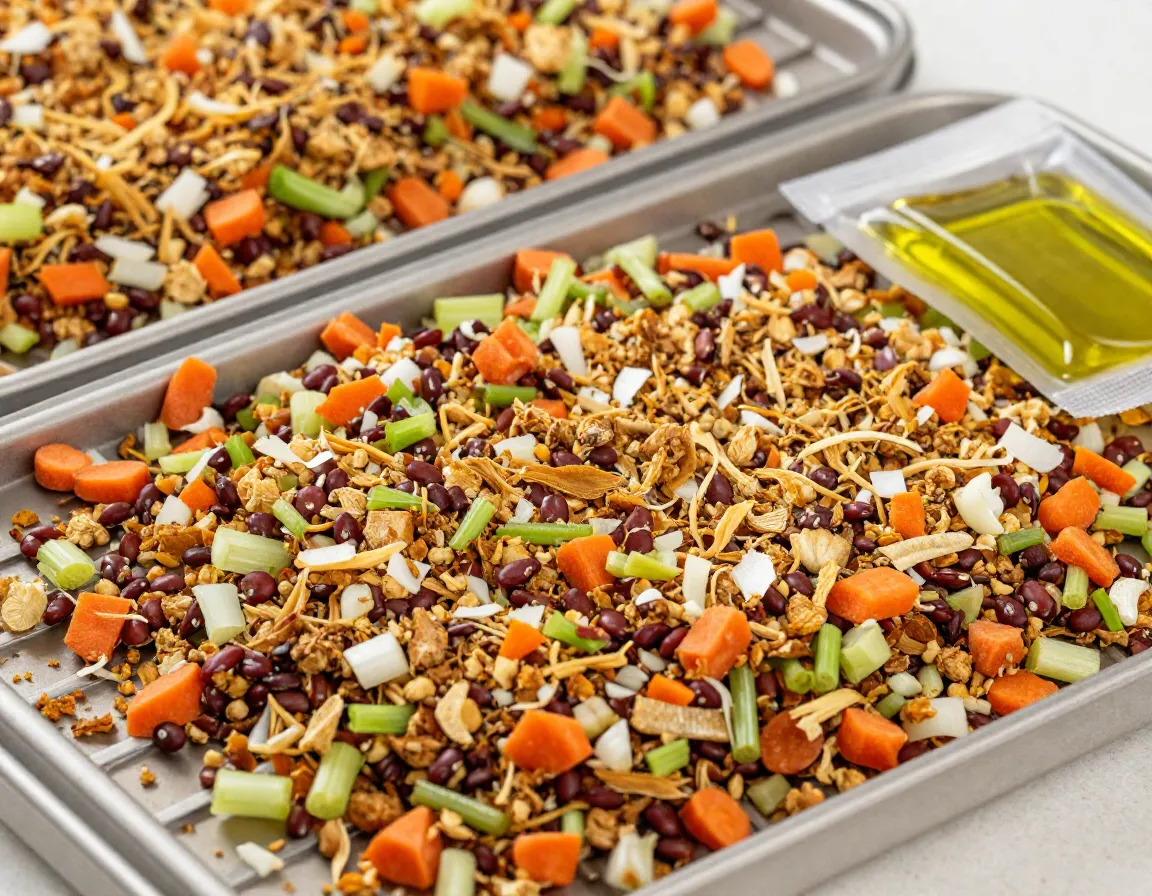
5. Black Bean and Corn Burrito Filling
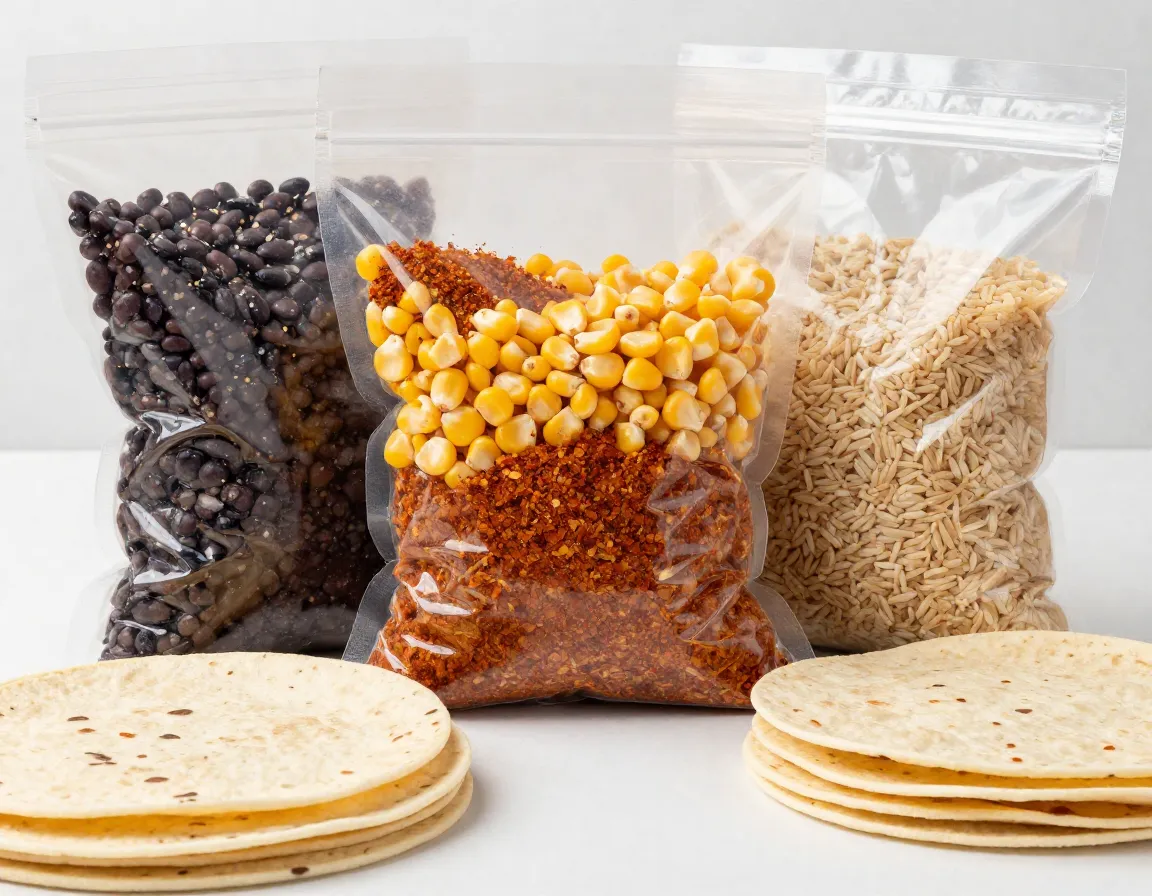
Best for: Lunch wraps, quick dinners
Mash cooked black beans lightly, spread on dehydrator trays, and dry at 135°F for 8–10 hours. Dehydrate corn kernels separately at the same temperature for 6–8 hours. Combine with taco seasoning, dehydrated salsa, and instant rice in a single bag.
Pack flour tortillas separately in a hard-sided container to avoid crushing. This filling rehydrates in about 10 minutes with hot water.
- 🌮 Versatile: works as a burrito, taco bowl, or rice side dish
- 🌱 Fully plant-based and high in fiber
6. Dehydrated Beef Stew
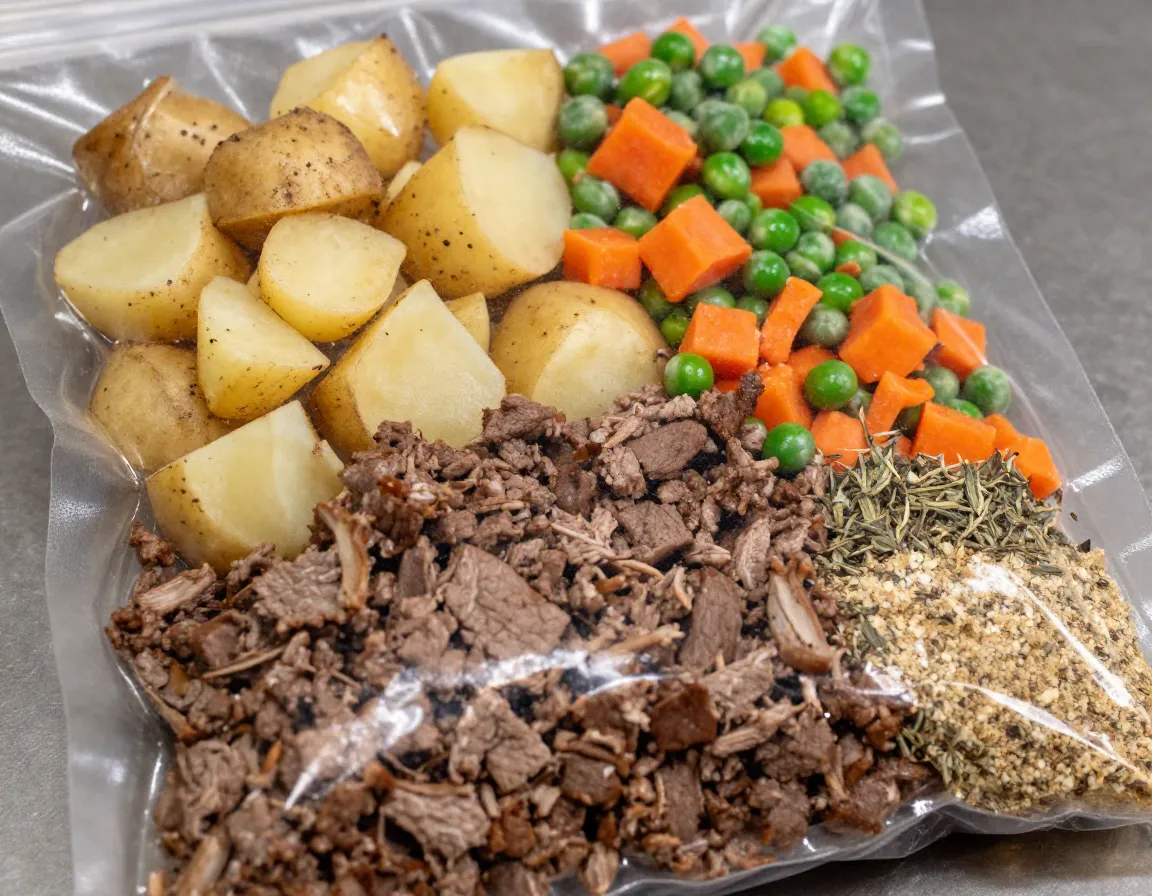
Best for: Cold-weather expeditions, winter camping
Brown lean ground beef fully, drain all fat, and dehydrate at 160°F for 6–8 hours. Dehydrate diced potatoes, carrots, and peas separately. Combine with beef bouillon, dried thyme, and garlic powder. This is one of the most satisfying and calorie-dense options in this guide to dehydrated food.
At camp: Add 2 cups of boiling water per serving, seal the bag, and let sit for 15–20 minutes inside a cozy (insulated bag) for best results.
7. Coconut Curry with Chickpeas

Best for: Flavor-forward backpackers, vegetarian campers
Cook chickpeas in a rich coconut curry sauce, then spread thinly on dehydrator trays and dry at 135°F for 10–12 hours. The coconut milk solids dehydrate into a concentrated flavor bomb that rehydrates into a creamy, aromatic curry.
Pair with instant basmati rice or dehydrated couscous (which rehydrates in just 5 minutes with boiling water).
🌟 Flavor tip: Add a small packet of coconut cream powder to the bag for extra richness at camp.
8. Trail Mix Energy Bars (No-Bake)
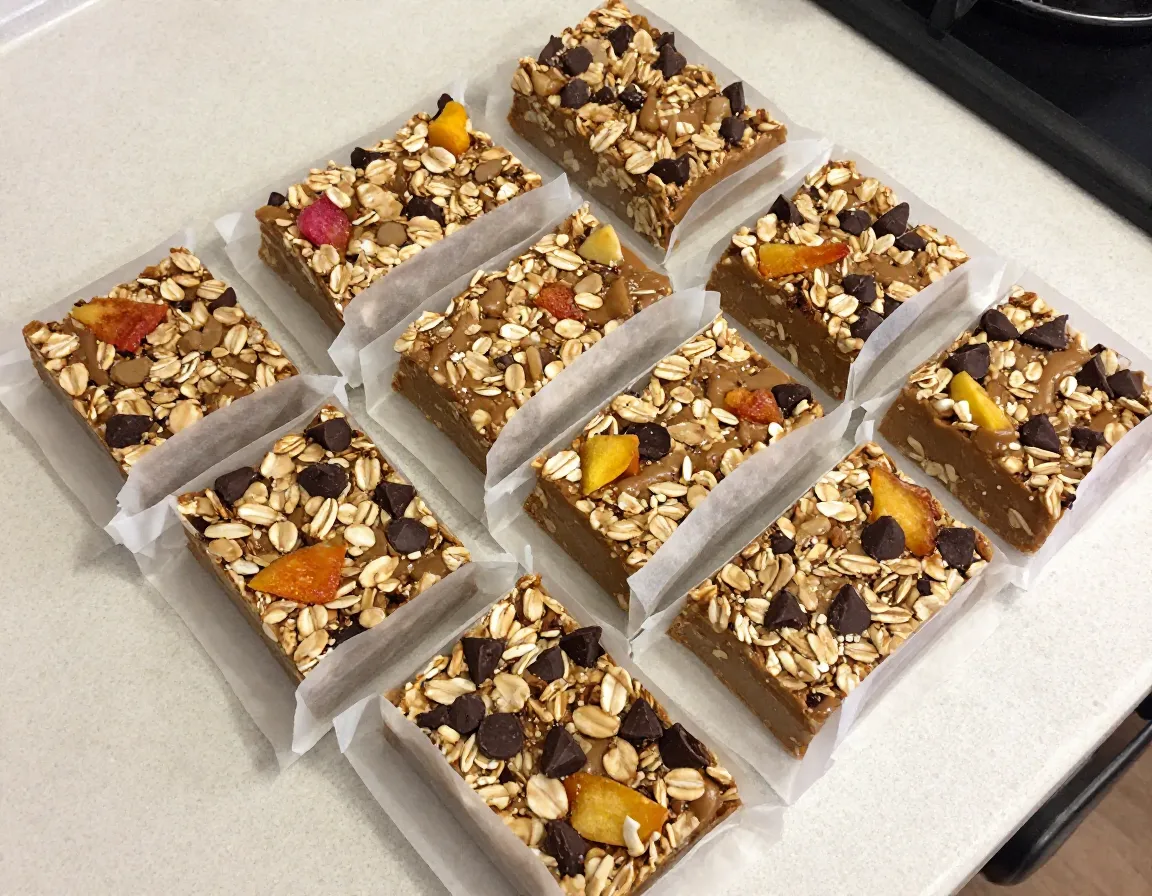
Best for: Snacks, emergency calories, kids
While not a “meal” in the traditional sense, these make-ahead energy bars round out your dehydrated food kit perfectly. Combine oats, nut butter, honey, dehydrated fruit, and dark chocolate chips. Press into a pan, refrigerate until firm, and cut into bars. Wrap individually in parchment paper.
These don’t require a dehydrator — just a refrigerator — and they last 5–7 days at room temperature, making them ideal for any camping trip length.
How to Store and Pack Your Dehydrated Camping Meals
Getting the 8 Make-Ahead Camping Meals: A Guide to Dehydrated Food right doesn’t stop at dehydrating. Proper storage is critical for safety and shelf life.
Storage Best Practices
- Vacuum seal all meals in heavy-duty mylar bags or vacuum-seal pouches to remove oxygen.
- Label every bag with the meal name, date dehydrated, water amount needed, and cook time.
- Store in a cool, dark place — a pantry or refrigerator is ideal until your trip date.
- Use oxygen absorbers for meals stored longer than 3 months.
Packing for the Trail
- Organize meals by day in separate zip-lock bags (e.g., “Day 1 Meals”)
- Keep snacks in an easily accessible outer pocket
- Carry a lightweight insulated cozy to rehydrate meals without burning fuel
- Pack a long-handled spoon — eating directly from the bag saves on dishes
Essential Dehydrator Settings at a Glance
| Food Type | Temperature | Drying Time |
|---|---|---|
| Fruits & vegetables | 125–135°F | 4–12 hours |
| Cooked grains (rice, oats) | 135°F | 4–8 hours |
| Cooked beans & legumes | 135°F | 8–12 hours |
| Cooked poultry | 160°F | 6–8 hours |
| Cooked lean beef | 160°F | 6–8 hours |
| Sauces & soups | 135°F | 8–12 hours |
Conclusion: Start Dehydrating Before Your Next Adventure 🎒
The 8 Make-Ahead Camping Meals: A Guide to Dehydrated Food covered in this article prove that eating well outdoors doesn’t require expensive gear or complicated cooking. With a basic food dehydrator, a vacuum sealer, and a few hours of prep time, you can build a full week’s worth of lightweight, nutritious, and genuinely delicious trail meals.
Here are your actionable next steps:
- Start small — dehydrate one batch of oatmeal or lentil soup this weekend to test your setup.
- Invest in a mid-range dehydrator with adjustable temperature settings (brands like Excalibur or Cosori are popular choices in 2026).
- Label and date everything — food safety is non-negotiable in the backcountry.
- Do a taste test at home before relying on a new meal on a multi-day trip.
- Build your meal library one recipe at a time until you have a full trip’s worth of options.
The trail is calling — and now your food can be ready before you are. 🏔️
References
- Sehrawat, R., et al. (2018). “Dehydration of foods: An overview.” Journal of Food Science and Technology, 55(4), 1–12.
- National Center for Home Food Preservation. (2014). Drying Foods. University of Georgia Cooperative Extension.
- USDA Food Safety and Inspection Service. (2013). Jerky and Food Safety. USDA FSIS.
- Backpacker Magazine. (2022). The Complete Guide to Dehydrating Your Own Backpacking Food. Backpacker Media.