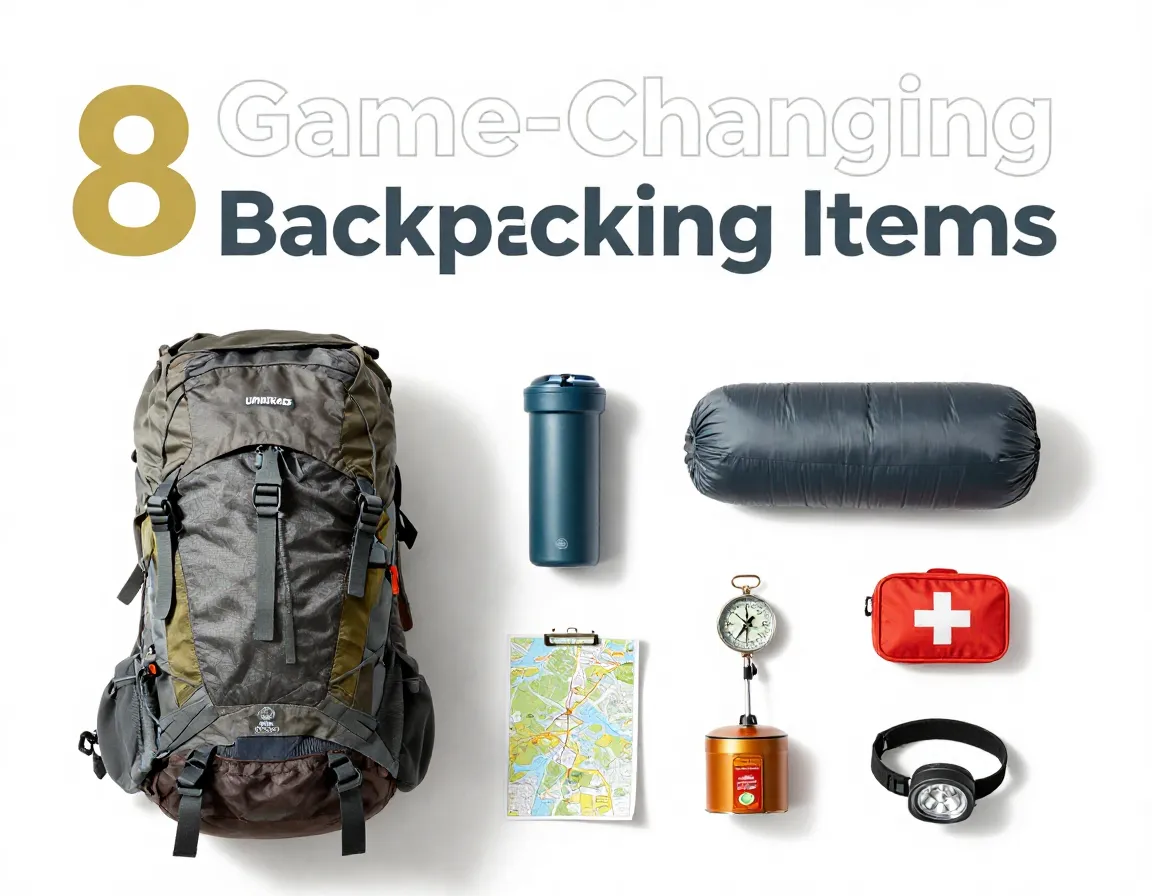
8 Game-Changing Items for Your Ultimate Backpacking Packing Guide
I still remember the first time I limped back to the trailhead after three days in the backcountry — blisters the size of quarters, a soaked sleeping bag, and zero confidence left in my gear choices. That trip taught me one hard truth: what you pack can make or break your entire adventure. Whether you’re a first-timer or a seasoned trail veteran, knowing the right items to bring is the difference between a miserable slog and the trip of a lifetime. That’s exactly why I put together this deep-dive into the 8 Game-Changing Items for Your Ultimate Backpacking Packing Guide — a curated, research-backed list of the gear that truly moves the needle.
Key Takeaways
- 🎒 Weight is everything: Every ounce matters on the trail, so prioritize ultralight, multi-use gear.
- 💧 Hydration and shelter are non-negotiable: These two categories should never be compromised, regardless of budget.
- 🗺️ Navigation tools save lives: Digital and analog navigation should always travel together.
- 🩹 A proper first aid kit is your safety net: Customizing it for your specific trip is critical.
- ✅ Gear synergy matters: The best packing lists aren’t just about individual items — it’s about how they work together as a system.
Why the Right Gear List Changes Everything
Most backpackers start with a generic packing list they find online. The problem? Generic lists lead to generic results. You end up carrying too much, forgetting the essentials, or buying gear that doesn’t fit your specific terrain or climate.
The 8 Game-Changing Items for Your Ultimate Backpacking Packing Guide approach is different. It focuses on items that deliver the highest impact per ounce — gear that solves real problems on the trail rather than just checking a box on a list.
Outdoor experts consistently point to a core set of “ten essentials” covering navigation, sun protection, insulation, illumination, first-aid supplies, fire, repair tools, nutrition, hydration, and emergency shelter as the foundation of any smart packing strategy [2]. Our list builds on that foundation, zeroing in on the eight items that modern backpackers most often overlook or underestimate.
What Makes an Item “Game-Changing”?
Not every piece of gear earns that label. To qualify as game-changing, an item must:
- Solve a critical problem on the trail (safety, comfort, or efficiency)
- Offer multi-use value — the best gear does more than one job
- Be worth its weight — even a heavy item can earn its place if it prevents a trip-ending disaster
- Be accessible — you shouldn’t need a trust fund to afford it
The 8 Game-Changing Items for Your Ultimate Backpacking Packing Guide
1. An Ultralight, Four-Season Tent
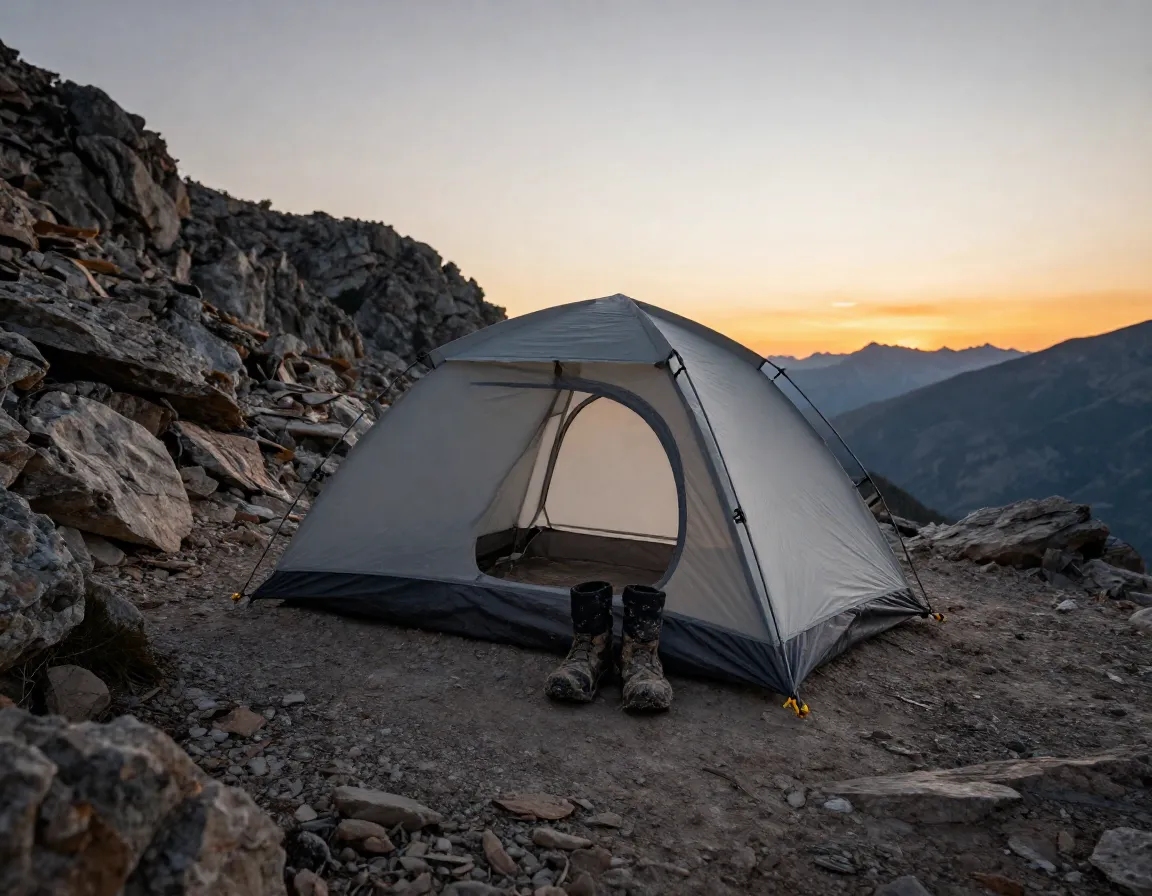
Your shelter is your home on the trail. A flimsy, heavy tent is one of the fastest ways to ruin a trip — and one of the most common mistakes beginners make.
Why it’s game-changing: Modern ultralight tents now weigh under 2 lbs while still handling wind, rain, and even light snow. That’s a massive leap from the 6-lb family camping tents many people start with.
💬 “Your tent is the single most important investment you’ll make in your backpacking kit. Don’t cheap out here.”
What to look for:
| Feature | Why It Matters |
|---|---|
| Double-wall construction | Prevents condensation buildup inside |
| Freestanding design | Easy setup on rocky or uneven ground |
| Footprint compatibility | Protects the tent floor, extends lifespan |
| Vestibule space | Keeps muddy boots and wet gear outside |
| Weight under 3 lbs | Keeps your pack manageable on long days |
Backcountry’s backpacking checklist lists the tent as one of the absolute core essentials that no overnight trip should attempt without [1].
Pro tip: Look for tents with a minimum 1,500mm hydrostatic head rating for the rainfly. Anything lower and you’ll be sleeping in a puddle during a heavy storm.
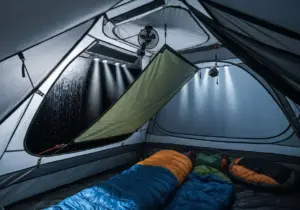
2. A Temperature-Rated Sleeping Bag or Quilt
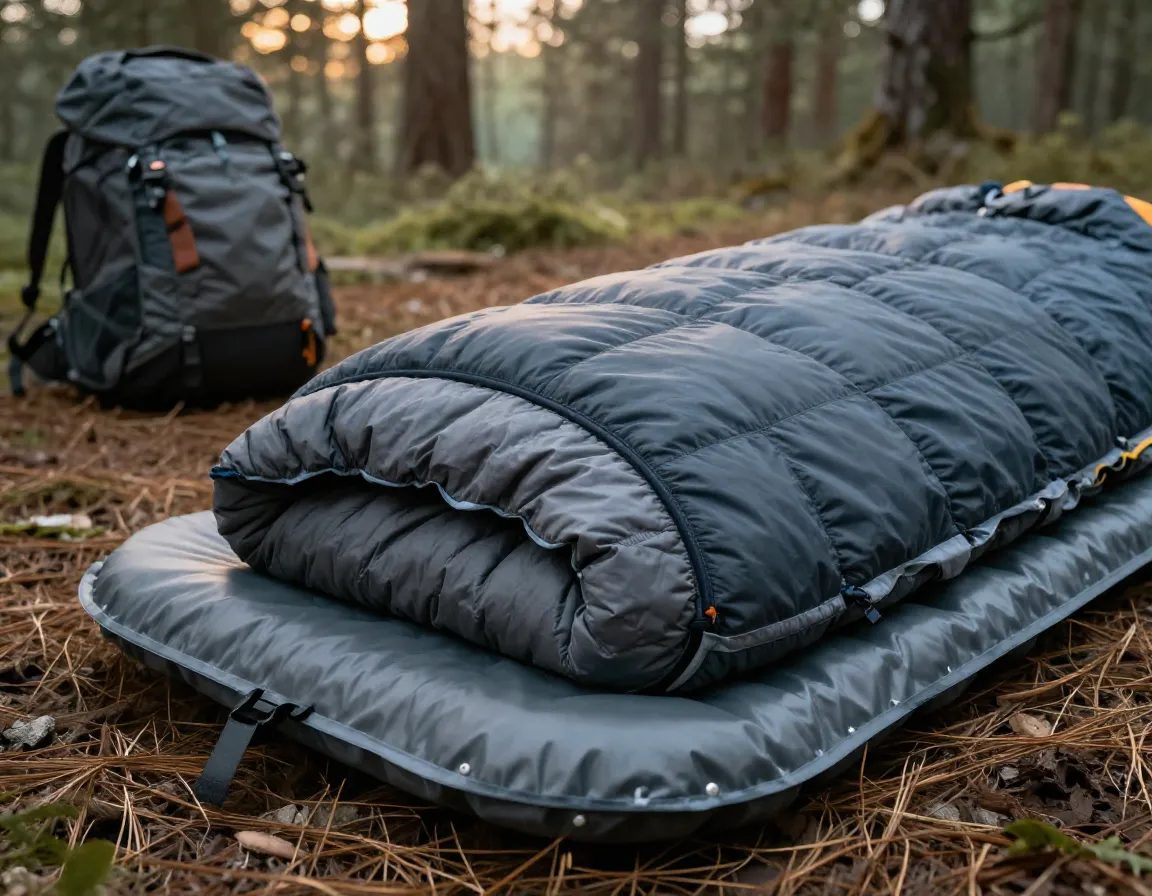
Cold nights are the number one comfort killer on the trail. But carrying a sleeping bag that’s too warm is just as bad — you’ll sweat, sleep poorly, and add unnecessary weight.
Why it’s game-changing: Matching your sleeping bag’s temperature rating to your actual conditions is a skill that separates smart packers from everyone else.
Sleeping Bag vs. Quilt — A Quick Comparison:
| Option | Pros | Cons |
|---|---|---|
| Mummy sleeping bag | Excellent warmth retention, hood included | Heavier, less versatile |
| Ultralight quilt | Lighter, packs smaller, more breathable | Requires good sleeping pad insulation |
🌡️ Rule of thumb: Choose a bag rated 10°F lower than the coldest temperature you expect. If you’re camping in 40°F conditions, go for a 30°F bag.
Down fill is generally preferred for its warmth-to-weight ratio, but synthetic fill wins in wet conditions since it retains warmth even when damp.
3. An Insulated, High-R-Value Sleeping Pad
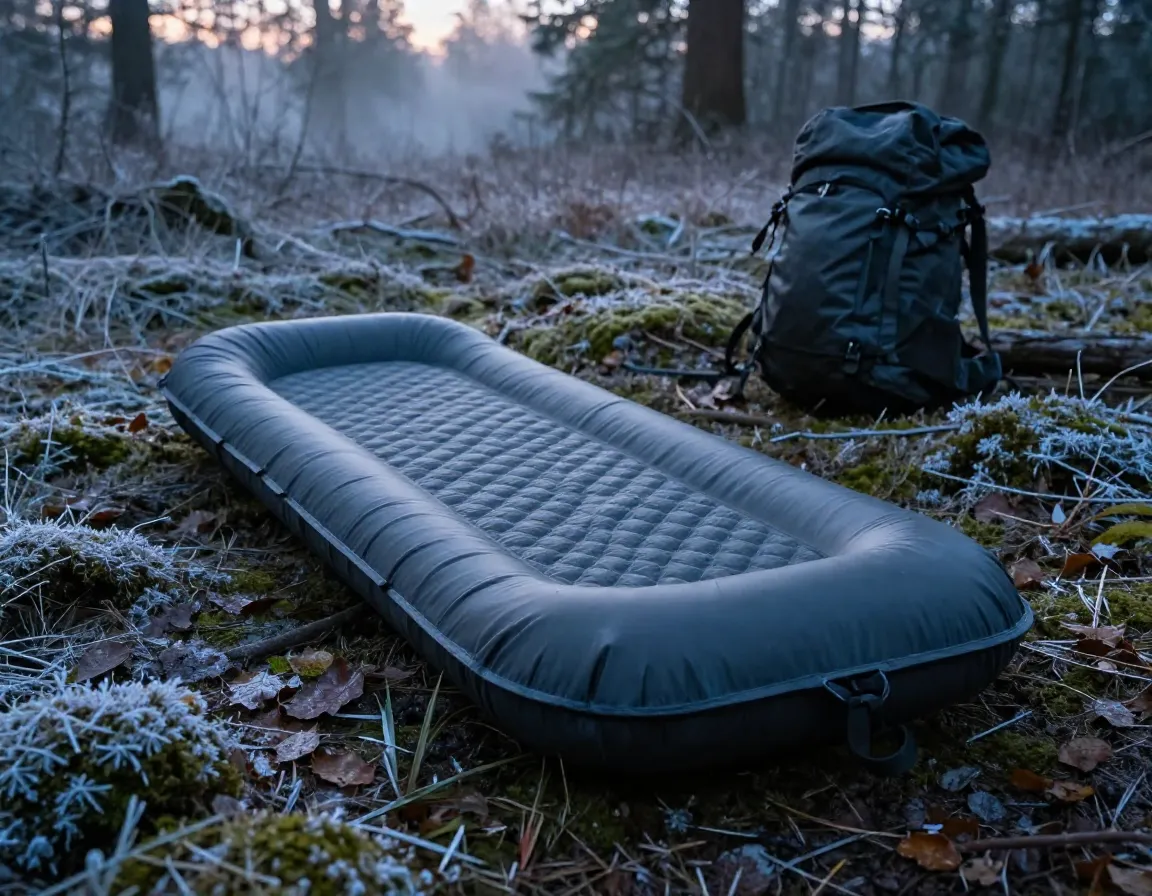
Here’s the item most beginners skip or cheap out on — and it’s the one they regret most. A sleeping pad isn’t just about comfort. It’s your primary insulation from the cold ground beneath you.
Why it’s game-changing: The ground conducts heat away from your body far faster than cold air does. Without a quality pad, even the best sleeping bag will leave you shivering.
R-Value Guide:
| R-Value | Best For |
|---|---|
| 1–2 | Summer camping only |
| 2–4 | Three-season backpacking |
| 4–6 | Cold weather and winter trips |
Inflatable sleeping pads with R-values of 4 or higher offer the best combination of warmth and packability. Foam pads are indestructible and cheap but bulky — a solid backup option.
Core essentials like the sleeping pad are consistently highlighted as non-negotiable by leading gear experts [1].
4. A Reliable Water Filtration System
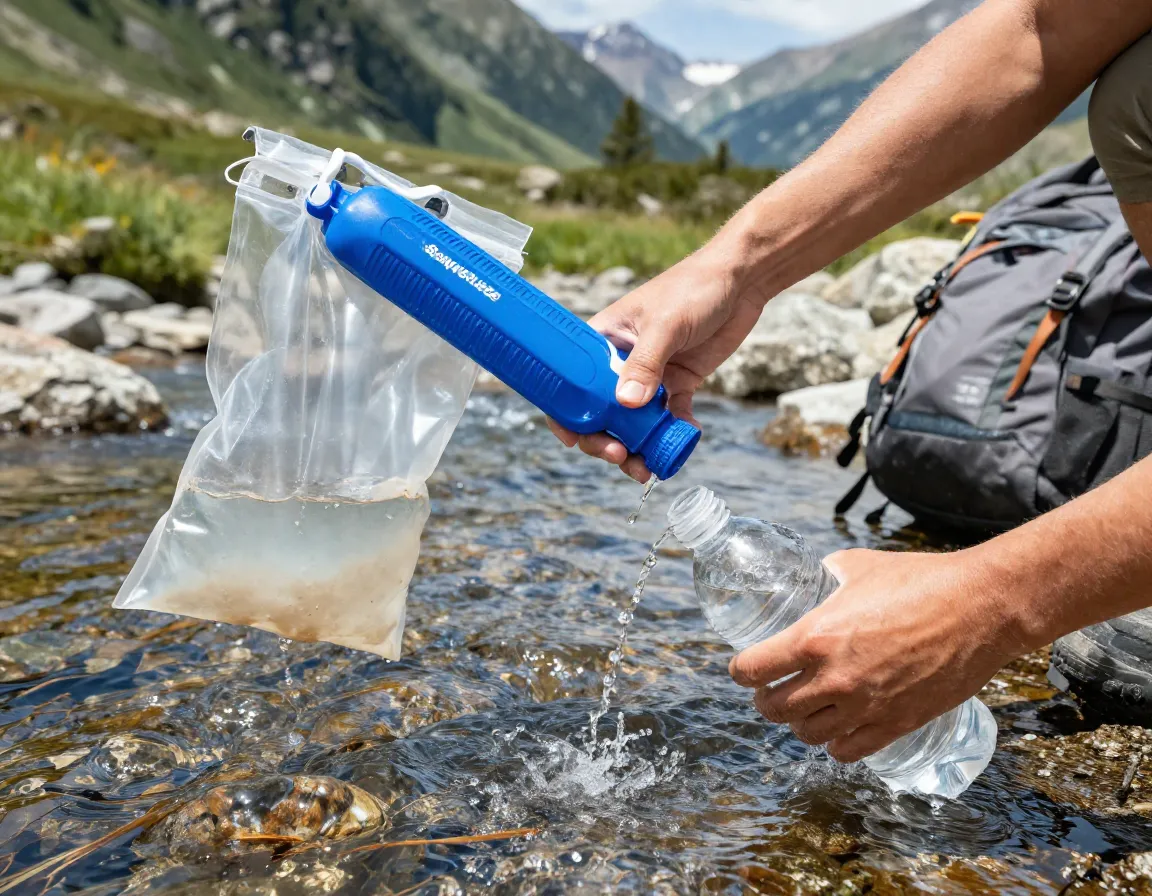
You can go days without food. You cannot go days without clean water. Dehydration and waterborne illness are two of the most common trip-enders in the backcountry.
Why it’s game-changing: Modern water filtration technology has made clean water access faster, lighter, and more reliable than ever before.
Your main options:
- Squeeze filters (like the Sawyer Squeeze) — Lightweight, fast, no chemicals, reusable. Best for most three-season trips.
- Pump filters — More reliable in silty water, but heavier and slower.
- UV purifiers — Kills viruses and bacteria instantly, but requires batteries and clear water.
- Chemical tablets — Ultralight backup option. Slow (30+ minutes) and leaves a taste.
- Gravity filters — Great for groups, hands-free filtration at camp.
💬 “Never rely on a single water treatment method for extended backcountry trips. Carry a backup.”
💧 A good rule: plan for 2–3 liters of water capacity and know your water sources before you hit the trail. Hydration containers are listed as a core essential in comprehensive backpacking checklists [1].
5. A Lightweight Backpacking Stove and Fuel System
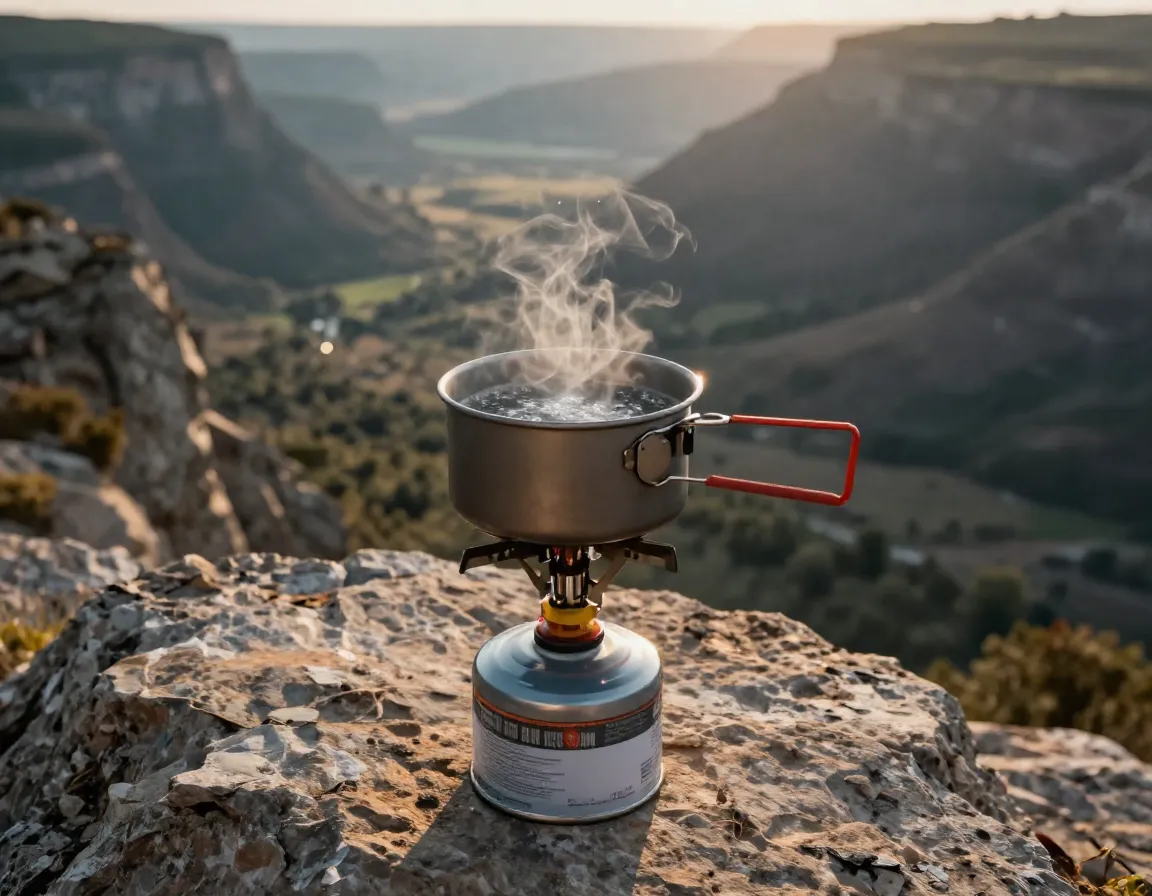
Hot food and hot drinks do more than just fuel your body — they restore morale on hard days. A warm meal at the end of a 15-mile day is genuinely life-changing.
Why it’s game-changing: Modern backpacking stoves weigh as little as 1 oz and boil water in under 3 minutes. There’s no reason to go cold on the trail anymore.
Stove Types at a Glance:
| Stove Type | Weight | Best For |
|---|---|---|
| Canister stove | 2–4 oz | Speed and convenience |
| Alcohol stove | 1–2 oz | Ultralight minimalists |
| Wood gasifier | 3–6 oz | Fuel-free, uses sticks |
| Integrated system | 8–15 oz | Wind resistance, efficiency |
🔥 Key considerations:
- Altitude performance: Canister stoves struggle above 10,000 ft in cold temps
- Wind resistance: Look for a built-in windscreen or bring one separately
- Fuel availability: Canister fuel isn’t available everywhere — plan ahead
Stove systems are highlighted as a core component of any serious backpacking kit [1].
6. A Navigation System (Digital + Analog)
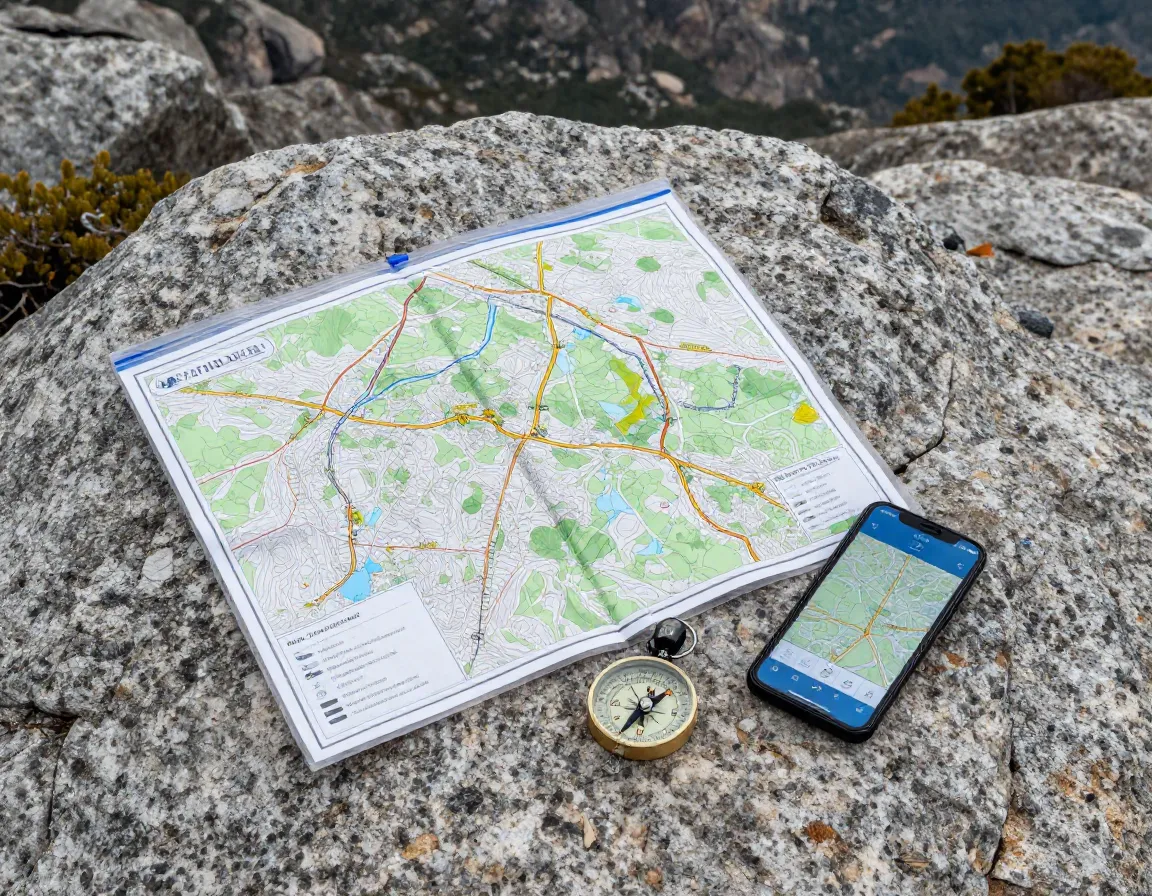
GPS apps have made navigation easier than ever — until your phone dies, gets wet, or loses signal in a deep canyon. That’s why the smartest backpackers always carry two navigation systems.
Why it’s game-changing: Navigation failures cause more backcountry emergencies than almost any other factor. A $15 compass and a printed topo map have saved lives that $500 GPS units couldn’t.
Navigation is explicitly listed as one of the “ten essentials” that every backcountry traveler should carry [2].
Your navigation toolkit should include:
- A downloaded offline map app (e.g., Gaia GPS, AllTrails Pro) — your primary tool
- A baseplate compass — lightweight, no batteries, never fails
- A printed topographic map of your specific route — waterproofed in a Ziploc bag
- A GPS device — optional but highly recommended for remote routes
🗺️ Pro tip: Before every trip, practice using your compass and topo map together. Navigation is a skill — don’t wait until you’re lost to learn it.
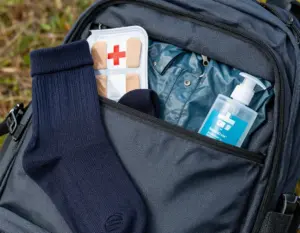
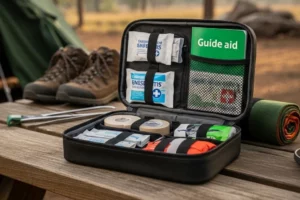
7. A Comprehensive, Customized First Aid Kit

A generic drugstore first aid kit is better than nothing. But a customized backcountry first aid kit is what actually keeps you safe when you’re hours from the nearest trailhead.
Why it’s game-changing: The injuries and illnesses that happen in the backcountry are different from everyday accidents. Your kit needs to reflect that.
First aid supplies are consistently named as one of the ten core essentials for any backcountry traveler [2].
Essential additions beyond the basic kit:
| Item | Purpose |
|---|---|
| Moleskin and blister treatment | Foot care on long days |
| SAM splint | Immobilize fractures and sprains |
| Irrigation syringe | Clean wounds effectively |
| Antihistamines | Allergic reactions, insect stings |
| Ibuprofen and acetaminophen | Pain and inflammation |
| Electrolyte packets | Treat dehydration and cramping |
| Emergency whistle | Signal for help |
| Tourniquet (CAT or SOFTT-W) | Severe bleeding control |
🩹 Strongly recommended: Take a Wilderness First Aid (WFA) or Wilderness First Responder (WFR) course. Gear without knowledge is only half the equation.
8. A High-Performance Headlamp with Extra Batteries
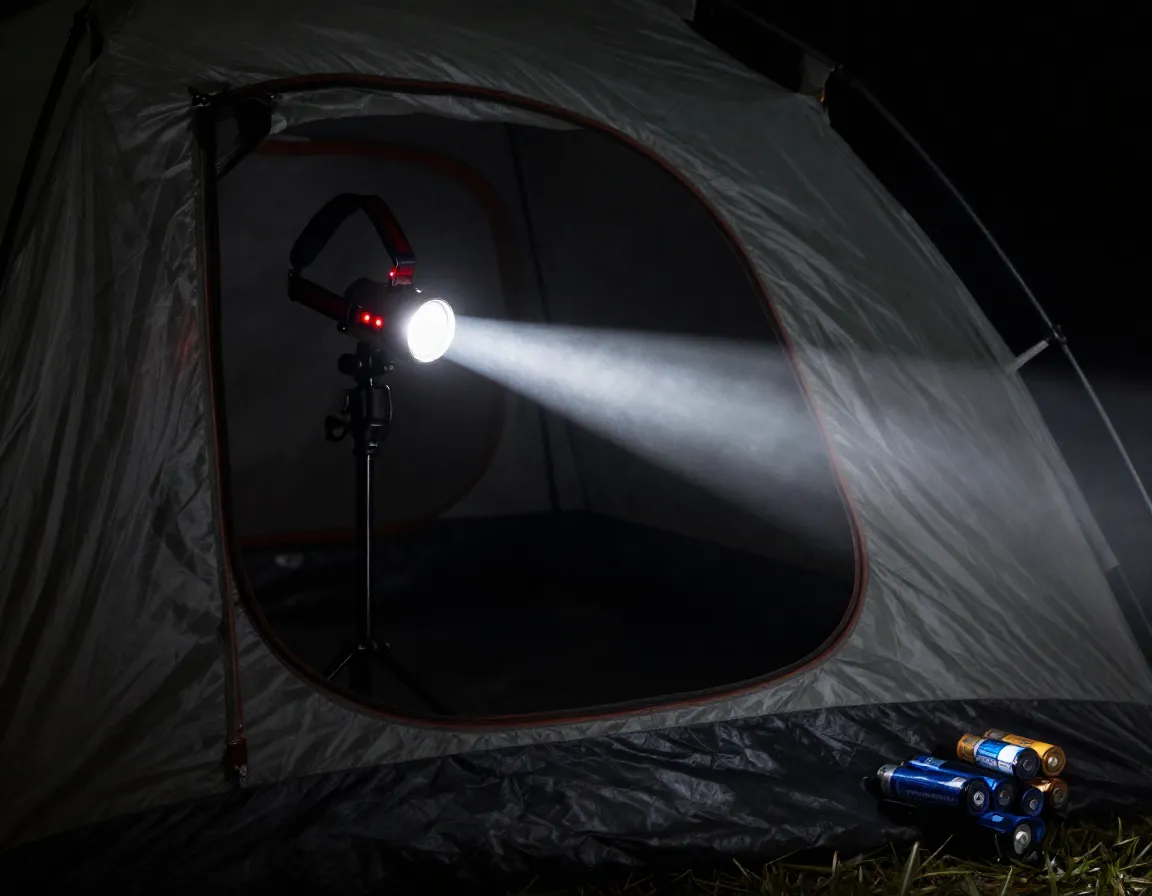
This one sounds obvious — until you’re fumbling around in complete darkness at 2 AM because your headlamp died. A quality headlamp is one of the most underrated items in any backpacking kit.
Why it’s game-changing: Illumination is one of the ten core essentials [2], yet most people buy the cheapest headlamp they can find and call it good. A high-performance headlamp changes how you move, cook, set up camp, and respond to emergencies.
What to look for in a backpacking headlamp:
- ⚡ Lumens: 300+ for trail use; 500+ for technical terrain
- 🔋 Battery life: Look for 50+ hours on low mode
- 💧 Water resistance: IPX4 minimum (splashproof); IPX7 for wet climates
- 🔴 Red light mode: Preserves night vision and doesn’t disturb others
- ⚖️ Weight: Under 3 oz is ideal
Always pack spare batteries or a USB charging cable depending on your headlamp type. Cold temperatures drain batteries faster than you expect — keep spares in a warm inner pocket.
💬 “A dead headlamp at night in the backcountry isn’t an inconvenience — it’s a genuine safety emergency.”
How These 8 Items Work Together as a System
The real power of the 8 Game-Changing Items for Your Ultimate Backpacking Packing Guide isn’t in any single item — it’s in how they function as an integrated system.
Think of it this way:
- Your tent and sleeping bag/pad combo form your sleep system — the foundation of recovery.
- Your stove and water filter form your nutrition and hydration system — the fuel that keeps you moving.
- Your navigation tools and headlamp form your safety and orientation system — what keeps you found and visible.
- Your first aid kit is your emergency response system — the backstop for when things go wrong.
When all eight items are chosen thoughtfully and work together, your pack becomes a high-performance survival and comfort machine rather than a random collection of stuff.
Quick Reference: The 8 Items at a Glance
| # | Item | Priority Level | Avg. Weight |
|---|---|---|---|
| 1 | Ultralight four-season tent | 🔴 Critical | 2–3 lbs |
| 2 | Temperature-rated sleeping bag/quilt | 🔴 Critical | 1–2 lbs |
| 3 | High-R-value sleeping pad | 🔴 Critical | 12–24 oz |
| 4 | Water filtration system | 🔴 Critical | 2–6 oz |
| 5 | Backpacking stove + fuel | 🟡 High | 4–16 oz |
| 6 | Navigation system (digital + analog) | 🔴 Critical | 4–8 oz |
| 7 | Customized first aid kit | 🔴 Critical | 8–16 oz |
| 8 | High-performance headlamp | 🔴 Critical | 2–4 oz |
Common Packing Mistakes to Avoid in 2026
Even with the best gear list, there are traps that catch both beginners and experienced backpackers alike. Here are the most common ones to watch out for this season:
- Overpacking “just in case” items — Every extra pound adds up. If you haven’t used it in three trips, leave it home.
- Ignoring weather forecasts — Check the 10-day forecast AND historical weather data for your destination.
- Skipping gear testing before the trip — Never take brand-new gear on a long trip without testing it first.
- Underestimating water needs — Most people drink far less than they should on the trail. Aim for 0.5L per hour of hiking.
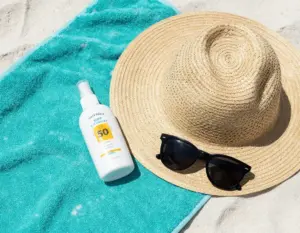
- Forgetting sun protection — Sun protection (sunscreen, sunglasses, hat) is one of the ten essentials [2] and one of the most forgotten.
- Not packing a repair kit — Duct tape, tent pole repair sleeves, and gear patches weigh almost nothing and can save a trip.
Conclusion: Your Next Steps Toward a Better Backpacking Kit
The 8 Game-Changing Items for Your Ultimate Backpacking Packing Guide aren’t just a list — they’re a philosophy. They represent a shift from packing out of habit to packing with intention. Every item on this list earns its place by solving a real problem, saving real weight, or preventing a real emergency.
Here’s how to move forward:
- Audit your current gear against this list. Identify gaps and weak spots.
- Prioritize the critical items first — shelter, sleep system, water, and navigation before anything else.
- Test your gear on a short overnight trip before committing to a longer adventure.
- Take a wilderness first aid course to back up your first aid kit with real skills.
- Build your kit incrementally — you don’t have to buy everything at once. Start with the highest-priority items and upgrade over time.
The trail is waiting. Pack smart, hike light, and go further than you ever thought possible. 🏔️
References
[1] Backpacking Checklist – https://www.backcountry.com/bulletin/backpacking-checklist
[2] Best Backpacking Gear List – https://www.outdoorgearlab.com/topics/camping-and-hiking/best-backpacking-gear-list