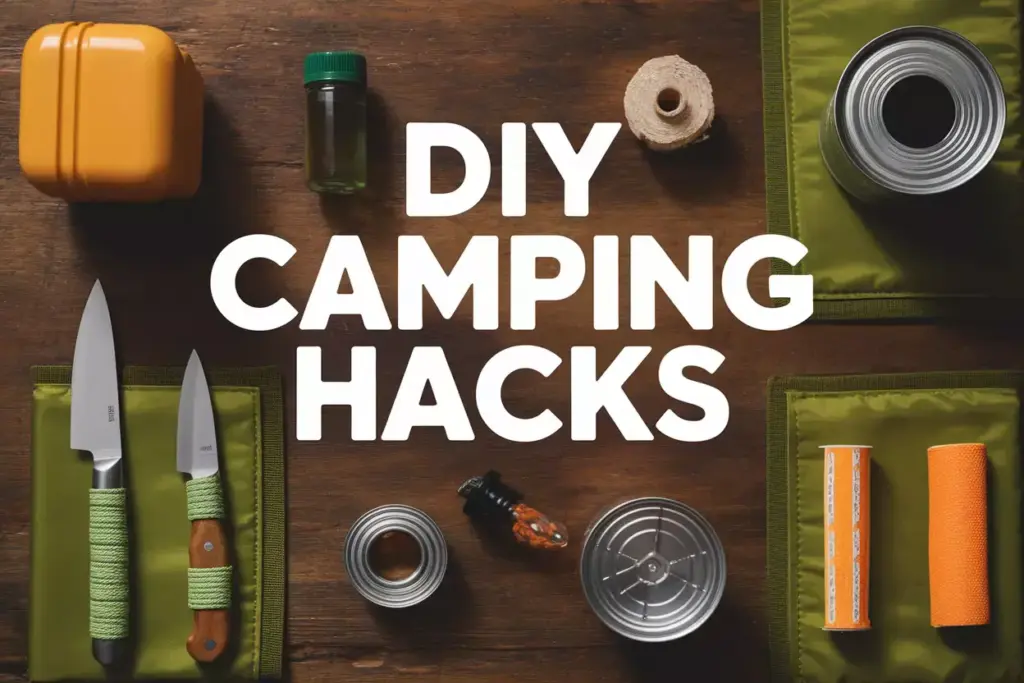
7 DIY Camping Gear Hacks To Save Money & Customize Your Kit
Every seasoned camper knows the sting of sticker shock when browsing outdoor gear catalogs. Premium camping equipment can cost thousands of dollars, leaving many outdoor enthusiasts wondering if they need to choose between their love of nature and their bank account. The good news? You don’t have to break the budget to enjoy quality camping experiences. These 7 DIY camping gear hacks to save money & customize your kit will transform your outdoor adventures while keeping your wallet happy.
Whether you’re a weekend warrior or a backcountry veteran, customizing your gear through smart DIY modifications offers benefits beyond just saving money. Personalized equipment performs better for your specific needs, weighs less than bulky store-bought alternatives, and gives you the satisfaction of creating something uniquely yours.
Key Takeaways
- DIY camping modifications can save 50-80% compared to purchasing premium outdoor gear
- Simple household items like duct tape, paracord, and repurposed containers create effective camping solutions
- Customized gear performs better than one-size-fits-all commercial products for individual camping styles
- Basic crafting skills and common tools are sufficient for most camping gear modifications
- Weight reduction and space efficiency improve significantly with targeted DIY customizations
Essential DIY Camping Gear Modifications for Budget-Conscious Adventurers
Creating your own camping solutions requires understanding which modifications provide the biggest impact for your investment of time and materials. The following hacks focus on high-use items that typically carry premium price tags in outdoor retail stores.
1. Transform Everyday Items Into Multi-Purpose Camping Tools
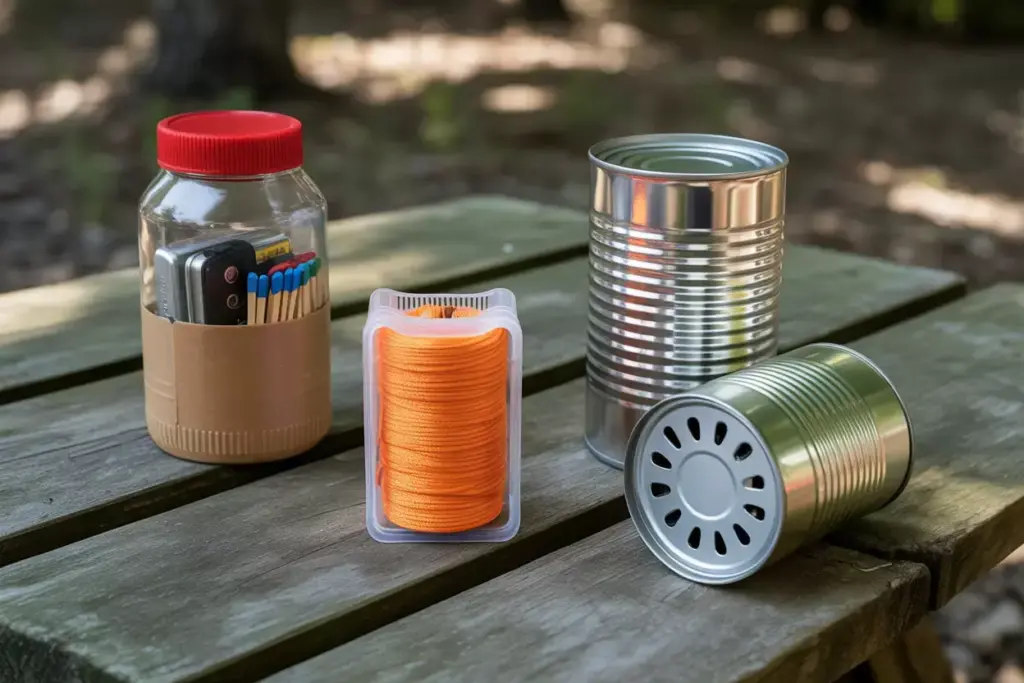
Repurposing household items represents the fastest path to building a functional camping kit without spending hundreds on specialized gear. A simple plastic peanut butter jar becomes a waterproof storage container for matches, electronics, or first aid supplies. The wide mouth design makes access easier than expensive outdoor containers, while the clear plastic lets you identify contents quickly.
Dental floss containers excel as compact cordage dispensers. Fill them with 25 feet of paracord for emergency repairs, clotheslines, or gear securing. The built-in cutting edge eliminates the need to carry separate cutting tools for light cordage work.
Transform aluminum cans into efficient alcohol stoves that rival commercial models costing $30-50. Cut two cans to create a double-wall design, drill fuel holes, and you have a lightweight stove that burns denatured alcohol cleanly. Total cost: under $2 plus fuel.
“The best camping gear is the gear you actually carry and use. DIY modifications ensure every item serves multiple purposes.” – Outdoor Skills Institute
2. Master Paracord Modifications for Enhanced Gear Functionality
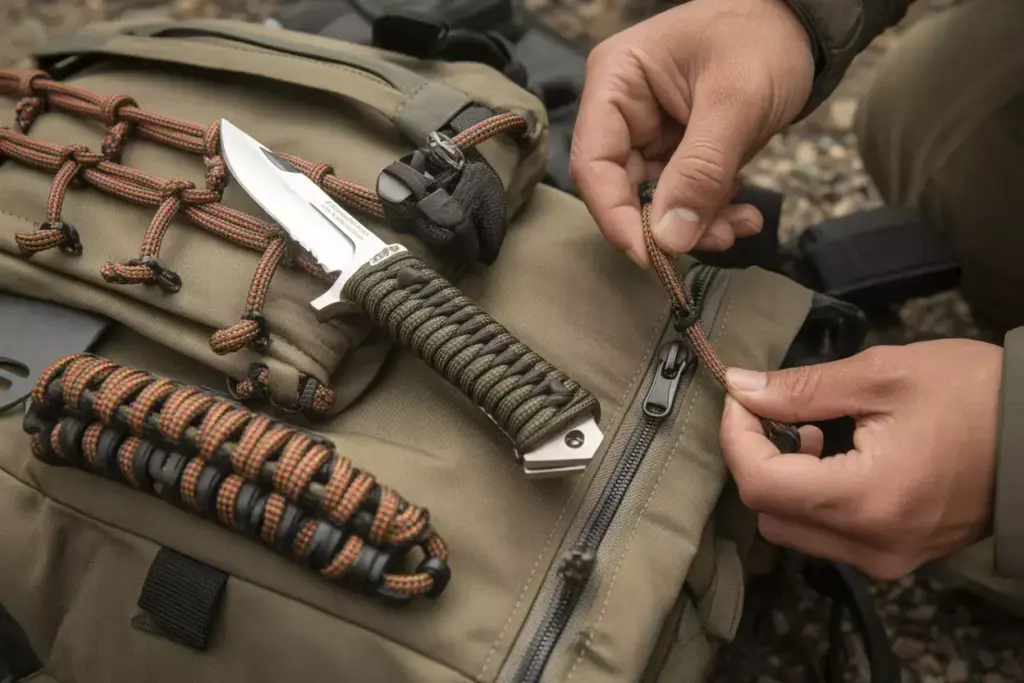
Paracord represents the ultimate camping modification material due to its strength, versatility, and low cost. A 100-foot bundle costs less than $15 but enables dozens of gear improvements that would cost hundreds if purchased separately.
Knife handle wrapping improves grip security while adding emergency cordage to your most essential tool. Use a cobra weave pattern to wrap 8-10 feet of paracord around any knife handle. This modification prevents drops during food prep and provides instant access to strong rope for emergency situations.
Create custom gear lashings by replacing manufacturer straps with paracord alternatives. Sleeping bag compression straps, tent guy-lines, and pack external attachments all benefit from paracord upgrades. The cordage adjusts to exact lengths needed while weighing significantly less than commercial alternatives.
Paracord zipper pulls solve the common problem of broken or inadequate zipper tabs on camping gear. Thread 4-inch sections through existing zipper mechanisms to create easy-grip pulls that won’t break in cold weather. This simple modification extends gear life while improving functionality.
3. Create Custom Fire Starting Solutions Using Common Materials

Reliable fire starting often determines camping trip success, yet commercial fire starters cost $1-2 per use. DIY alternatives provide better performance at a fraction of the cost while using materials most households already contain.
Dryer lint and petroleum jelly create excellent fire starters when combined in small containers. Mix thoroughly and store in pill bottles or film canisters. Each container provides 8-10 uses and ignites easily even in damp conditions. Total cost per fire: approximately 10 cents.
Cotton balls soaked in melted candle wax burn for 3-4 minutes each, providing ample time to establish larger fires. Prepare 20-30 balls before trips and store in waterproof containers. These starters work reliably in wind and moisture while costing less than commercial alternatives.
Transform cardboard egg cartons into extended-burn fire starters by filling each cup with sawdust and melted wax. Each cup burns for 10-15 minutes, perfect for establishing fires with damp wood. A dozen-count carton provides enough starters for multiple camping trips.
Advanced Money-Saving Camping Gear Hacks for Experienced DIY Enthusiasts
Once you master basic modifications, advanced techniques can replace expensive specialized equipment with custom solutions that perform better for your specific camping style.
4. Engineer Lightweight Shelter Modifications and Repairs
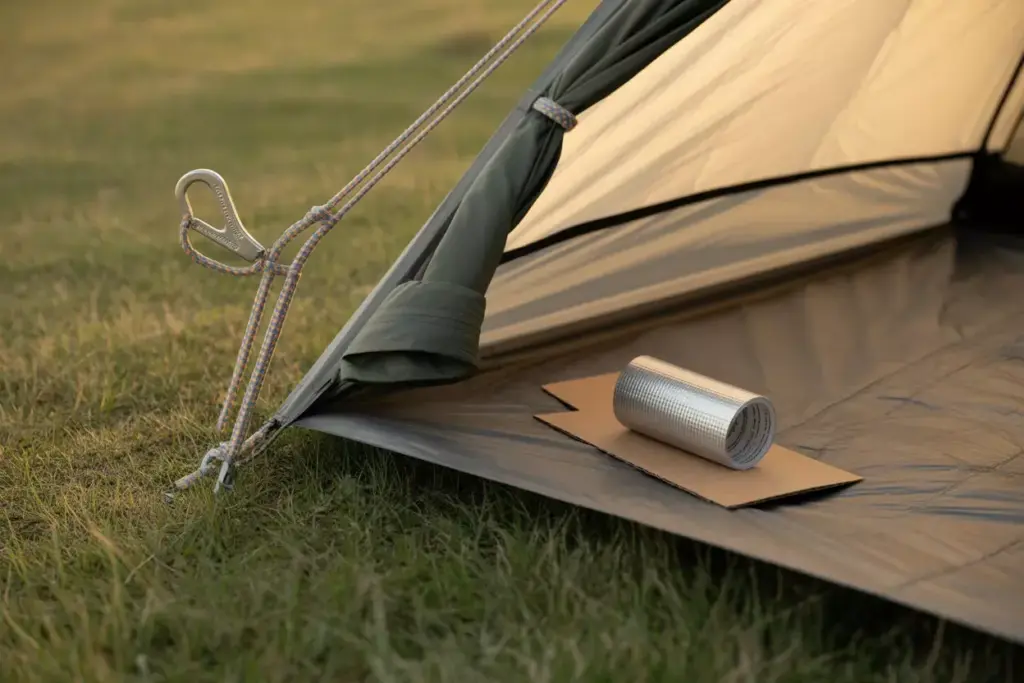
Tent modifications often provide the biggest weight and cost savings opportunities. Replace heavy manufacturer stakes with titanium or aluminum alternatives you can craft from hardware store materials. Bend 6-inch sections of 3/16″ aluminum rod into Y-shapes for ultralight stakes that hold better than plastic versions.
Duct tape repairs extend tent life indefinitely while maintaining waterproof integrity. Carry a credit card-sized piece of cardboard wrapped with 10 feet of quality duct tape for emergency repairs. This combination fixes tears, reinforces stress points, and weighs less than 2 ounces.
Create custom guy-line systems using reflective paracord and mini carabiners. The reflective properties prevent nighttime trips while the adjustable system handles varying weather conditions better than fixed-length alternatives. Total cost: $8 versus $40 for commercial systems.
Footprint alternatives save significant weight and money compared to manufacturer options. Use Polycro film (window insulation plastic) cut to tent dimensions for a groundsheet that weighs 2-3 ounces versus 8-12 ounces for commercial footprints. Cost: $5 versus $50-80.
5. Develop Custom Food Storage and Cooking Solutions

Food storage modifications address weight, space, and cost concerns simultaneously. Replace heavy commercial containers with lightweight alternatives that provide better organization and protection.
Freezer bag cooking eliminates the need for pots and reduces cleanup time significantly. Pre-measure ingredients into freezer bags, add boiling water at camp, and eat directly from the bag. This technique works for pasta, rice dishes, oatmeal, and dehydrated meals while weighing 90% less than traditional cookware.
Transform wide-mouth jars into efficient spice and seasoning dispensers. Drill holes in lids to create shaker tops, or use plastic wrap under lids for spillproof storage. Pre-mixed seasoning blends in small jars add variety to camp meals without carrying multiple containers.
Bear rope systems protect food storage using techniques that outperform expensive bear canisters in many situations. Master the PCT bear hang method using 50 feet of paracord and a stuff sack. This approach works in any environment with suitable trees while weighing significantly less than rigid containers.
6. Craft Personalized Sleep System Enhancements
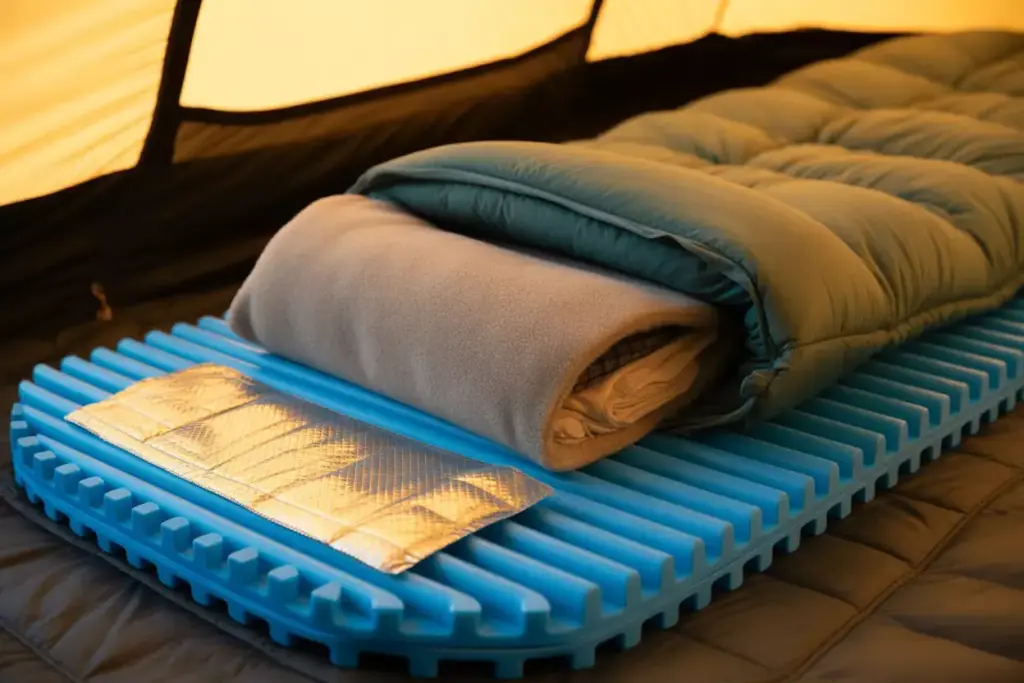
Sleep system modifications dramatically improve comfort while reducing weight and bulk. Focus on areas where commercial solutions often fall short for individual body types and sleeping preferences.
Closed-cell foam customization creates personalized sleeping pads at a fraction of commercial costs. Cut blue foam padding to exact torso length rather than full-body coverage, reducing weight by 60% while maintaining insulation where needed most. Add reflective emergency blanket material to one side for enhanced warmth retention.
Pillow alternatives eliminate bulky inflatable pillows while providing superior comfort. Stuff extra clothes into a fleece pillowcase sewn from fabric scraps. This approach uses items already in your pack while creating a pillow that doesn’t deflate or puncture.
Create custom quilt systems by modifying sleeping bags for three-season use. Remove zippers and excess material from old sleeping bags to create lightweight quilts that attach to sleeping pads. This modification reduces weight by 30-40% while improving temperature regulation.
7. Build Efficient Water Treatment and Storage Systems
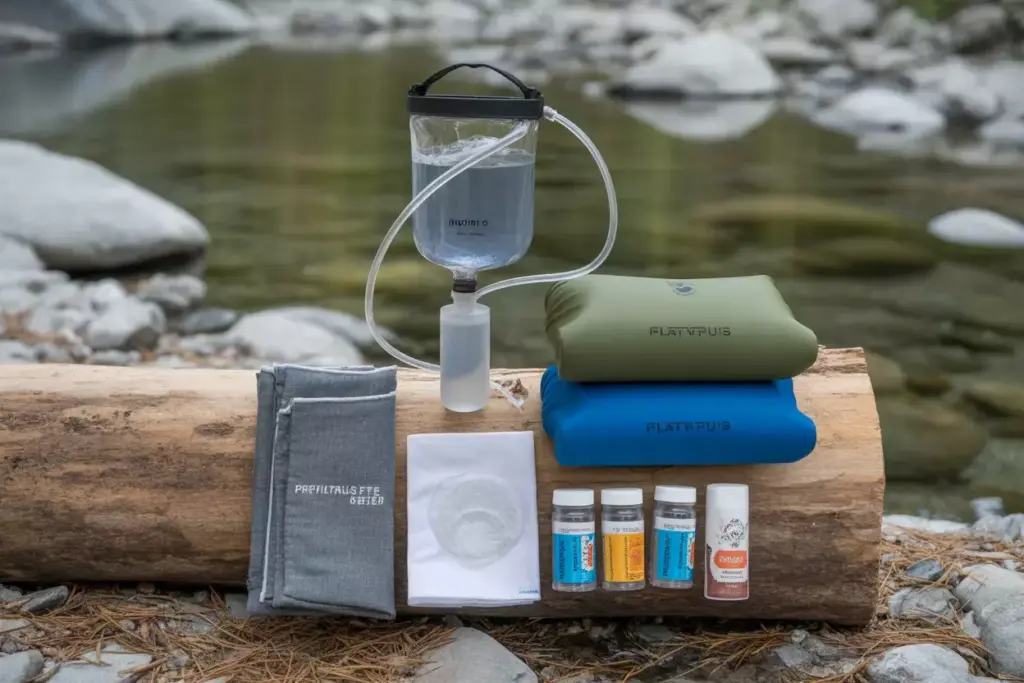
Water management represents a critical camping need where DIY solutions often outperform expensive commercial alternatives. Focus on reliability, weight reduction, and multi-functionality.
Gravity filter systems provide hands-free water treatment using components costing 70% less than commercial units. Combine a quality filter element with a hydration bladder and tubing to create a system that processes water while you perform other camp tasks. Total cost: $25 versus $100+ for brand-name systems.
Water storage optimization uses collapsible containers and smart distribution to reduce weight while ensuring adequate supplies. Replace single large containers with multiple smaller ones for better weight distribution and redundancy. Platypus-style bladders cost less and pack smaller than rigid bottles while holding more water.
Purification tablet enhancement extends tablet effectiveness using simple techniques. Pre-filter cloudy water through coffee filters or bandanas to improve tablet contact with contaminants. Add vitamin C tablets after treatment time to neutralize chemical taste while adding beneficial nutrients.
Implementation Strategies for DIY Camping Gear Hacks To Save Money & Customize Your Kit
Successfully implementing these modifications requires planning and gradual adoption rather than attempting everything simultaneously. Start with high-impact, low-risk modifications before progressing to more complex projects.
Testing protocols ensure modifications perform reliably before depending on them during actual camping trips. Test each modification in controlled environments like backyards or local parks before trusting them in remote locations. This approach identifies potential issues while solutions remain easily accessible.
Material sourcing focuses on quality components that provide long-term value rather than cheapest available options. Hardware stores, military surplus outlets, and online retailers often provide better materials than outdoor specialty stores at significantly lower costs.
Skill development progresses naturally through repeated practice with simple modifications before attempting complex projects. Master basic techniques like knot tying, measuring, and cutting before progressing to advanced modifications requiring specialized tools or techniques.
Cost Analysis and Long-Term Savings Potential
The financial benefits of DIY camping gear hacks to save money & customize your kit compound over time as modifications replace expensive commercial alternatives and extend existing gear life.
| Gear Category | Commercial Cost | DIY Cost | Savings | Time Investment |
|---|---|---|---|---|
| Fire Starters | $20-30 | $3-5 | 80-85% | 30 minutes |
| Tent Repairs | $50-100 | $5-10 | 85-90% | 45 minutes |
| Water Filtration | $80-150 | $20-35 | 70-75% | 60 minutes |
| Sleep System | $200-400 | $40-80 | 75-80% | 2-3 hours |
| Storage Solutions | $100-200 | $15-30 | 80-85% | 1-2 hours |
Annual savings for active campers typically range from $300-800 when implementing comprehensive DIY modifications. These savings fund additional camping trips or higher-quality base gear that benefits from modification rather than replacement.
Skill transferability means techniques learned for camping modifications apply to other outdoor activities, home improvement projects, and emergency preparedness. This knowledge multiplies the value of time invested in learning DIY techniques.
Conclusion
These 7 DIY camping gear hacks to save money & customize your kit represent just the beginning of what’s possible when creativity meets outdoor enthusiasm. By focusing on multi-purpose modifications, quality materials, and gradual skill development, any camper can build a personalized gear system that outperforms expensive commercial alternatives.
Start with simple modifications like paracord improvements and homemade fire starters before progressing to complex projects. Test everything thoroughly in safe environments, and don’t hesitate to iterate on designs until they meet your specific needs.
The combination of significant cost savings, improved functionality, and personal satisfaction makes DIY camping modifications one of the most rewarding aspects of outdoor recreation. Your customized gear will serve you better than off-the-shelf alternatives while keeping more money in your pocket for actual camping adventures.
Take action today by choosing one modification from this list and gathering the necessary materials. Start building your custom camping kit that reflects your unique outdoor style while proving that the best gear doesn’t always come with the highest price tag.