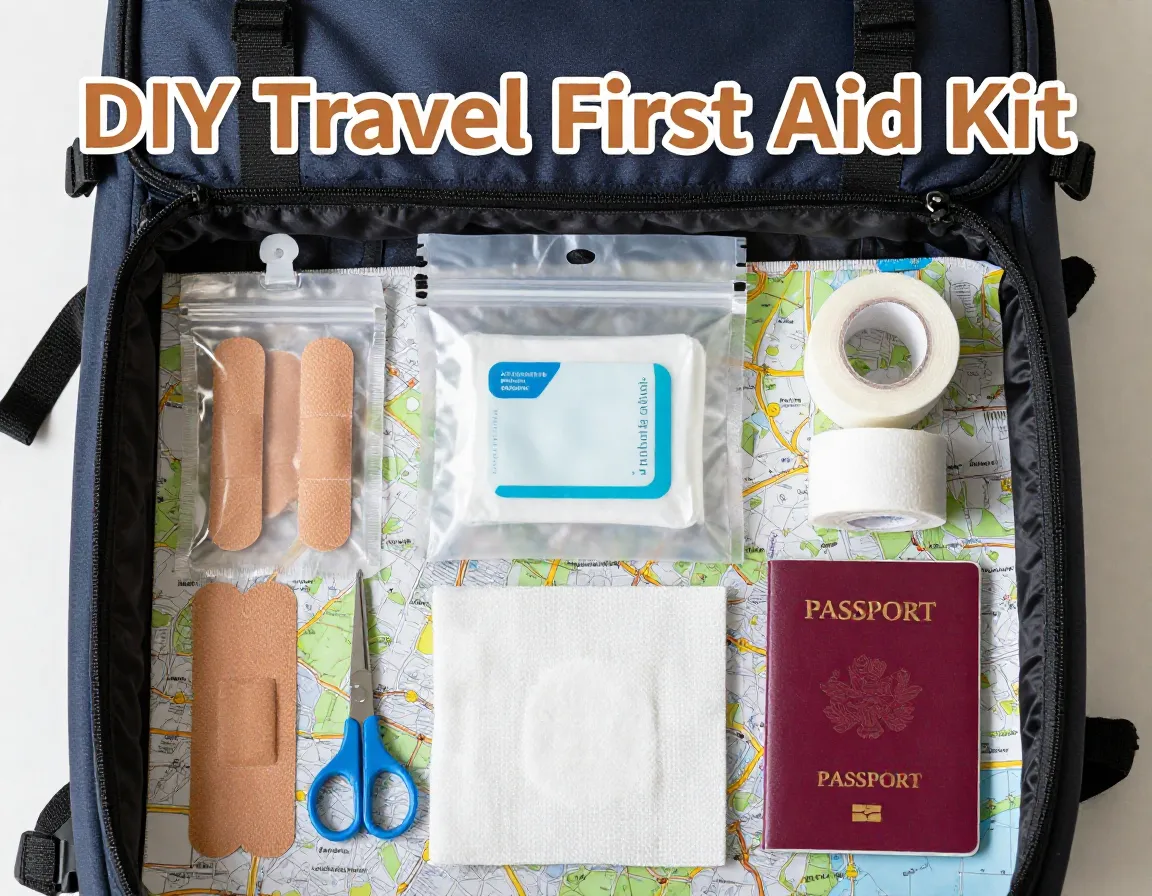
9 Lifesaving Items for Your DIY Travel Essentials First Aid Kit
Imagine you’re three days into a remote hiking trail in Southeast Asia when your travel companion twists their ankle on a loose rock — and the nearest clinic is six hours away. 🌍 This exact scenario is why building your own DIY travel first aid kit is one of the smartest decisions any traveler can make in 2026. The 9 Lifesaving Items for Your DIY Travel Essentials First Aid Kit covered in this guide are not just nice-to-haves — they are the difference between a minor inconvenience and a genuine medical emergency. Whether you’re a budget backpacker, a family vacationer, or a seasoned adventure traveler, having the right supplies on hand gives you confidence, safety, and peace of mind every single trip.
Disclosure: This post contains affiliate links. As an Amazon Associate, we earn from qualifying purchases, and at no extra cost to you.
Key Takeaways
- 🩹 A well-stocked DIY travel first aid kit can handle the majority of common travel injuries — cuts, sprains, blisters, and infections — without needing a clinic.
- 🌡️ Antiseptic wipes and antibacterial ointment are critically underrated yet among the most important items to pack.
- 💊 Always carry prescription medications in their original labeled bottles with copies of your prescriptions.
- 🥾 Moleskin is consistently rated by experienced travelers as the single most-used item in any travel kit.
- ✈️ Tailor your kit to your destination — a beach resort kit looks very different from a wilderness trekking kit.
Why Every Traveler Needs the 9 Lifesaving Items for Your DIY Travel Essentials First Aid Kit
Before we dive into the specific items, it’s worth understanding why building your own kit beats buying a pre-packaged one off the shelf.
Pre-made kits often include:
- Items you’ll never use
- Substandard quality supplies
- Missing items specific to your travel style
A DIY kit lets you:
- Choose quality brands you trust
- Customize for your destination (jungle, beach, city, mountains)
- Keep the kit compact and lightweight
- Save money by buying only what you need
💬 “The best first aid kit is the one you actually have with you — not the one sitting at home because it was too bulky to pack.”
According to the Red Cross, a travel first aid kit should be compact enough to carry in your daypack but comprehensive enough to handle the most common travel injuries [1]. The goal is preparedness, not paranoia.
What Makes a First Aid Kit “Travel-Ready”?
A travel-ready kit should be:
| Feature | Why It Matters |
|---|---|
| Lightweight | Won’t weigh down your pack |
| Waterproof container | Protects supplies in rain or humid climates |
| Clearly organized | Fast access in an emergency |
| Customized to destination | Right tools for the right environment |
| TSA-compliant | No confiscated items at security |
Now let’s get into the 9 lifesaving items themselves.
The Complete Guide to 9 Lifesaving Items for Your DIY Travel Essentials First Aid Kit
1. Bandages in Various Sizes
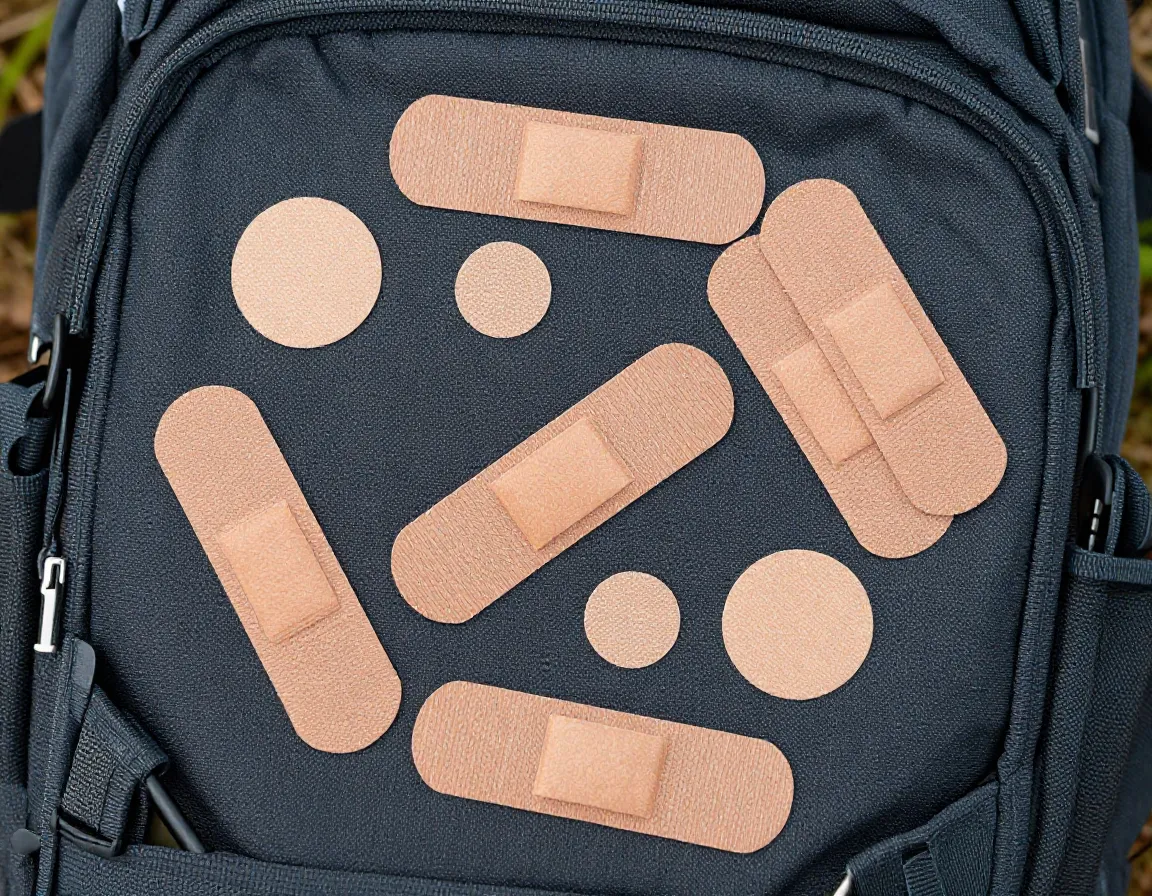
Adhesive bandages are the workhorses of any travel first aid kit. They are, without question, absolutely essential for treating the most common travel injuries — cuts, grazes, and scrapes [1]. When you’re exploring cobblestone streets, hiking rocky trails, or cooking in a hostel kitchen, minor cuts happen constantly.
What to pack:
- Small bandages (for fingertip cuts)
- Medium bandages (standard wounds)
- Large bandages (knee and elbow scrapes)
- Small round bandages (perfect for insect bites) [2]
- Butterfly closures (for deeper cuts that need edges held together)
🩹 Pro tip: Pack at least 20–30 bandages total. They’re featherlight and you’ll go through them faster than you expect, especially on multi-week trips.
Why size variety matters: A bandage that’s too small won’t protect the wound. A bandage that’s too large wastes supplies and doesn’t adhere properly. Having assorted sizes means you’re covered for almost any minor injury.
2. Antiseptic Wipes
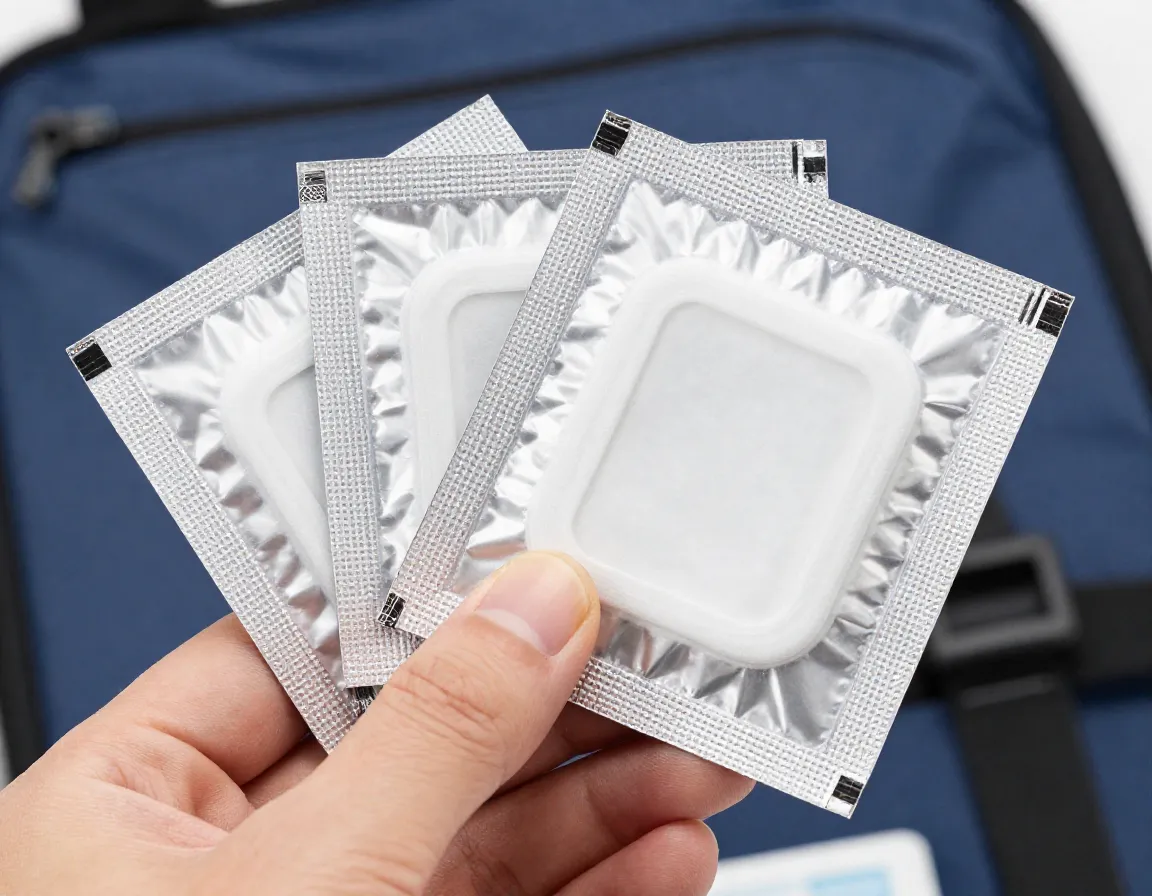
Here’s the item that surprises most first-time kit builders: antiseptic wipes are critically important, yet consistently overlooked [2][3]. In many travel destinations — especially in developing countries or outdoor environments — the surfaces you touch and the environments you move through are full of bacteria.
When you get a cut or scrape on the road, the first step is always cleaning the wound before covering it. Without antiseptic wipes, you risk sealing bacteria inside the wound, which can lead to serious infection.
💬 “Antiseptic wipes are one of those items that seem minor until you’re in a situation where you desperately need them.” — Nomadic Matt [3]
What to look for:
- Individually wrapped foil packets (stay sterile longer)
- Alcohol-based or iodine-based formulas
- Gentle enough for use on children’s skin if traveling with family
Pack at least 15–20 individual wipe packets per person. They weigh almost nothing and take up minimal space.
3. Sterile Gauze Pads
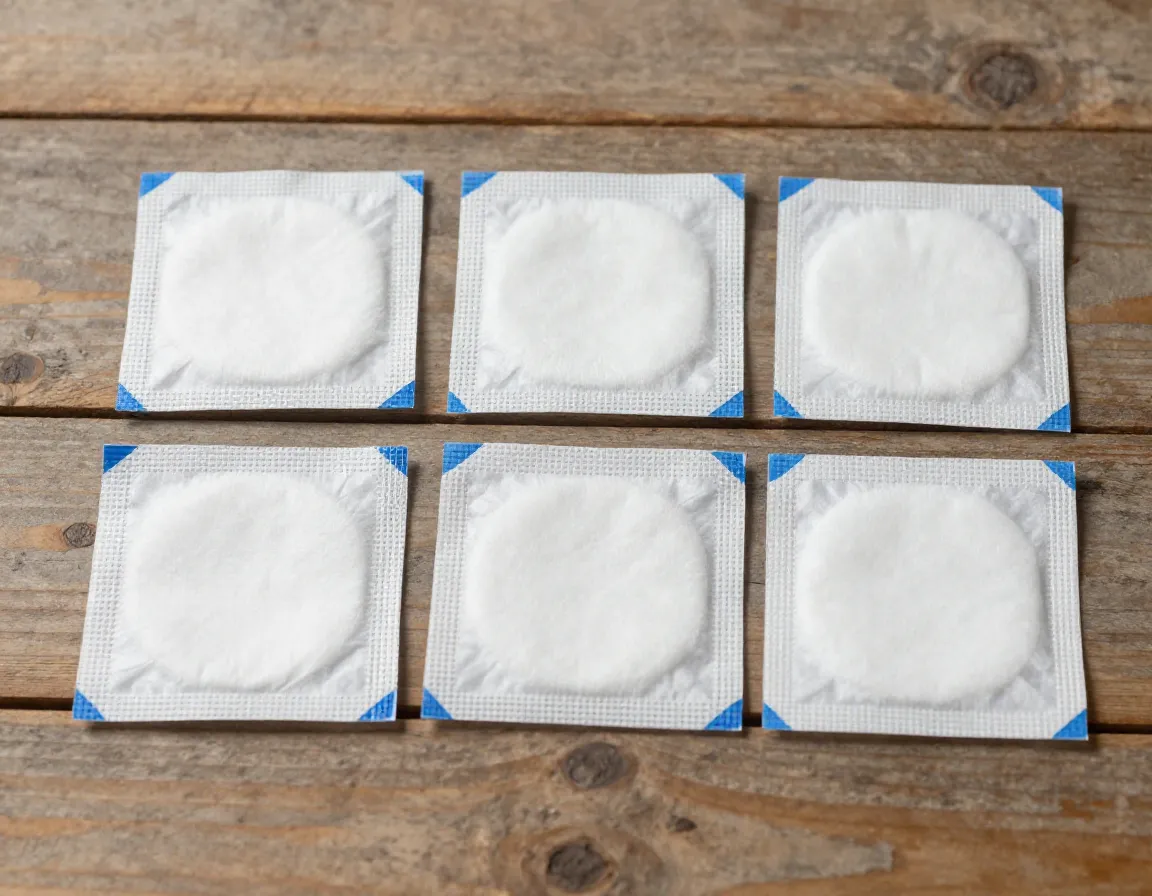
For injuries that are too large for a standard adhesive bandage — think road rash, deep abrasions, or burns — sterile gauze pads are your go-to solution [2][3]. They absorb blood and fluid, protect the wound from contamination, and can be cut to size.
Recommended packing list:
- 2×2 inch pads (smaller wounds)
- 4×4 inch pads (larger wounds)
- At least 6–10 pads of each size [4]
Gauze pads also serve a secondary purpose: they can be used to apply pressure to a bleeding wound when you need both hands free. They’re versatile, inexpensive, and essential.
⚠️ Important: Always use sterile gauze pads, not regular cotton. Sterile pads are individually packaged to prevent contamination before use.
4. Medical or Surgical Tape
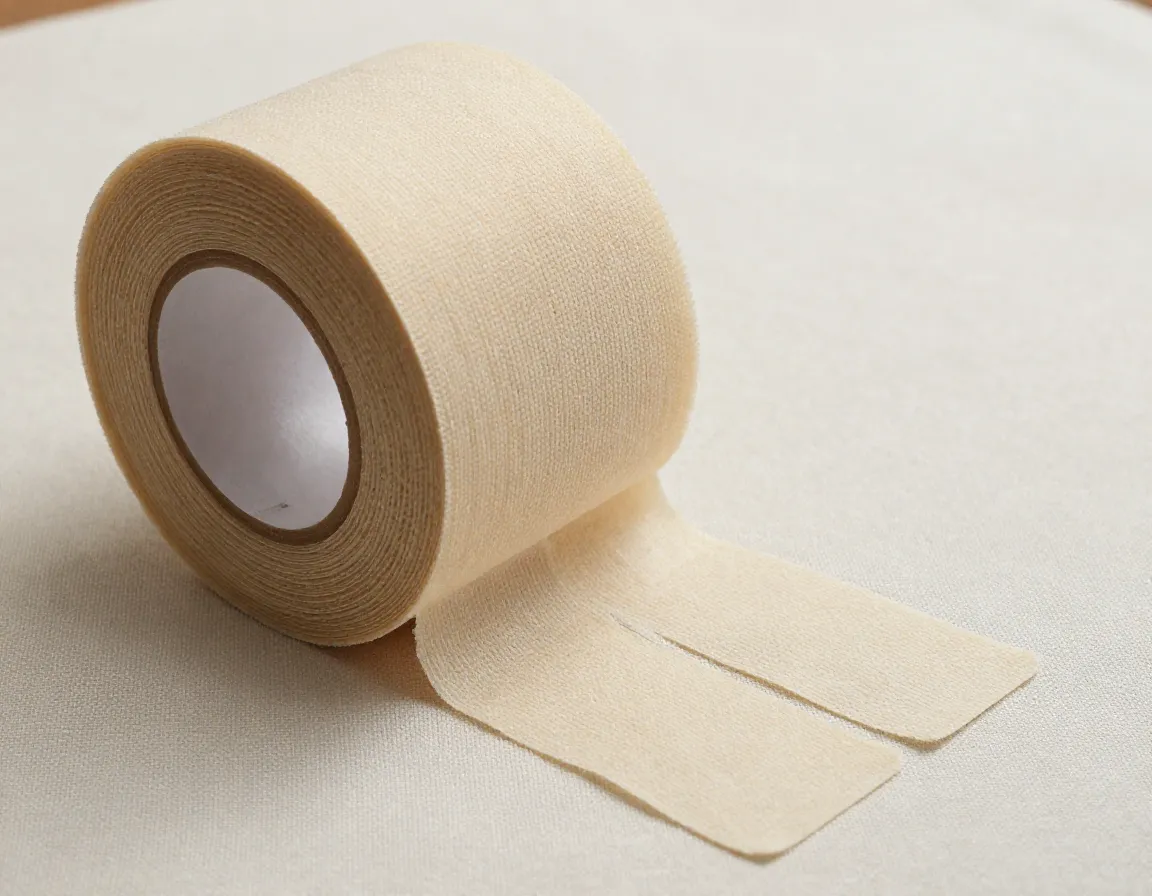
Gauze pads are useless without something to hold them in place. Medical tape — also called surgical tape — is a fundamental component of every travel first aid kit [1][2]. It secures bandages and gauze to wounds, keeps dressings in place during movement, and can even be used as a temporary blister prevention tool.
Types of medical tape to consider:
| Type | Best For |
|---|---|
| Paper tape | Sensitive skin, easy to tear |
| Cloth tape | High-movement areas like joints |
| Waterproof tape | Wet environments, swimming |
| Kinesiology tape | Joint support, muscle injuries |
Pack one small roll of cloth or waterproof tape as your primary option. It’s stronger and more versatile for active travel.
🩹 Pro tip: Pre-cut several strips and stick them to the inside of your kit container before you leave. In an emergency, fumbling with tape rolls wastes precious time.
5. Antibacterial Ointment (Neosporin or Equivalent)
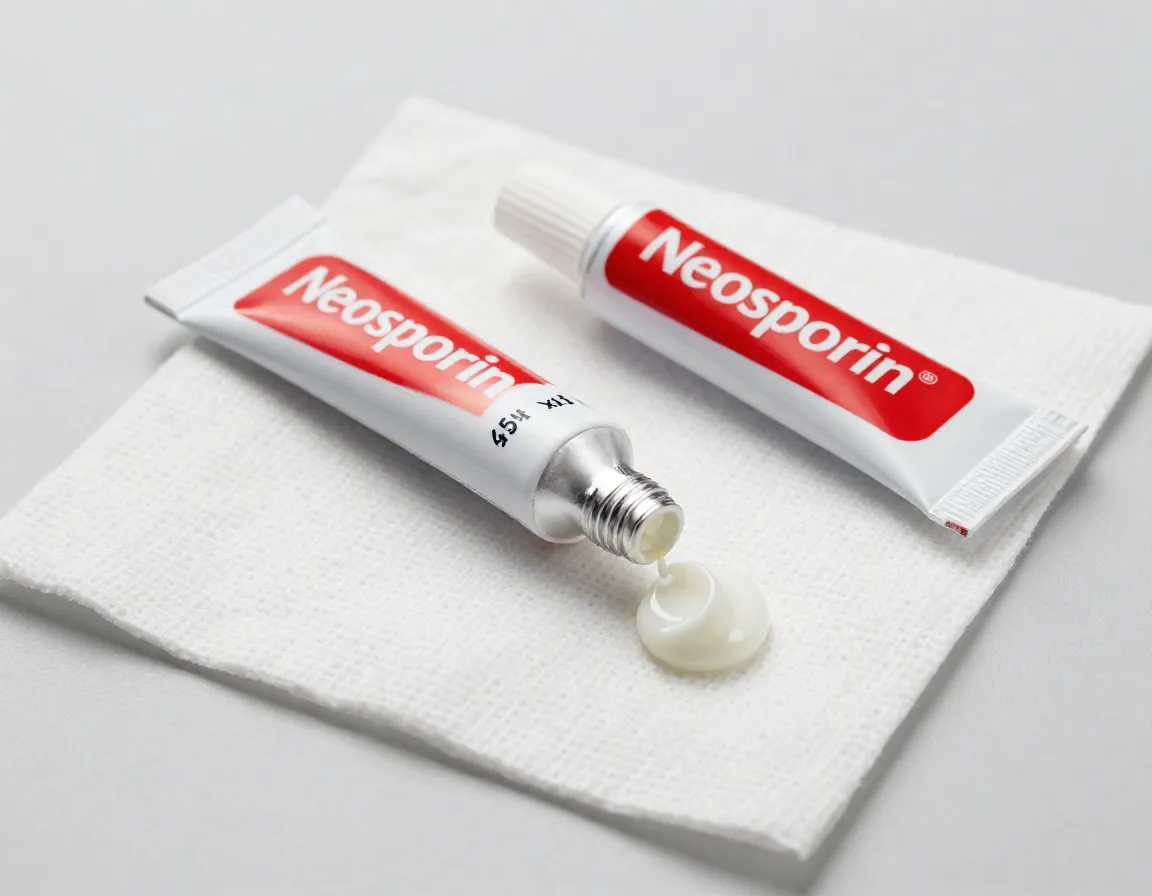
Antibacterial ointment is one of the most powerful infection-prevention tools in your travel kit [2]. Applied to minor cuts, abrasions, rashes, and superficial burns after cleaning with antiseptic wipes, it creates a protective barrier that keeps bacteria out and promotes faster healing.
Travel experts note that antibacterial ointment “can make a huge difference” when you’re traveling in environments that are less than sanitary — which, honestly, describes most adventure travel destinations [2].
How to use it correctly:
- Clean the wound with an antiseptic wipe
- Apply a thin layer of antibacterial ointment
- Cover with a sterile gauze pad or adhesive bandage
- Change the dressing daily or when it becomes wet or dirty
Packing tip: A small travel-size tube (0.5 oz) is TSA-compliant and lasts for months of travel. Brands like Neosporin, Polysporin, or generic triple antibiotic ointment all work well.
6. Scissors and Tweezers
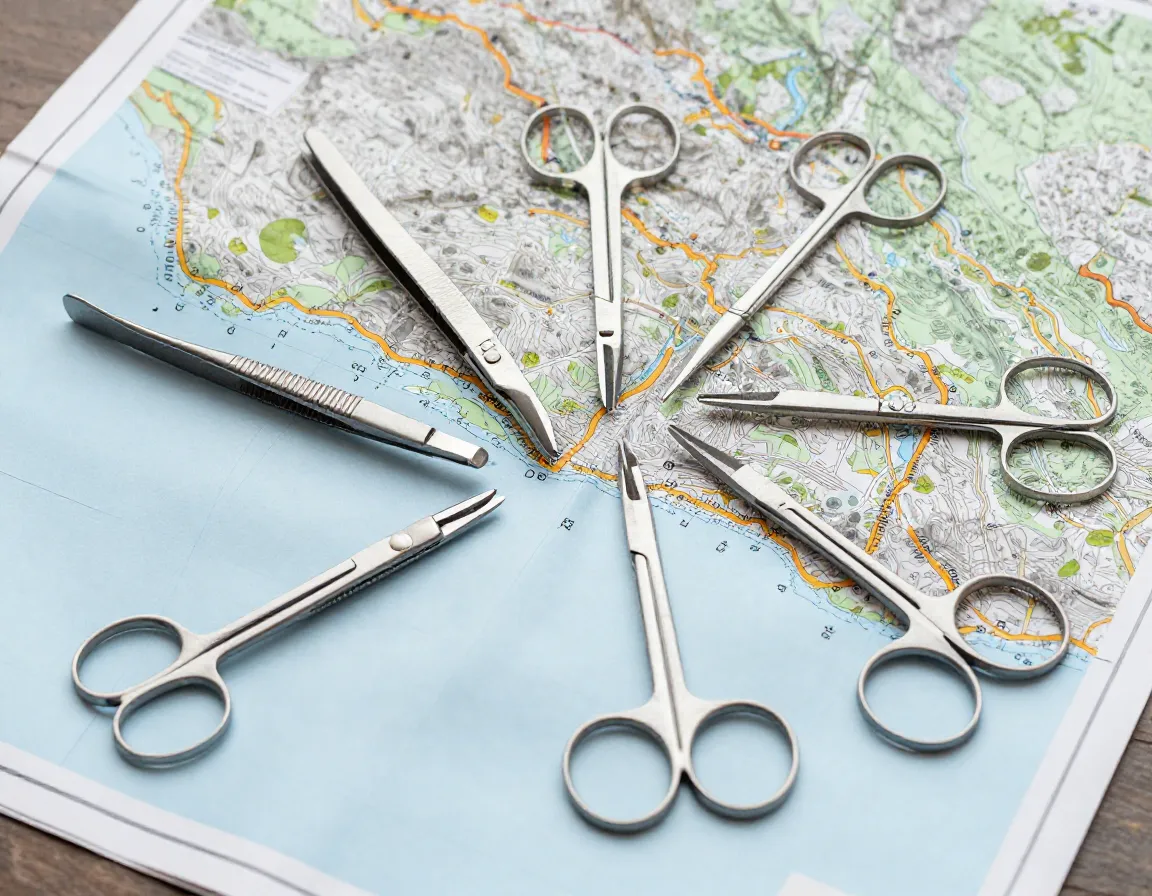
These two tools are small, lightweight, and absolutely indispensable for a functional travel first aid kit [1][2].
Small scissors allow you to:
- Cut medical tape to the right length
- Trim gauze pads to fit irregular wounds
- Cut clothing away from an injury if needed
Surgical tweezers are essential for:
- Removing splinters
- Extracting thorns or cactus spines
- Tick removal (a critical skill for hikers)
- Removing debris from wounds
💬 “Never skip the tweezers. A tick left embedded in skin for more than 24 hours significantly increases the risk of disease transmission.” — Red Cross [1]
🔧 What to buy: Look for a compact stainless steel set that includes both pointed-tip tweezers and small medical scissors. Many travel kits sell these as a combined tool set. Check TSA rules — scissors with blades under 4 inches are generally allowed in carry-on bags.
7. Elastic Bandage Wraps
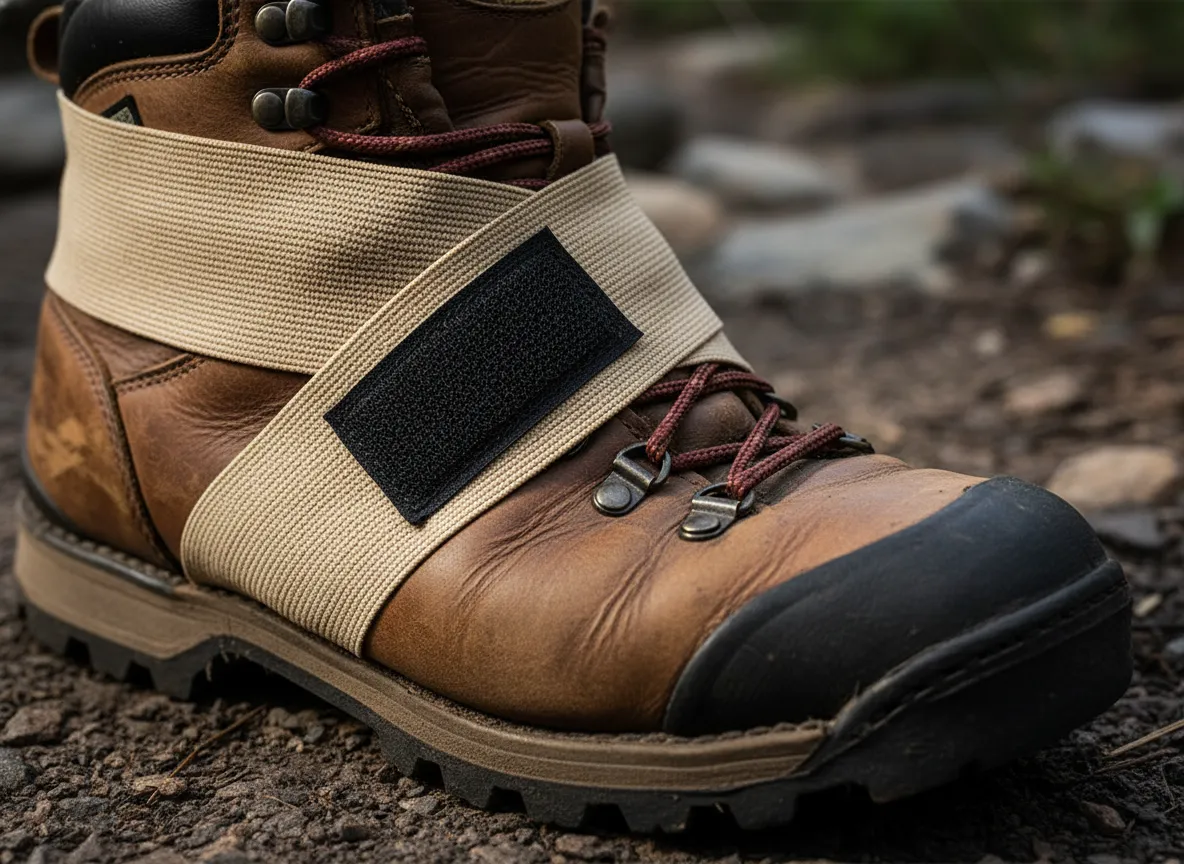
Sprained ankles are one of the most common travel injuries, especially for hikers, trekkers, and adventure travelers. Elastic bandage wraps (like ACE bandages) are the standard treatment for compressing and supporting sprained joints [1][2].
The Red Cross specifically recommends including elastic bandage wraps in your travel kit, particularly if you’re traveling far from medical help [1].
Why Velcro closures beat metal clips:
- Metal clips can come loose during activity
- Velcro is faster to apply in an emergency
- Velcro closures don’t snag on clothing or other kit items
How to use an elastic bandage for a sprained ankle:
- Start at the ball of the foot
- Wrap in a figure-eight pattern around the ankle
- Continue up the lower leg
- Secure with Velcro or medical tape
- Check circulation — the wrap should be snug but not cutting off blood flow
Pack one 3-inch and one 4-inch elastic wrap. They compress small and weigh very little.
8. Pain Relief Medications
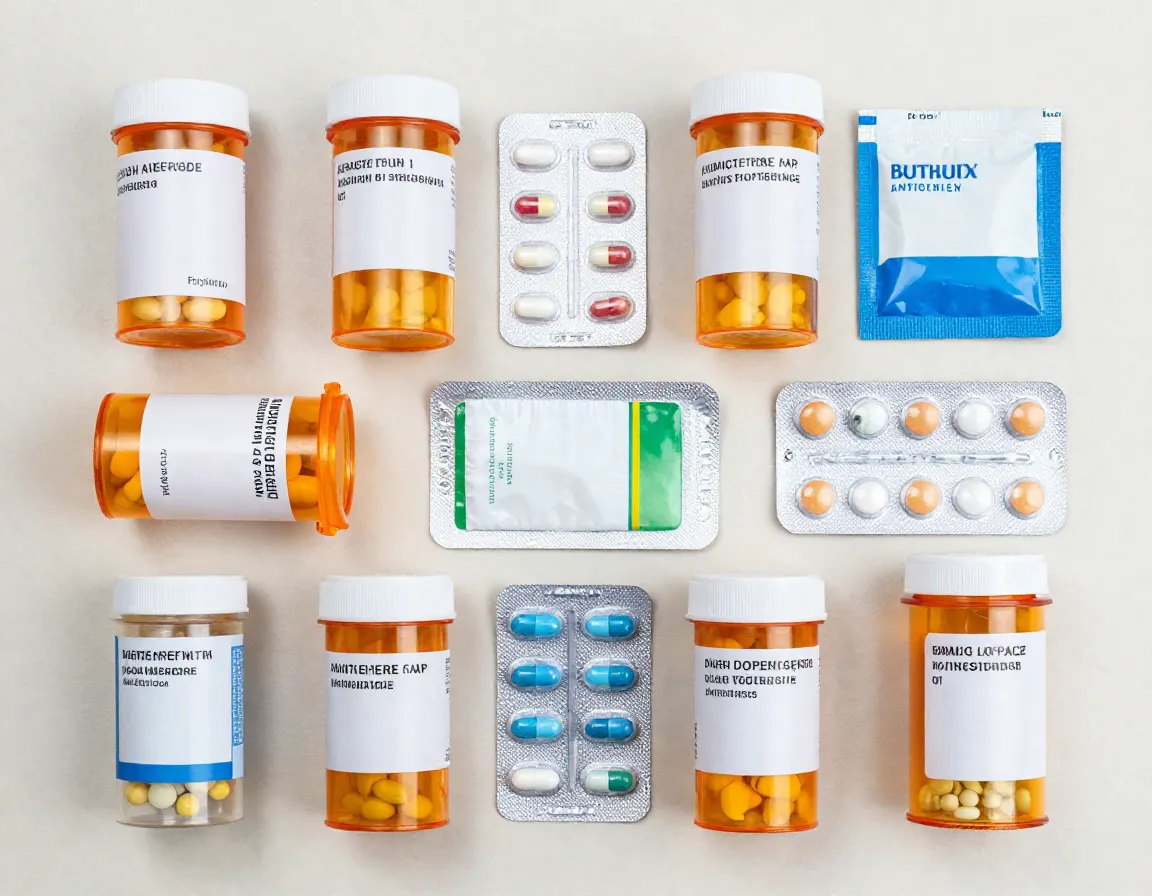
A travel first aid kit without pain relief medications is like a car without an engine. Headaches, muscle aches, fever, inflammation, and allergic reactions are all common travel experiences — and having the right medications on hand means you don’t have to cut your adventure short [2][3].
Core medications to include:
| Medication | Use Case |
|---|---|
| Ibuprofen | Pain, fever, inflammation |
| Aspirin | Pain, fever, heart attack first aid |
| Antihistamines | Allergic reactions, insect bites, hay fever |
| Antidiarrheal (Imodium) | Traveler’s diarrhea |
| Antacids | Stomach upset from unfamiliar foods |
💊 Critical rule for prescription medications: Always carry your prescription medications in their original labeled bottles with a copy of your prescription [2][3]. Many countries have strict customs rules about medications, and unlabeled pills can cause serious problems at border crossings.
Dosage reminder: Pack enough medication for your entire trip plus a buffer of 5–7 extra days in case of delays or lost luggage.
9. Moleskin
Last but absolutely not least: moleskin. If you ask experienced long-distance travelers what item they use most from their first aid kit, moleskin consistently tops the list [2].
Blisters are the number one complaint among hikers, trekkers, and city walkers who cover serious ground on foot. A single blister left untreated can sideline you for days. Moleskin prevents blisters from forming and treats existing ones.
💬 “Moleskin is the item I use most in my travel first aid kit. Nothing else comes close for keeping your feet happy on long travel days.” — The Broke Backpacker [2]
How to use moleskin:
For prevention:
- Apply moleskin to hot spots (areas of friction) before a blister forms
- Common areas: heels, ball of foot, little toe
For treatment:
- Cut moleskin into a donut shape
- Place around (not over) the blister
- This relieves pressure while protecting the blister
What to pack: One sheet of moleskin and one sheet of moleskin with adhesive backing. Brands like Dr. Scholl’s are widely available and highly effective.
How to Organize and Store Your DIY Travel First Aid Kit
Now that you know the 9 lifesaving items for your DIY travel essentials first aid kit, let’s talk about how to put it all together.
Choosing the Right Container
Options by travel style:
- 🎒 Backpackers: Small waterproof zippered pouch (fits in top pocket of backpack)
- ✈️ Frequent flyers: Rigid hard-shell case (protects supplies from compression)
- 🏕️ Campers/hikers: Dry bag or waterproof roll-top pouch
- 👨👩👧 Family travelers: Medium-sized soft case with multiple compartments
Organization Tips
- Group items by category: wound care, medications, tools
- Use small labeled ziplock bags inside the main pouch
- Place most-used items (bandages, wipes) at the top
- Include a small laminated card listing contents and basic first aid instructions
- Check and restock after every trip
Weight and Size Targets
| Kit Type | Target Weight | Target Size |
|---|---|---|
| Solo backpacker | Under 200g | Fits in palm of hand |
| Couple/duo | 200–350g | Small book size |
| Family of 4 | 350–600g | Medium pouch |
Destination-Specific Additions to Consider
The 9 core items above cover the vast majority of travel scenarios. But depending on where you’re going, you may want to add a few destination-specific items:
🌴 Tropical/Beach destinations:
- Sunburn relief gel (aloe vera)
- Water purification tablets
- Oral rehydration salts (for heat exhaustion)
🏔️ Mountain/Wilderness destinations:
- Emergency space blanket
- SAM splint (for fractures)
- Altitude sickness medication (consult your doctor)
🌍 Developing world travel:
- Water purification tablets
- Oral rehydration salts
- Malaria prophylaxis (prescription required)
🏙️ Urban/City travel:
- Blister treatment (city walking is brutal on feet)
- Hand sanitizer
- Basic cold and flu medications
Conclusion
Building your own DIY travel essentials first aid kit doesn’t have to be complicated or expensive. The 9 lifesaving items for your DIY travel essentials first aid kit — bandages, antiseptic wipes, sterile gauze pads, medical tape, antibacterial ointment, scissors and tweezers, elastic bandage wraps, pain relief medications, and moleskin — form a complete, compact, and capable system that handles the vast majority of travel health situations.
In 2026, with more travelers heading to remote destinations than ever before, being prepared isn’t optional — it’s responsible travel.
✅ Your Action Plan
- Buy a small waterproof pouch as your kit container this week.
- Purchase the 9 items listed in this guide — most are available at any pharmacy for under $50 total.
- Customize your kit based on your specific destination and travel style.
- Check expiration dates on all medications and sterile supplies before every trip.
- Take a basic first aid course — knowing how to use your kit is just as important as having it. The Red Cross offers excellent travel-focused first aid training [1].
💬 “The time to prepare your first aid kit is before you need it — not after.”
Stay safe, travel smart, and enjoy every adventure with the confidence that comes from being genuinely prepared. 🌍🩹
References
[1] Travel First Aid Kit Essentials – https://www.redcross.org/take-a-class/resources/articles/travel-first-aid-kit-essentials
[2] Wilderness Survival – https://www.thebrokebackpacker.com/wilderness-survival/
[3] First Aid Kit – https://www.nomadicmatt.com/travel-blogs/first-aid-kit/
[4] Vacation Ready First Aid Kit Essentials – https://www.chkd.org/patient-family-resources/our-blog/vacation-ready-first-aid-kit-essentials/