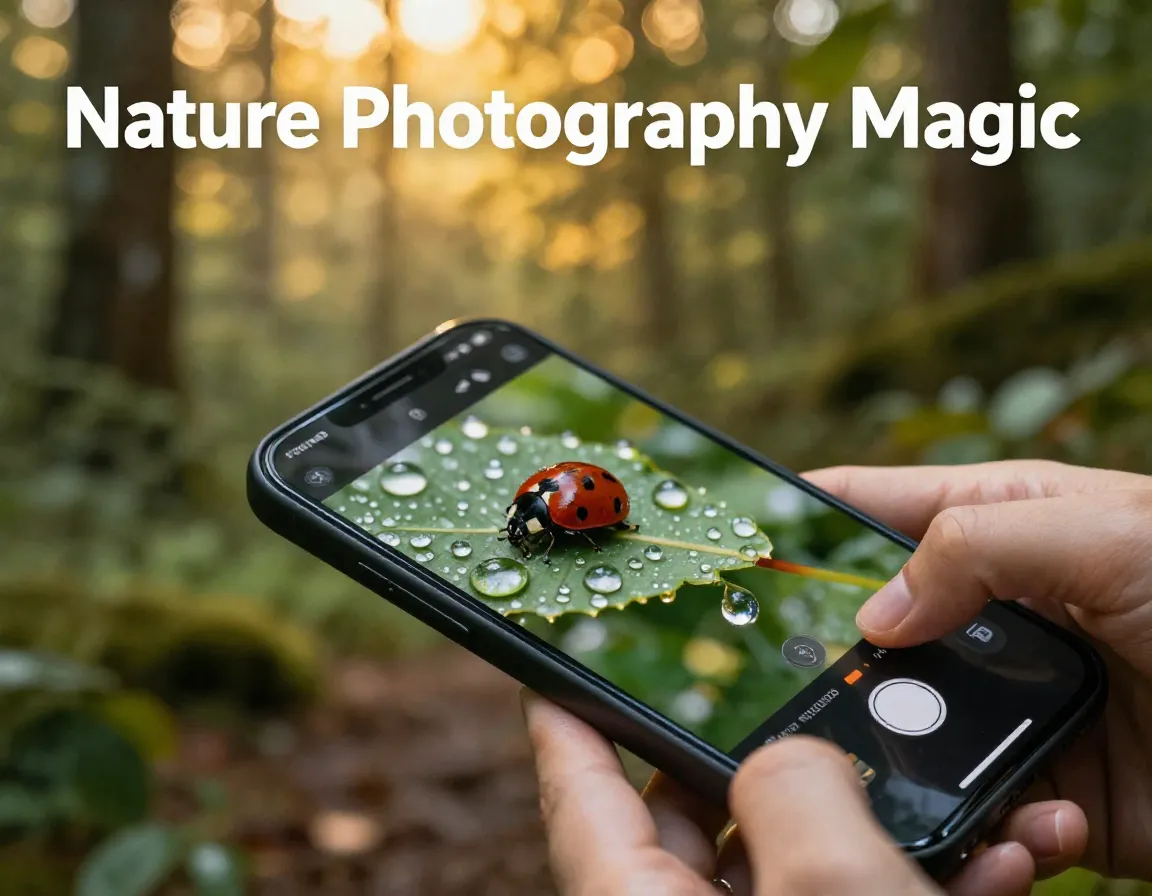
8 Ways to Take Cool Pictures in Nature (No Pro Gear Needed)
You don’t need a $3,000 camera to capture stunning nature photos. In 2026, the smartphone in your pocket is more powerful than professional cameras from just a decade ago — and with the right techniques, you can take breathtaking shots of wildlife, flowers, and landscapes that will stop people mid-scroll. This guide covers 8 Ways to Take Cool Pictures in Nature (No Pro Gear Needed), so you can start creating jaw-dropping images today, no expensive gear required.
Disclosure: This post contains affiliate links. As an Amazon Associate, we earn from qualifying purchases, and at no extra cost to you.
Key Takeaways
- 📱 Your smartphone camera is capable of professional-quality nature photos when used correctly
- 💡 Light and angle matter more than equipment — always shoot in natural light and change your perspective
- 🔍 Built-in modes like macro, portrait, burst, and night mode are game-changers for nature photography
- 🌿 Simple composition techniques like natural framing and leading lines add instant drama to any shot
- ✏️ Free editing apps like Snapseed can transform a good photo into a great one in minutes
Why Smartphone Nature Photography Works in 2026
Modern smartphones pack impressive camera systems. Devices like the iPhone 13 Pro and Samsung S21 Ultra (and their successors) include multiple lenses, AI-powered processing, and dedicated shooting modes that rival entry-level DSLRs. The real secret, though, isn’t the hardware — it’s knowing how to use what you already have.
“The best camera is the one you have with you.” — A truth that every nature photographer eventually learns.
Here’s a quick comparison of what your phone can do vs. what most beginners think they need:
| What You Think You Need | What You Actually Have |
|---|---|
| Macro lens attachment | Built-in macro mode (2-inch range) |
| Tripod ($150+) | $15–$30 smartphone tripod |
| DSLR for wildlife | Burst mode (10+ shots/second) |
| Studio lighting | Golden hour + Night mode |
| Photoshop subscription | Free Snapseed app |
8 Ways to Take Cool Pictures in Nature (No Pro Gear Needed)
1. Invert Your Phone for Low-Angle Magic

One of the simplest tricks most people overlook is flipping your phone upside down. Rotate your smartphone 180 degrees so the lens sits at the bottom, then place it near the ground. This lets you photograph flowers, insects, and small animals at their eye level or from below, creating dramatic, immersive compositions that make tiny subjects look powerful and large [1].
Pro tip: Pair this technique with a free remote shutter app so you don’t shake the phone when tapping the screen.
2. Turn Off Your Flash — Always
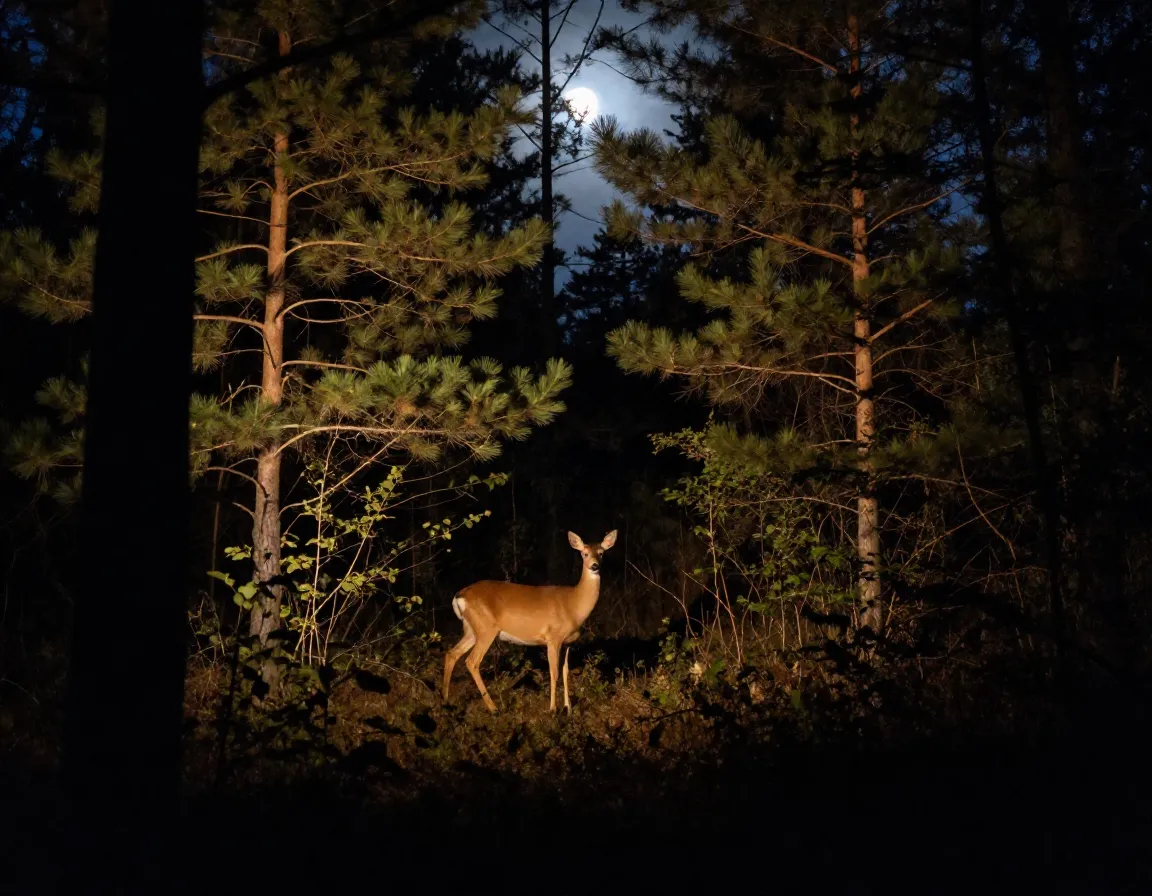
This one surprises people, but flash is your enemy in nature photography. Built-in flash only reaches 6–10 feet, creates harsh, unnatural lighting, and — critically — scares away wildlife. It also produces bright, washed-out subjects against pitch-black backgrounds [2].
Instead, use your phone’s Night Mode (look for the moon icon 🌙). Night Mode takes 2–3 seconds to expose but produces warm, natural-looking results even in low light. It’s perfect for dawn, dusk, and shaded forest scenes.
3. Use Macro Mode for Stunning Close-Ups
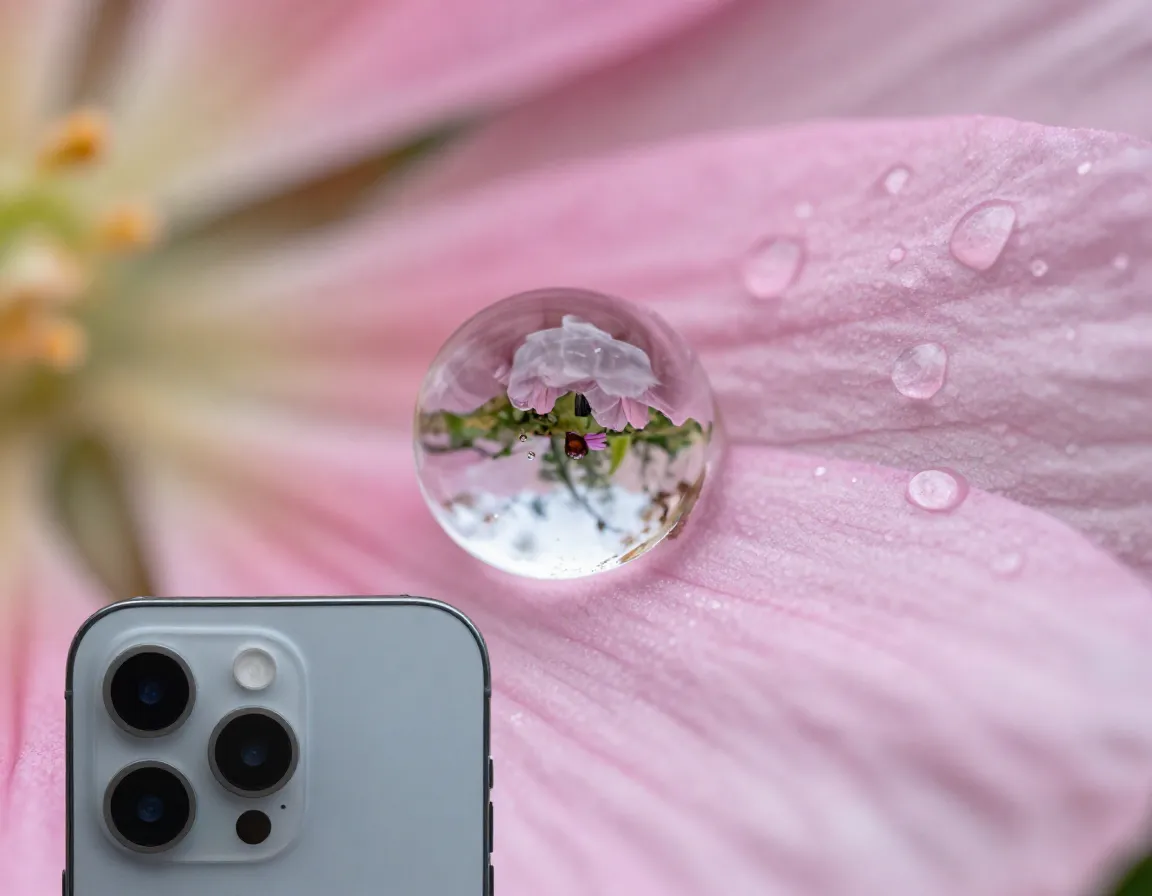
If you have an iPhone 13 Pro or newer, or a Samsung S21 Ultra or newer, you already have a built-in macro mode that activates automatically when you get within about 2 inches of your subject [2]. This is incredible for:
- 🐛 Insects resting on leaves
- 💧 Dewdrops on flower petals
- 🍄 Tiny mushroom caps
- 🌸 Flower stamens and pollen
Older phones without macro mode can still get close-up shots by simply moving the camera as close as possible before the image blurs, then cropping in editing.
4. Stabilize Your Shot to Eliminate Blur
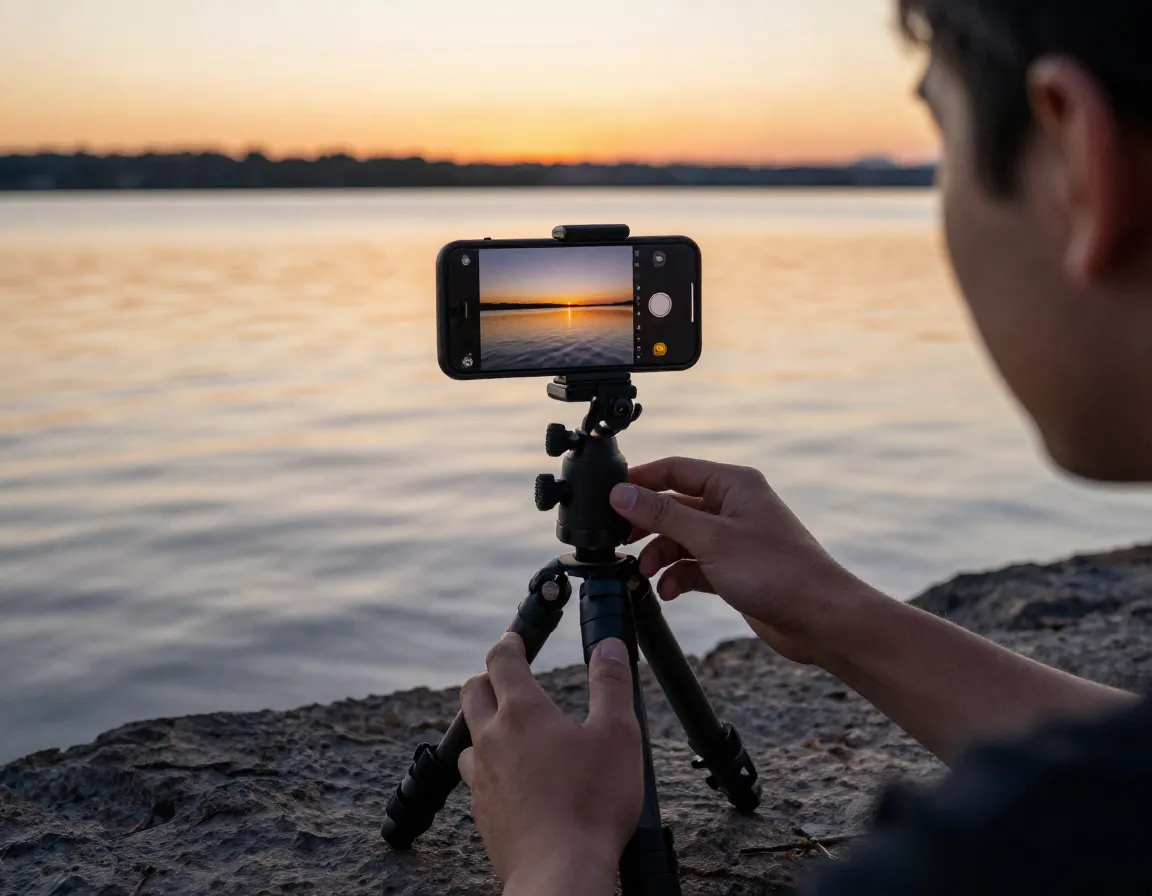
Blurry photos are the number one complaint from beginner nature photographers. The fix is simple: stabilize your phone. Hold it horizontally with both hands, tuck your elbows tightly against your body, and hold your breath for a second before tapping the shutter [2].
For even better results, invest in a $15–$30 smartphone tripod. This small purchase is essential for:
- Low-light wildlife photography
- Macro shots where tiny movements ruin focus
- Long-exposure water or sky shots
5. Always Tap to Focus on Your Subject

Your phone’s camera doesn’t always know what you want sharp. Before every shot, tap your main subject on the screen. This does two things at once: it locks focus on that point and automatically adjusts the exposure (brightness) for that area [2].
Without this step, a bright sky can turn your flower or animal into a dark silhouette. With it, your subject is sharp, well-lit, and properly exposed every time.
💡 Quick tip: After tapping to focus, look for a small sun icon next to the focus box. Slide it up or down to fine-tune brightness manually.
6. Use Burst Mode to Capture Fast Action
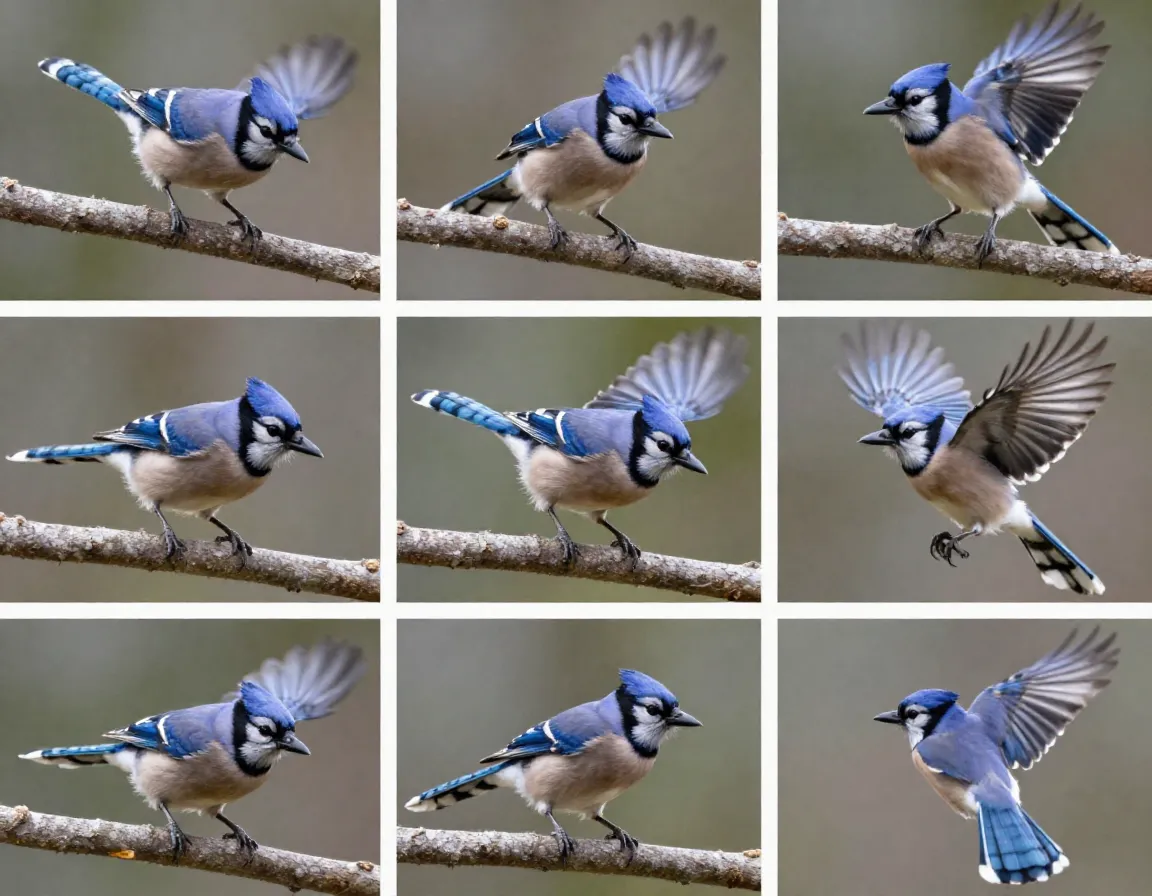
Birds taking flight. A deer leaping through tall grass. A butterfly landing on a branch. These moments last less than a second — and that’s exactly why burst mode exists [1].
Hold down your shutter button to fire 10+ photos per second. After the action, swipe through the burst and pick the single best frame. This dramatically increases your chances of capturing:
- Wings fully extended mid-flight 🦅
- Water splashing at the perfect moment
- Animals mid-leap or mid-run
Most people try to time the perfect shot manually. Burst mode removes that pressure entirely.
7. Frame Your Subject With Natural Elements
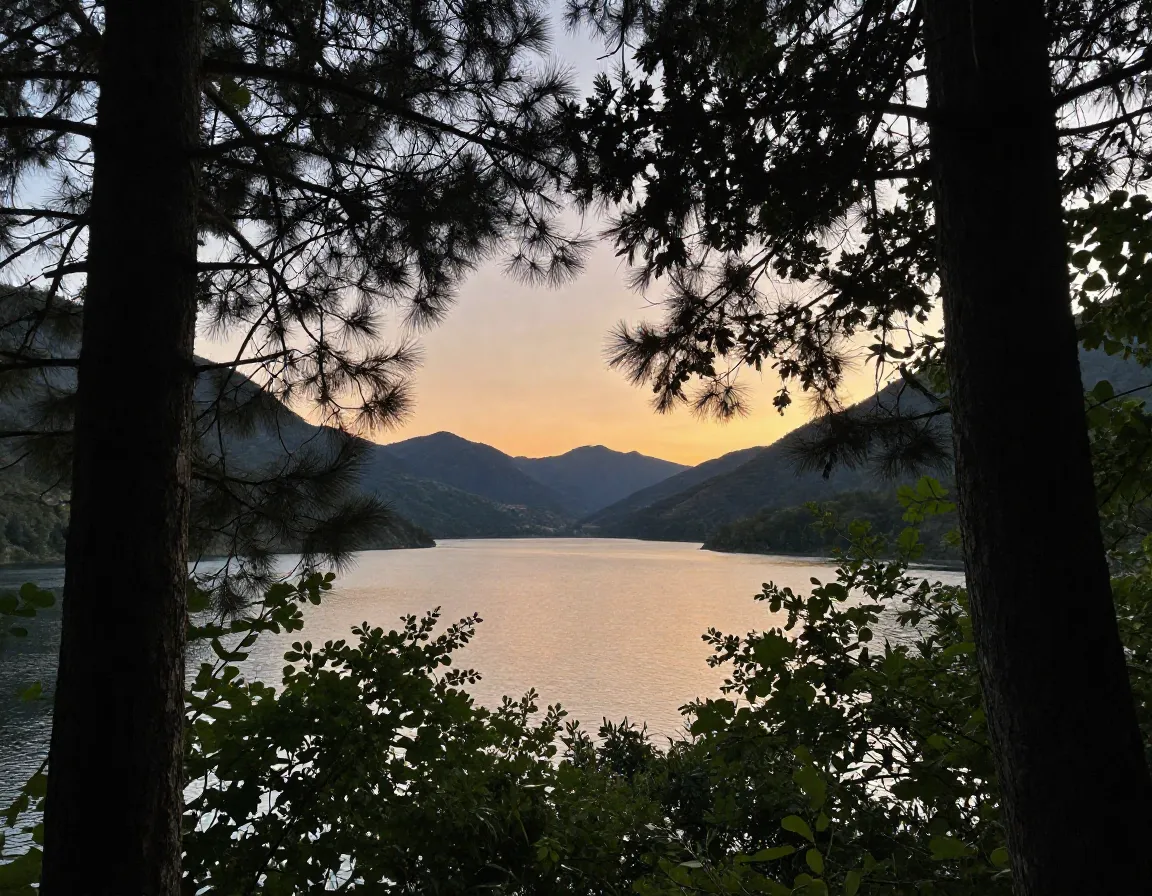
This technique instantly makes photos look more intentional and professional. Instead of pointing your camera directly at a subject, look for natural frames around it [2]:
- Photograph a lake through overhanging tree branches
- Capture a bird between two tree trunks
- Frame a wildflower inside a gap in tall grass
Natural framing adds depth, guides the viewer’s eye straight to your subject, and hides distracting backgrounds — all without any extra equipment.
8. Shoot in the Best Light — Especially After Rain
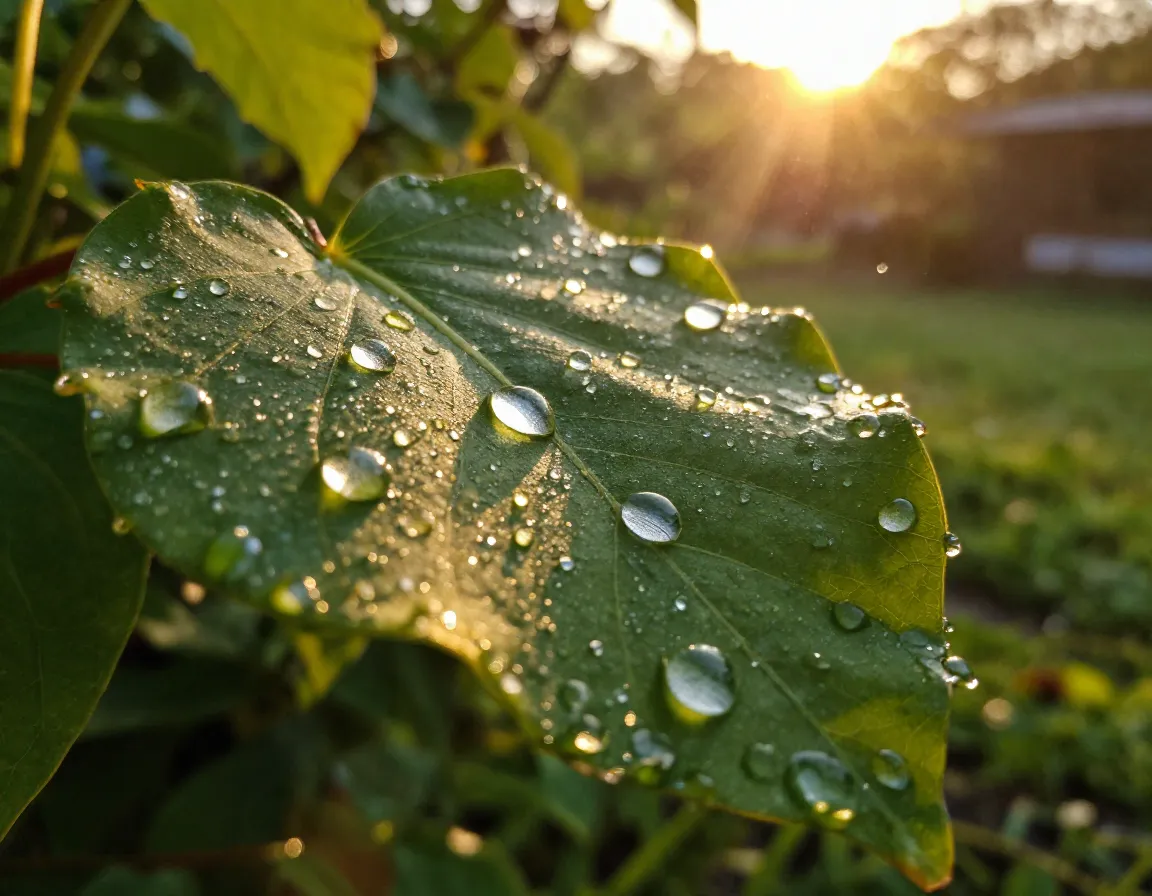
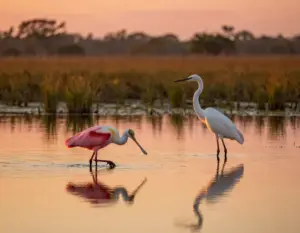
Light is everything in photography. The golden hour — the 30–60 minutes after sunrise or before sunset — produces warm, soft light that flatters every natural subject. Overcast days are also surprisingly good because clouds act as a giant diffuser, eliminating harsh shadows [3].
Here’s a secret weapon: shoot just after light rain 🌧️. Rain intensifies landscape colors, creates reflections, and leaves water droplets on leaves and petals that catch light beautifully. Some of the most striking nature close-ups I’ve ever taken were shot within 20 minutes of a rain shower ending.
Best times to shoot:
- 🌅 Sunrise (golden hour)
- ☁️ Overcast midday
- 🌧️ Just after rain
- 🌇 Sunset (golden hour)
- 🌙 Dusk with Night Mode
Bonus: Edit Your Photos With Free Apps
Even the best shot benefits from a little editing. Snapseed (free on iOS and Android) is the gold standard for mobile photo editing [1]. Use it to:
- Crop and straighten composition
- Brighten shadows to reveal hidden detail
- Boost contrast and color saturation
- Sharpen fine details like fur or feathers
Spend 2–3 minutes editing each photo and you’ll be amazed at the difference. Editing isn’t cheating — it’s the final step every professional photographer takes.
Composition Quick-Reference Table
| Technique | Best For | Difficulty |
|---|---|---|
| Inverted phone angle | Flowers, insects, small animals | ⭐ Easy |
| Macro mode | Dewdrops, tiny details | ⭐ Easy |
| Burst mode | Birds, wildlife in motion | ⭐⭐ Medium |
| Natural framing | Landscapes, perched birds | ⭐⭐ Medium |
| Leading lines | Paths, rivers, tree lines | ⭐⭐ Medium |
| Night mode | Sunrise, sunset, forest shadows | ⭐ Easy |
| Tap to focus | Every single shot | ⭐ Easy |
| Post-rain shooting | Flowers, landscapes | ⭐ Easy |
Conclusion
Mastering 8 Ways to Take Cool Pictures in Nature (No Pro Gear Needed) doesn’t require expensive equipment or years of training. It requires curiosity, patience, and a willingness to try new angles and techniques. Start with the easiest wins: always tap to focus, turn off your flash, and shoot during golden hour. Then layer in burst mode for wildlife, macro mode for tiny subjects, and natural framing for landscapes.
Your actionable next steps:
- Download Snapseed today (it’s free)
- Pick one technique from this list and practice it on your next outdoor walk
- Try shooting the same subject from three different angles and compare the results
- Head outside just after the next rain shower with your phone ready
The forest, the field, and the shoreline are full of extraordinary images waiting to be captured. You already have everything you need. 📸
References
[1] How To Use A Smartphone For Nature Photography – https://www.naturettl.com/how-to-use-a-smartphone-for-nature-photography/
[2] Smartphone Photography Tips For Nature – https://ishots.cc/smartphone-photography-tips-for-nature/
[3] Nine Tips Taking Brilliant Nature Photos Your Smart Phone – https://thesca.org/nine-tips-taking-brilliant-nature-photos-your-smart-phone