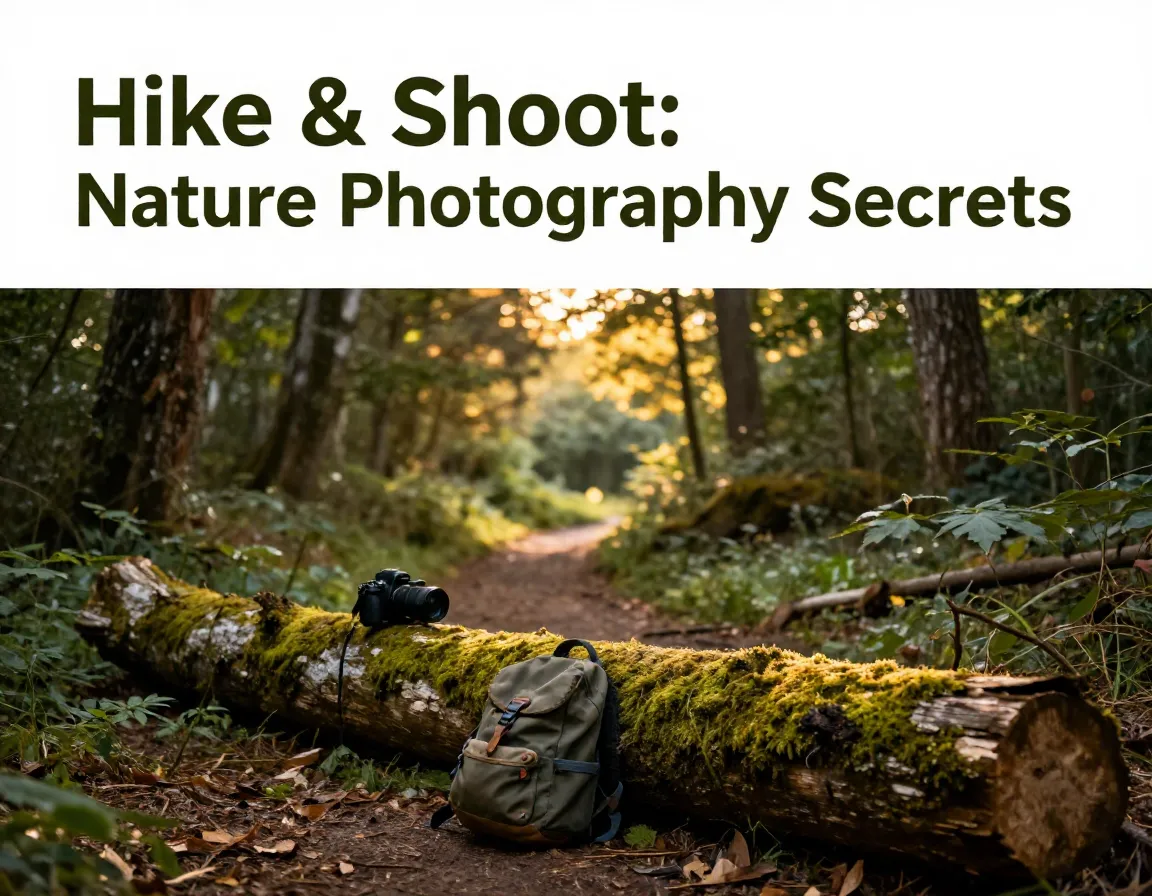
8 Secrets to Taking Pretty Photos of Nature on Your Hike
Have you ever returned from a stunning hike only to find your photos look nothing like what you actually saw? 🌿 You are not alone. Most hikers struggle to capture the magic of nature through a lens — but it does not have to stay that way. The 8 secrets to taking pretty photos of nature on your hike covered in this guide will transform the way you shoot outdoors, whether you carry a smartphone or a full mirrorless camera. These are practical, field-tested techniques that work on real trails in real conditions.
Disclosure: This post contains affiliate links. As an Amazon Associate, we earn from qualifying purchases, and at no extra cost to you.
Key Takeaways
- ⏰ Timing is everything — plan your hike so you arrive at key spots during golden hour for the best natural light.
- 🎒 Travel light — a streamlined kit lets you hike farther and shoot more freely without fatigue.
- 📐 Use what is around you — rocks, logs, and branches can replace a tripod in a pinch.
- 🗺️ Plan before you go — study maps to identify photogenic subjects and stay safe on the trail.
- 👤 Add a human element — including a person in your frame adds scale and emotional depth to landscape shots.
Why Most Hikers Struggle With Nature Photography (And How to Fix It)
Great trail photography is not about having the most expensive gear. It is about knowing a few smart principles and applying them consistently. Below, I break down the 8 secrets to taking pretty photos of nature on your hike so you can start capturing images that genuinely impress.
The 8 Secrets to Taking Pretty Photos of Nature on Your Hike
1. Travel Light and Choose Gear Wisely
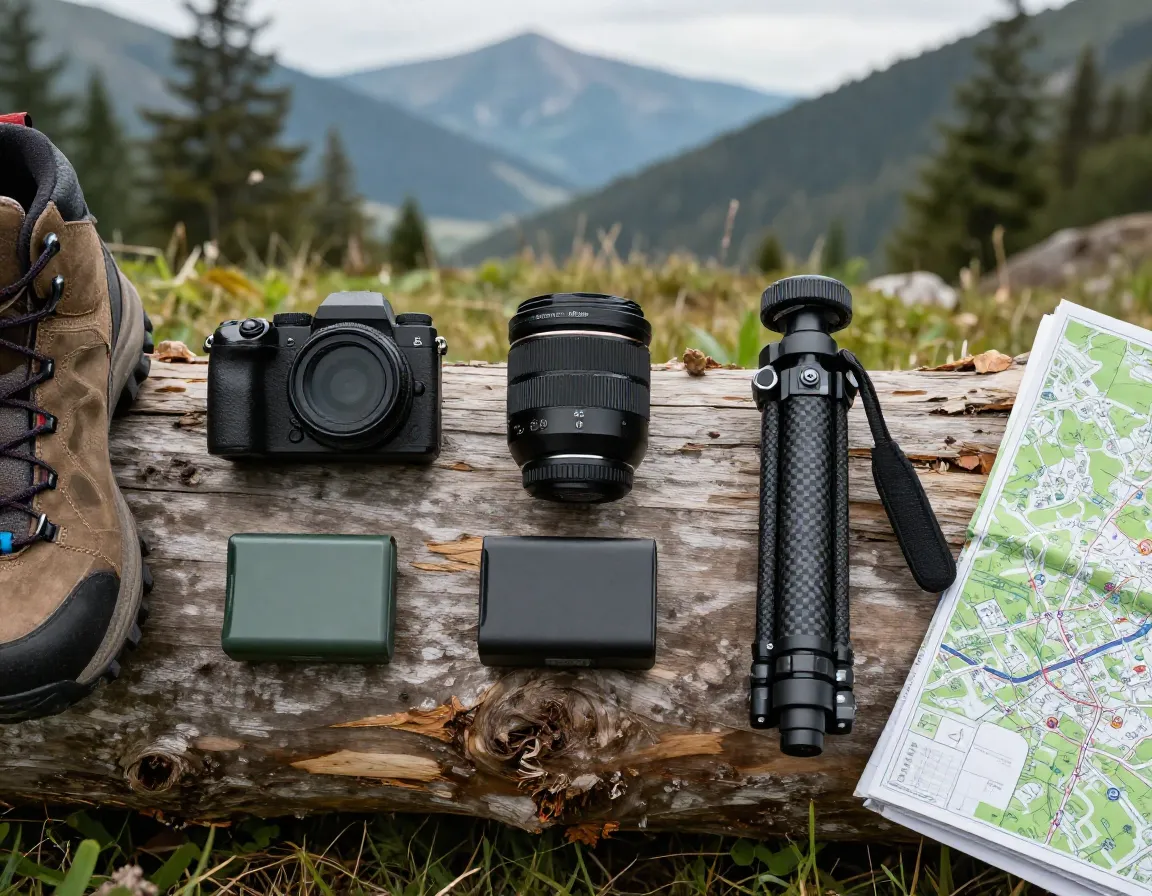
The single biggest mistake hikers make is packing too much camera gear. A heavy bag drains your energy, slows your pace, and kills the joy of hiking. Multi-day hikes demand conservative gear selection — bring only what is essential [1][2].
Here is a simple gear priority framework:
| Gear Item | Priority Level | Notes |
|---|---|---|
| Camera body | Essential | Mirrorless or compact DSLR |
| One versatile zoom lens | Essential | Covers wide to short telephoto |
| Extra batteries | High | Cold weather drains power fast |
| Heavy prime lenses | Low | Leave these at home |
| Full-size tripod | Optional | Consider carbon-fiber or skip it |
The goal is to protect your hiking endurance so you can actually reach the best locations.
2. Use Stabilization Alternatives to Heavy Tripods

You do not always need a tripod to get sharp images. Modern in-body image stabilization (IBIS), higher ISO settings, and careful depth of field choices can replace a tripod in many situations [2].
When hiking in a group, carrying a tripod often slows everyone down. Instead, activate IBIS on your camera, raise your ISO to compensate for lower light, and shoot in burst mode to increase your chances of a sharp frame [1].
💡 “The best camera stabilizer on a hike is often the one you already have — your own body, braced against a tree or rock.”
3. Embrace Lightweight Carbon-Fiber Tripods for Solo Hikes
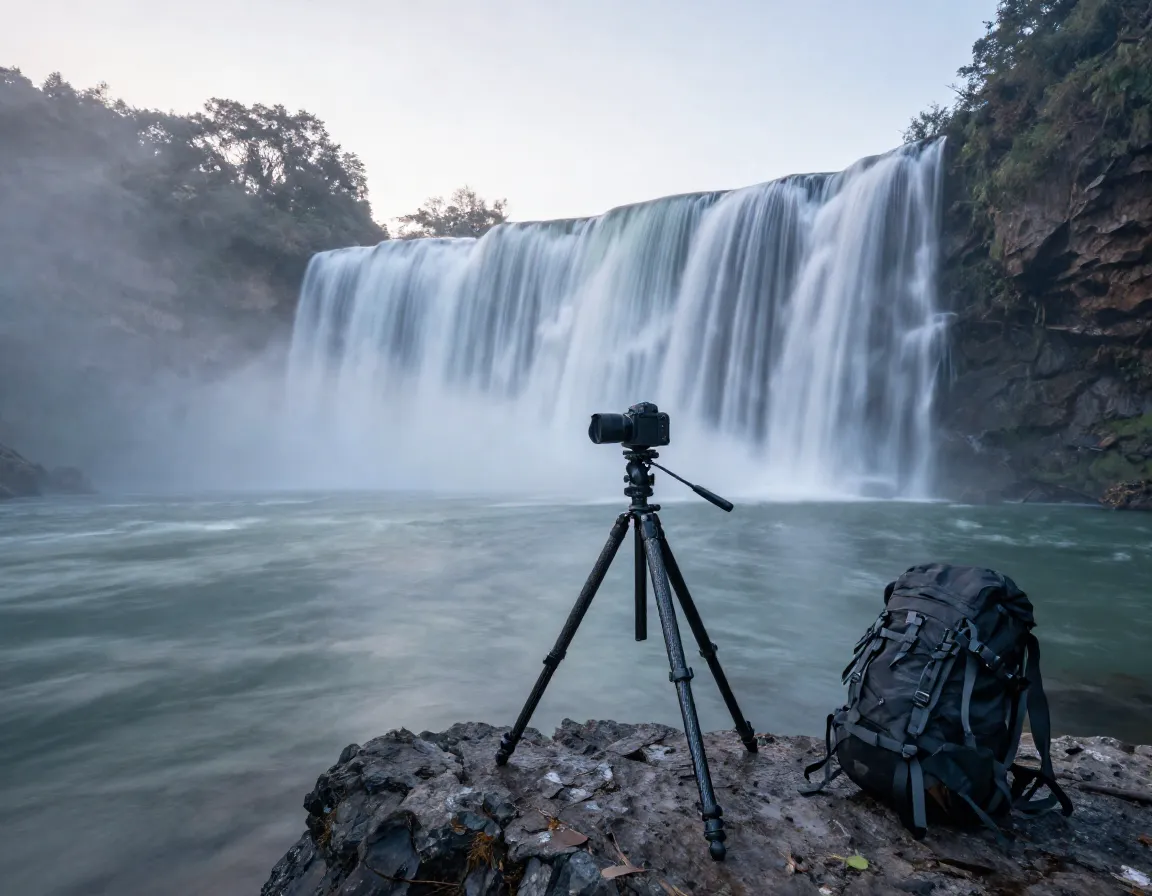
If you are hiking alone and want maximum creative control, a lightweight carbon-fiber tripod is worth the investment. These tripods weigh significantly less than aluminum alternatives while remaining rigid enough for long-exposure shots [1].
Solo hikers benefit most from tripods because:
- You set your own pace.
- You can use a self-timer to include yourself in the frame.
- Long exposures of waterfalls and streams become possible.
For group hikes, handheld shooting is almost always the better social choice.
4. Plan Your Hike Around Golden Hour
Light makes or breaks a nature photo. Scheduling your hike so you arrive at key subjects during golden hour — the soft, warm light just after sunrise or before sunset — is one of the most powerful things you can do [3].
Sunset is generally easier than sunrise for hikers because:
- You hike to your location in full daylight.
- You return on a trail you already know.
- You do not need to wake before dawn.
Use apps like PhotoPills or The Photographer’s Ephemeris to predict exactly when and where the golden light will fall on your trail.
5. Study Maps and Identify Subjects Before You Go

Arriving at a location without a plan is a recipe for missed shots. Map planning helps you identify photogenic subjects — a waterfall, a ridgeline, a meadow — and ensures you reach them at the right time of day [1].
Before any hike, I recommend:
- Reviewing satellite imagery on Google Maps or CalTopo.
- Reading trip reports and browsing photos on AllTrails.
- Noting the GPS coordinates of two or three target subjects.
- Estimating travel time so you arrive before the light fades.
This preparation also keeps you safe by preventing you from getting caught in unfamiliar terrain after dark.
6. Photograph on the Return Hike
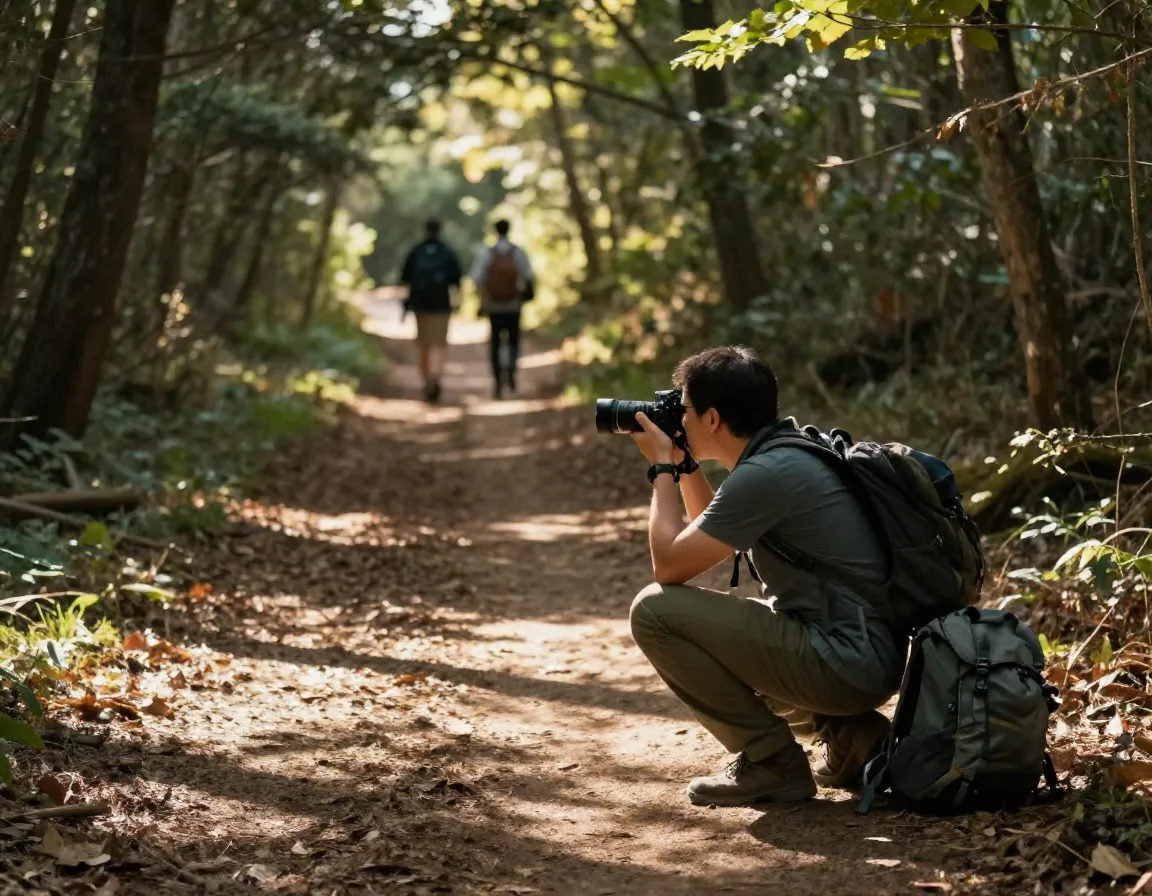
Here is a secret most beginners overlook: some of your best shots will happen on the way back. After you have secured your hero shot at the main location, the return hike becomes a relaxed, pressure-free creative session [3].
The light changes, the shadows shift, and you notice compositions you missed on the way in. You also know the trail, so you can stop safely without worrying about timing.
🌄 “Treat the return hike as a bonus photo walk — the pressure is off and the creativity flows.”
7. Use Natural Elements for Camera Stabilization
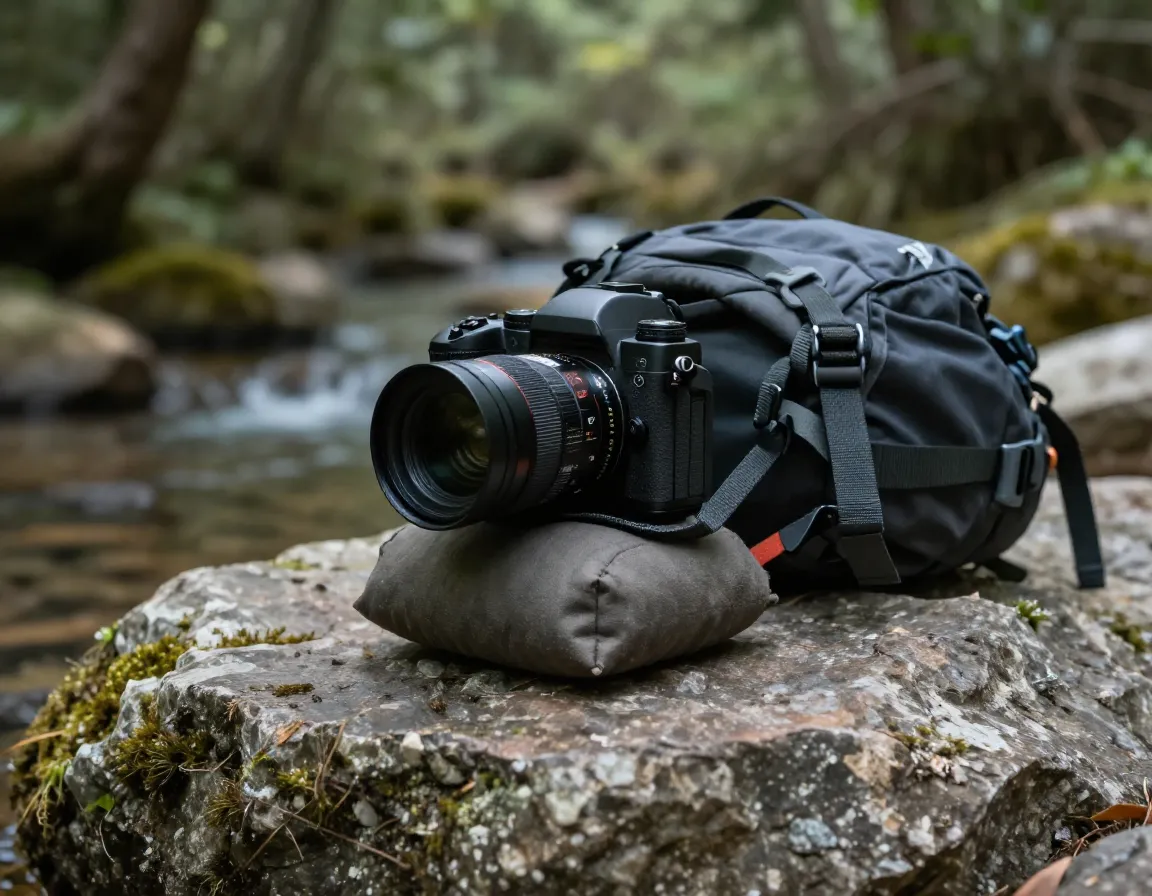
When a tripod is not available, nature provides plenty of stabilization surfaces. Flat rocks, fence posts, fallen logs, and thick tree branches can all support your camera for a steady shot [1].
Tips for improvised stabilization:
- Place your camera bag on a flat rock and rest the lens on top.
- Brace your elbows against your torso for a human monopod effect.
- Use a small beanbag in your pack — they weigh almost nothing.
- Always activate IBIS before shooting handheld in low light.
These techniques are especially useful during blue hour or in shaded forest environments where light drops quickly.
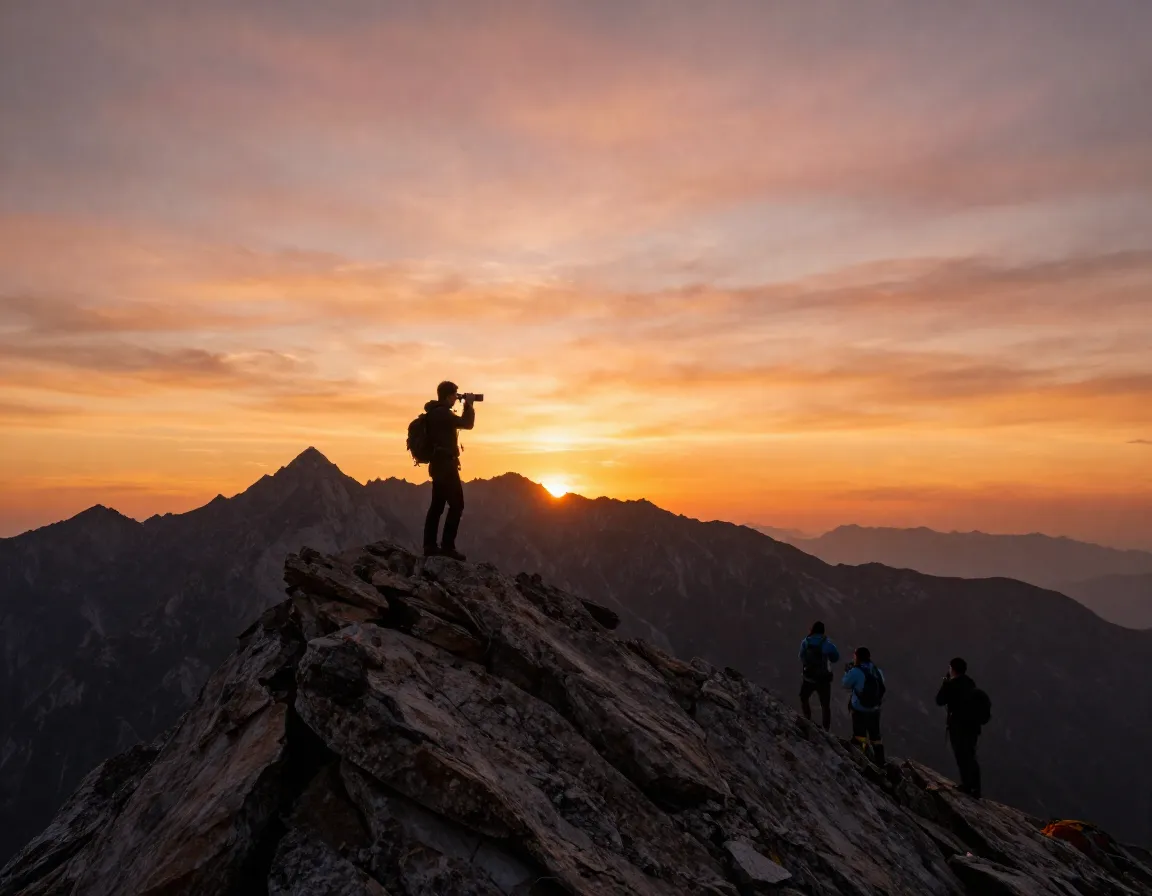
8. Add a Human Figure for Scale and Storytelling

A vast mountain scene can look flat without a sense of scale. Including a person in your landscape frame instantly communicates the size of the environment and gives viewers an emotional anchor [1].
You do not need a hiking partner to do this. Solo photographers can:
- Set a 10-second self-timer and walk into the frame.
- Use a remote shutter release for more precise timing.
- Ask a fellow hiker if they would like to be in the shot.
The human figure does not need to be the star of the image — even a small silhouette against a dramatic sky adds enormous storytelling power.
Bonus Tips: Safety Always Comes First 🛡️
No photograph is worth your safety. Always complete your hike before nightfall and avoid straying off-trail to chase a shot at sunset [1]. Carry a head torch even on day hikes when you plan to shoot golden hour — conditions change fast in the mountains.
Quick safety checklist before every hike:
- Tell someone your planned route and return time.
- Carry a fully charged phone and a backup power bank.
- Pack a head torch regardless of planned return time.
- Know the weather forecast for the entire day.
Choosing the Right Lens for Trail Photography
One of the most common gear questions is about lenses. The honest answer: versatile zoom lenses beat specialized primes on the trail [2].
A variable-aperture zoom like a 24–105mm or 18–135mm covers wide landscapes and compressed telephoto shots in one package. Yes, you sacrifice a little image quality compared to an f/2.8 prime — but the weight savings and flexibility are worth it for most hikers.
📸 “Accept modest image quality compromises in exchange for a lighter pack and a more enjoyable hike.”
Conclusion: Start Shooting Smarter on Your Next Hike
The 8 secrets to taking pretty photos of nature on your hike come down to preparation, smart gear choices, and working with natural light rather than against it. You do not need the most expensive camera or the heaviest kit. You need a plan, a light pack, and the patience to wait for the right moment.
Your actionable next steps for 2026:
- ✅ Audit your camera bag and remove anything non-essential before your next hike.
- ✅ Download a golden hour app and plan your next trail around optimal light.
- ✅ Study the map of your next destination and mark two or three photogenic subjects.
- ✅ Practice handheld stabilization techniques at home before hitting the trail.
- ✅ On your next hike, deliberately shoot on the return journey and compare results.
Nature is endlessly photogenic. With these secrets in your toolkit, your trail photos will finally match what your eyes actually see. 🌲📷
References
[1] Hiking Photography – https://www.naturettl.com/hiking-photography/
[2] Multi Day Backpacking As A Landscape Photographer – https://photographylife.com/multi-day-backpacking-as-a-landscape-photographer
[3] 15 Hiking Tips Landscape Photographer – https://improvephotography.com/44295/15-hiking-tips-landscape-photographer/