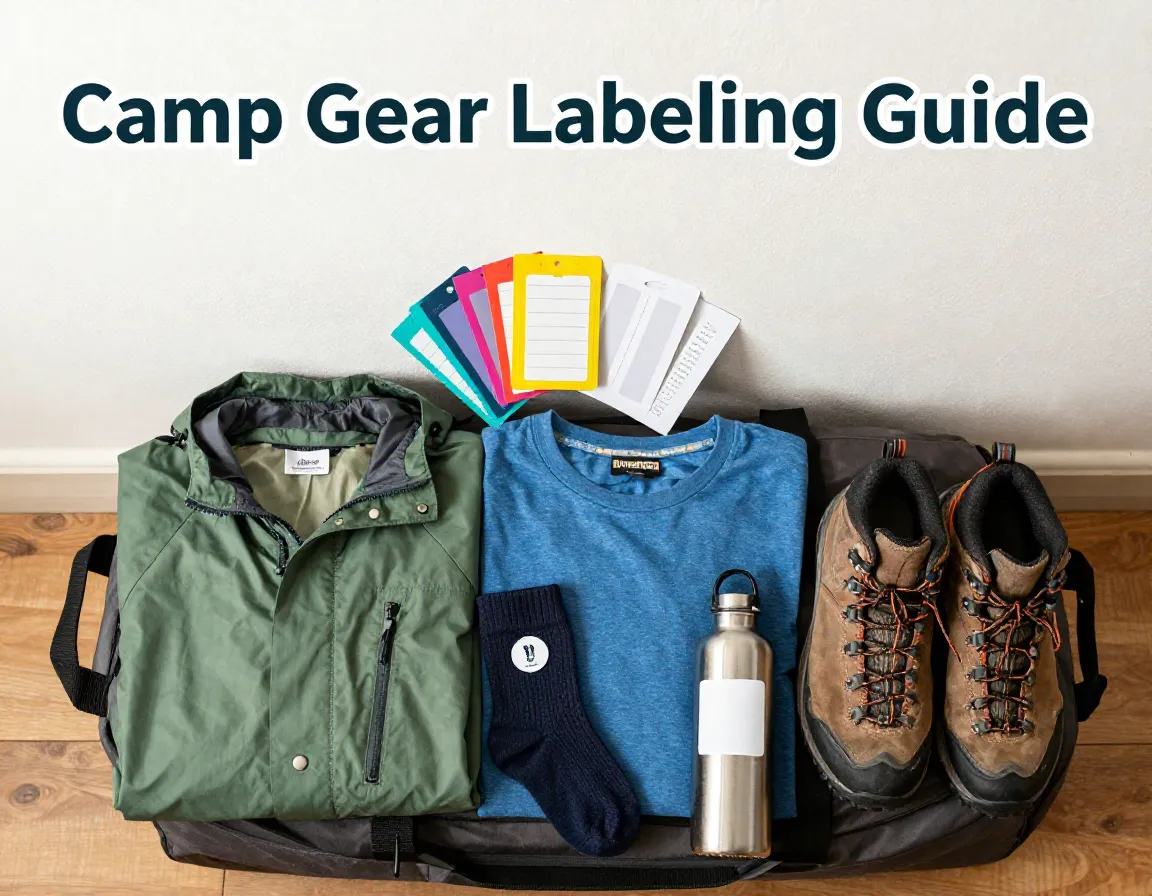
The Ultimate Guide: 8 Methods for Labeling Clothes for Camp Success
Every summer, thousands of socks, shirts, and water bottles vanish into the black hole of camp lost-and-found bins — and most of them are never claimed. If you’ve ever picked up a child from sleepaway camp only to discover half their wardrobe is missing, you already know the pain. That’s exactly why I put together The Ultimate Guide: 8 Methods for Labeling Clothes for Camp Success — so you can send your child off with confidence, knowing their gear will come home with them.
Disclosure: This post contains affiliate links. As an Amazon Associate, we earn from qualifying purchases, and at no extra cost to you.
Labeling camp clothes isn’t just about writing a name on a tag. It’s about choosing the right method for each item, your budget, and how long you need the label to last. In 2026, there are more options than ever — from high-tech waterproof labels to classic sewn-in tags — and this guide breaks them all down.
Key Takeaways
- ✅ Labeling every item — from clothes to toiletries — dramatically reduces lost gear at camp.
- ✅ Different methods suit different items: waterproof labels work best for water bottles; sewn-in labels are ideal for uniforms.
- ✅ Budget matters: fabric markers are cheapest; sewn-in labels are the most durable long-term investment.
- ✅ Label packs can simplify the process, often including labels for clothing, shoes, and gear in one purchase.
- ✅ A good rule of thumb: “If it leaves the house, it gets a label.” [3]
Why Labeling Camp Clothes Is Non-Negotiable
Before we dive into the methods, let’s be clear about why this matters. At a typical sleepaway camp, dozens of children share laundry facilities, bunk spaces, and activity areas. Without clear labels, even the most distinctive hoodie can end up in the wrong bag.
💬 “If it leaves the house in the morning, it gets a label.” — Mabel’s Labels [3]
This philosophy is especially true for day camps, where items travel back and forth daily. A comprehensive label pack for sleepaway camp might include 112 labels plus 2 bag tags, with over 100 design choices to make labeling feel less like a chore [3]. A well-organized pack might break down like this:
| Label Type | Quantity | Best For |
|---|---|---|
| Small rectangle labels | 24 | Toiletries, small items |
| Shoe labels | 8 | Sneakers, sandals, boots |
| Large rectangle labels | 10 | Water bottles, flashlights |
| Tag mates (clothing) | 50 | Shirts, shorts, socks |
Now, let’s explore each method in detail.
The Ultimate Guide: 8 Methods for Labeling Clothes for Camp Success
1. Fabric Markers / Permanent Markers
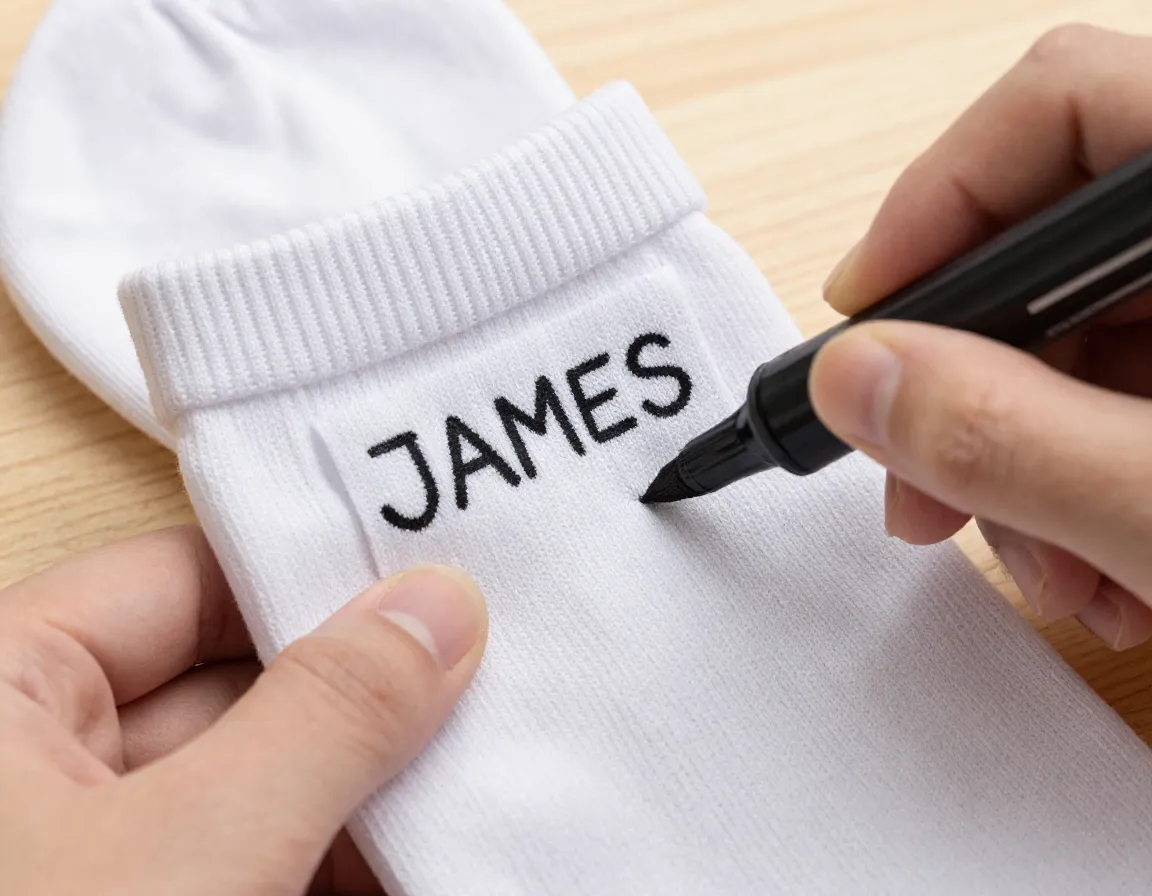
Best for: Socks, underwear, and everyday basics
Fabric markers and permanent markers are the most straightforward option in any camp labeling toolkit. They require zero prep, no special tools, and cost very little. Simply uncap and write your child’s name directly onto the clothing tag or fabric.
The ink holds up through several washing cycles, though it may fade over time with heavy use [1]. For budget-conscious families or last-minute labeling sessions, this method is hard to beat. Use a fine-tip permanent marker for small tags and a broader fabric marker for darker fabrics.
Pro tip: Write on the inside seam or care label for the most durable result.
2. Iron-On Labels
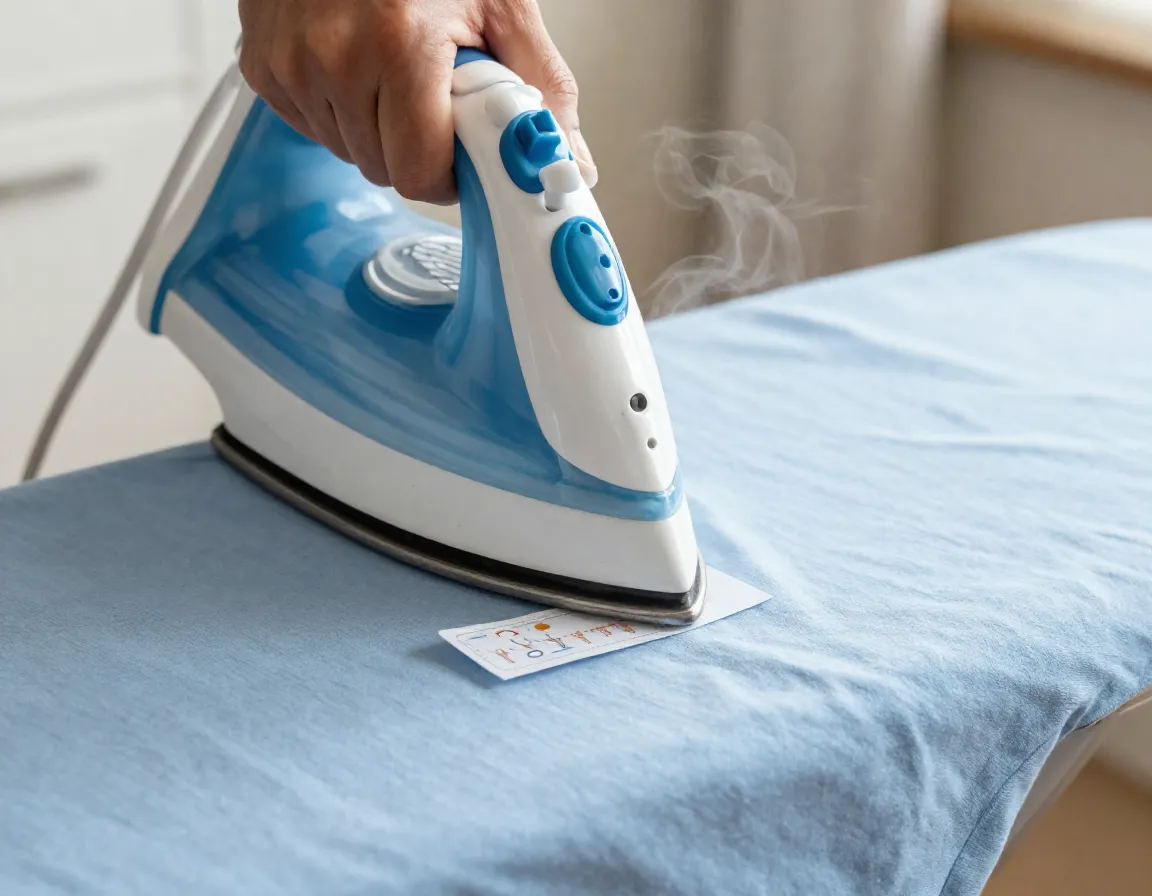
Best for: T-shirts, shorts, and clothing that will be worn for multiple seasons
Iron-on labels are a step up in durability. Once applied with heat, they bond directly to the fabric and are designed to last a lifetime [1]. They come pre-printed with your child’s name and are available in a wide range of colors and fonts.
The trade-off? They’re harder to remove. If you try to peel one off, you risk damaging the fabric [1]. This makes them ideal for items you plan to keep long-term, but less practical for hand-me-downs or borrowed gear.
Application tips:
- Pre-heat the iron to the correct setting for the fabric type.
- Press firmly for 10–15 seconds without moving the iron.
- Let the fabric cool before checking adhesion.
3. Stick-On / Peel-and-Stick Labels
Best for: Quick labeling, younger children’s gear, items that may be shared or resold
Peel-and-stick labels are the convenience champion of camp labeling. No iron, no sewing — just peel and apply [1]. They’re more affordable than sewn-in options and easier to remove than iron-on labels, making them a flexible choice for families [2].
While they may not last quite as long as iron-on or sewn-in labels, high-quality versions hold up well through multiple wash cycles. They’re especially useful for labeling items you don’t want permanently marked.
4. Heavy-Duty Labels
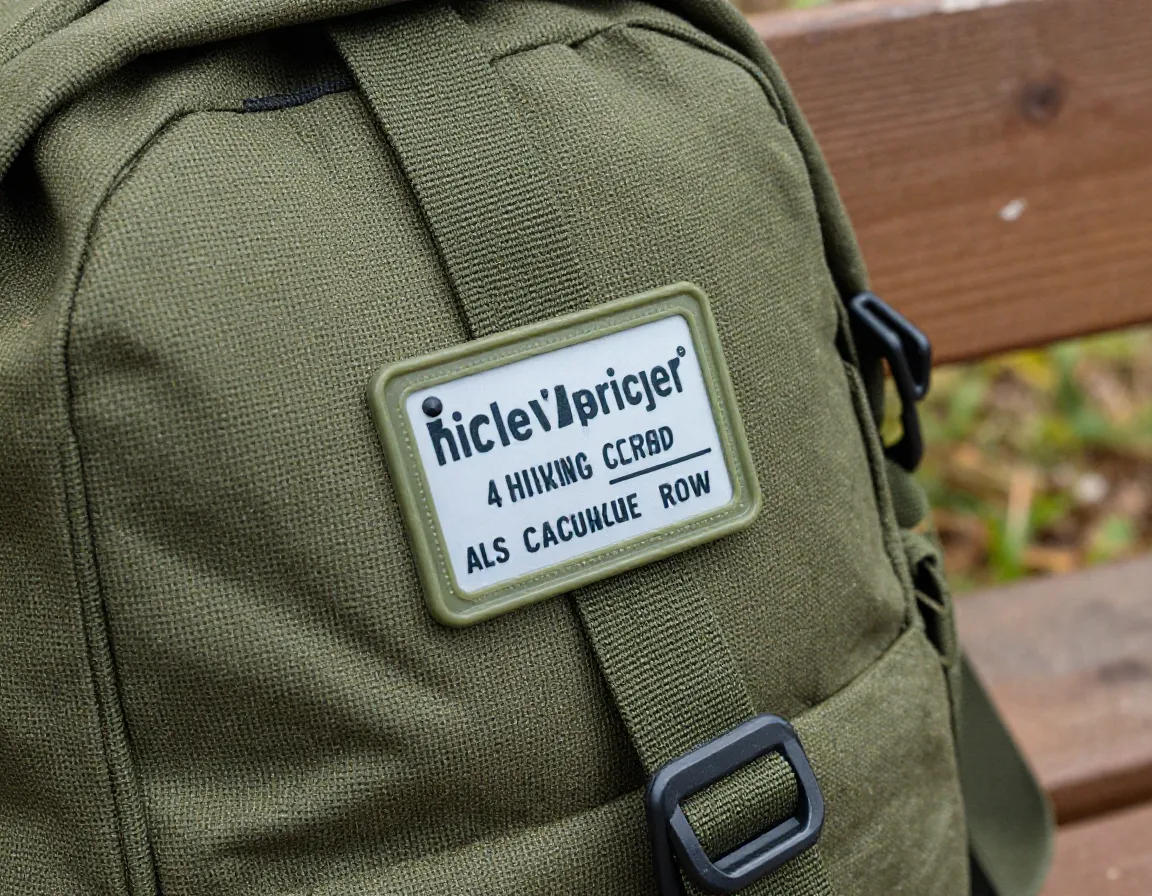
Best for: Outdoor gear, backpacks, and items exposed to rough conditions
When your child is rock climbing, canoeing, or hiking through muddy trails, standard labels won’t cut it. Heavy-duty labels are engineered to withstand repeated washings, extreme temperatures, and rough outdoor handling [2]. Most are also waterproof, giving you double protection.
These labels are a smart investment for high-value gear like sleeping bags, rain jackets, and durable footwear. Look for labels rated for both machine washing and outdoor exposure.
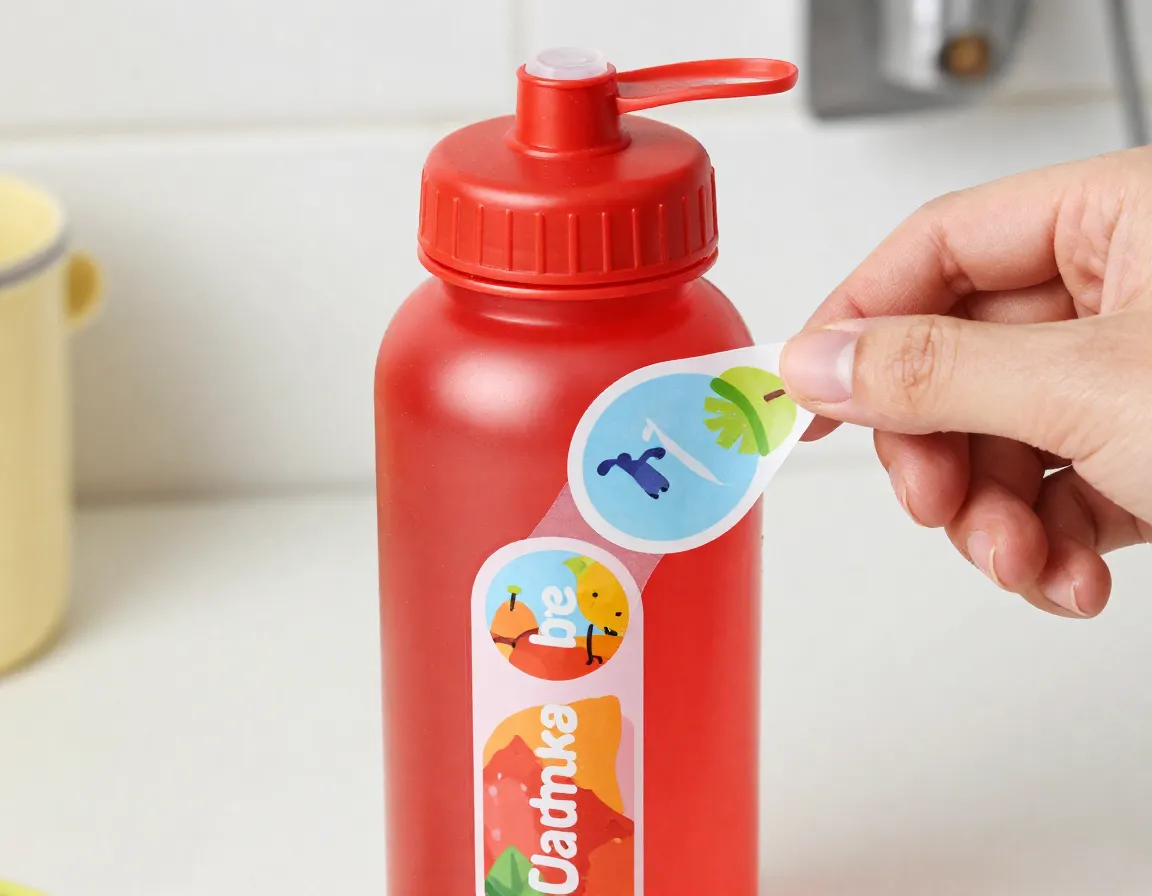
5. Waterproof Labels

Best for: Water bottles, swim gear, and anything near a pool or lake
Waterproof labels are made from water-repelling materials that survive repeated washing and direct water exposure [2]. They’re the go-to choice for swim camp essentials — think goggles, water shoes, and reusable water bottles.
Unlike standard stickers that peel at the edges when wet, true waterproof labels maintain their adhesion even after chlorine exposure. Many are also dishwasher-safe, which is a bonus for labeling lunch containers.
6. Custom Clothing Stamps
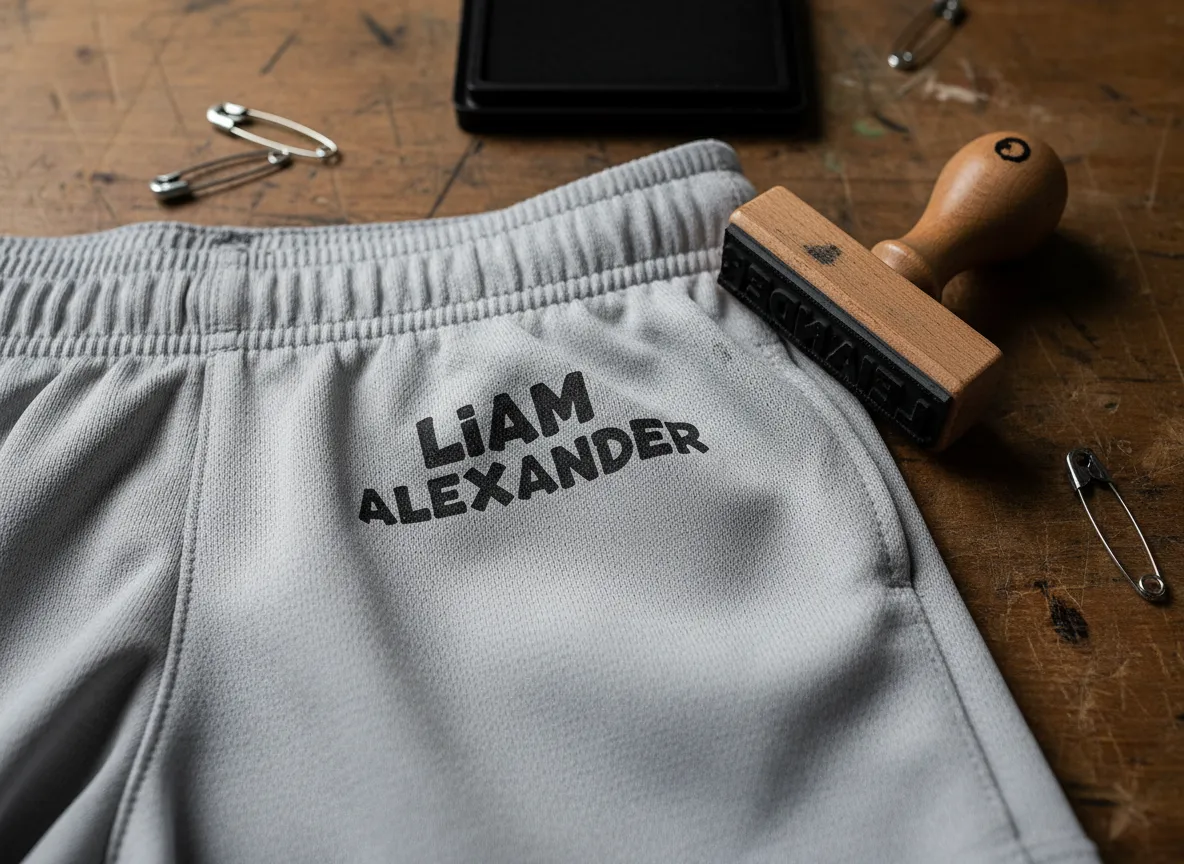
Best for: Tagless clothes and high-volume labeling
Custom clothing stamps are a fast, creative solution — especially for modern athletic wear that lacks traditional tags. You simply press the stamp (loaded with fabric-safe ink) directly onto the garment’s interior fabric [3].
The result? A clean, readable name that survives chlorine and frequent washing [3]. Stamps are particularly efficient when you have many items to label at once. One stamp impression takes just seconds, making them ideal for families sending multiple children to camp.
What to look for:
- Non-toxic, fabric-safe ink
- Quick-dry formula
- Refillable ink pads for large labeling jobs
7. Sewn-In Labels
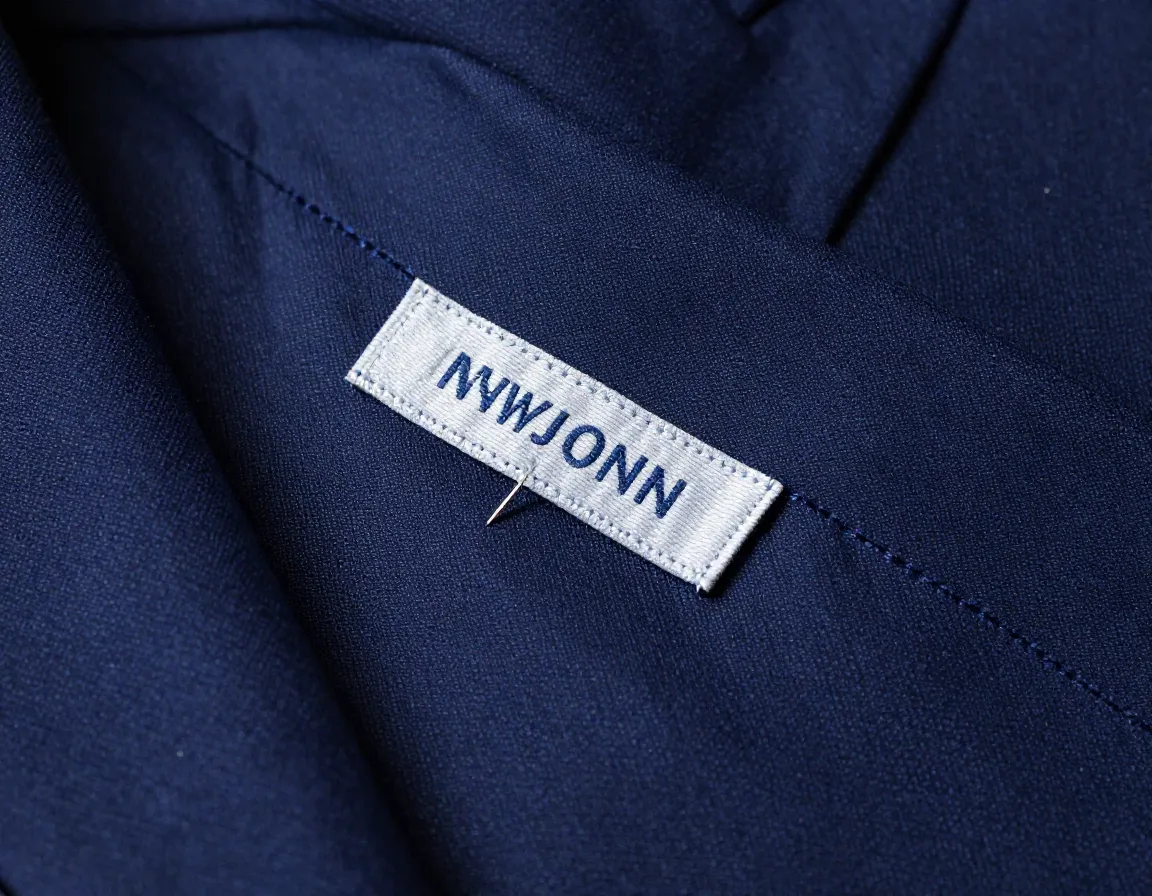
Best for: Uniforms, expensive items, and heirlooms
Sewn-in labels are the gold standard of camp clothing identification. They are the most durable option available — virtually guaranteed to last the lifetime of the garment — and they look the most professional [1].
The downside is cost and time. Sewing labels requires either a sewing machine or careful hand-stitching, and ordering custom woven labels adds to the expense [1]. However, for school uniforms, sports jerseys, or high-quality outerwear, the investment is absolutely worth it.
Many parents choose to sew in labels on a few key items while using faster methods for everyday basics.
8. Pre-Printed Labels
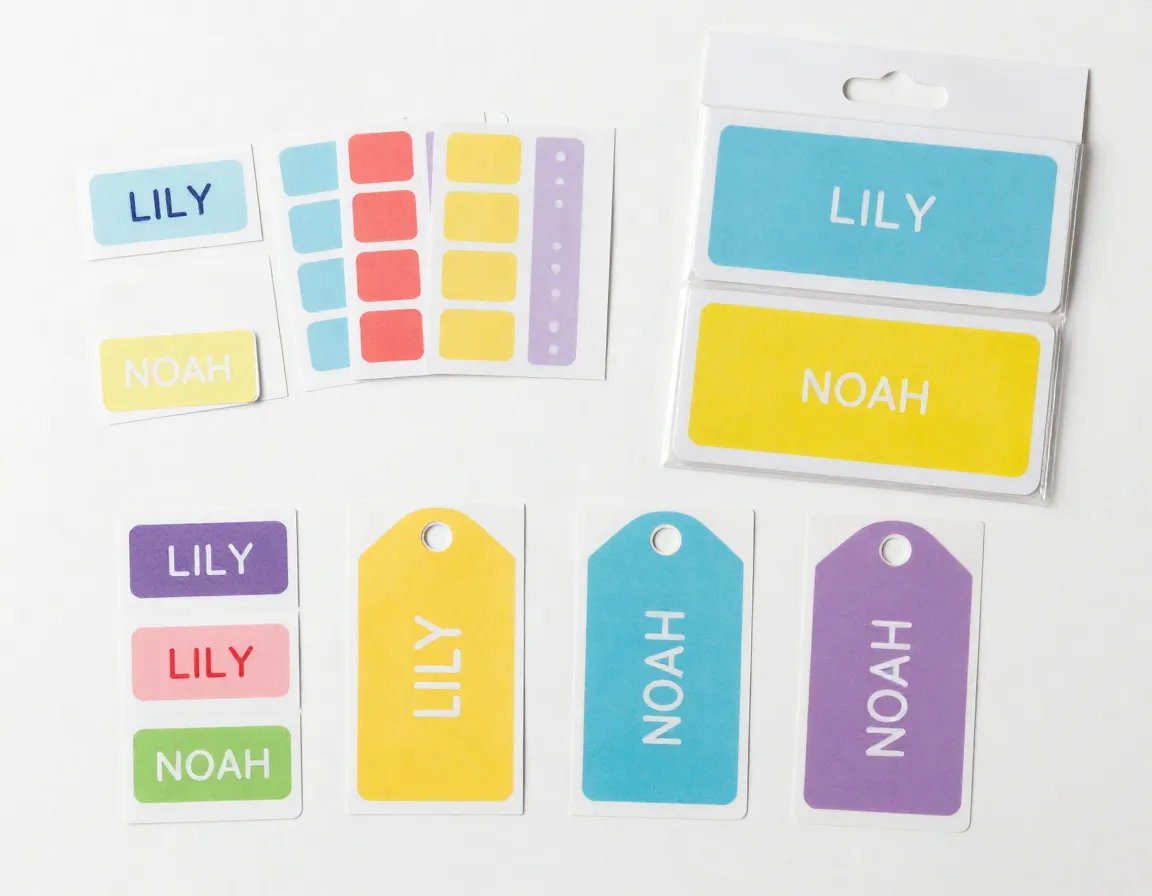
Best for: Families with multiple children or large wardrobes to label
Pre-printed labels arrive with your child’s name already on them — no writing required. They come in a wide variety of colors, fonts, and styles, making it easy to personalize for each child [2]. For families sending two or three kids to camp simultaneously, pre-printed label packs can save hours of prep time.
Many services allow you to order in bulk, and some include a mix of label sizes suited for different items — from tiny sock labels to large bag tags. This method combines convenience with a polished, professional look.
Choosing the Right Method: A Quick Comparison
| Method | Cost | Durability | Ease of Use | Best For |
|---|---|---|---|---|
| Fabric Markers | 💲 | ⭐⭐ | ⭐⭐⭐⭐⭐ | Socks, basics |
| Iron-On Labels | 💲💲 | ⭐⭐⭐⭐⭐ | ⭐⭐⭐ | T-shirts, shorts |
| Peel-and-Stick | 💲 | ⭐⭐⭐ | ⭐⭐⭐⭐⭐ | Quick labeling |
| Heavy-Duty Labels | 💲💲 | ⭐⭐⭐⭐⭐ | ⭐⭐⭐⭐ | Outdoor gear |
| Waterproof Labels | 💲💲 | ⭐⭐⭐⭐⭐ | ⭐⭐⭐⭐ | Water items |
| Clothing Stamps | 💲💲 | ⭐⭐⭐⭐ | ⭐⭐⭐⭐ | Tagless clothes |
| Sewn-In Labels | 💲💲💲 | ⭐⭐⭐⭐⭐ | ⭐⭐ | Uniforms, heirlooms |
| Pre-Printed Labels | 💲💲 | ⭐⭐⭐⭐ | ⭐⭐⭐⭐⭐ | Multiple children |
Conclusion: Your Action Plan for Camp Labeling Success
Now that you’ve explored The Ultimate Guide: 8 Methods for Labeling Clothes for Camp Success, it’s time to put this knowledge into action. Here’s a simple three-step plan to get started:
- Audit your child’s camp packing list. Identify which items need permanent labels (uniforms, expensive gear) and which need flexible options (everyday clothes, shared items).
- Choose your methods strategically. Use fabric markers for socks and underwear, waterproof labels for water bottles and swim gear, and sewn-in or iron-on labels for high-value clothing.
- Order early. Custom labels, pre-printed packs, and clothing stamps can take several days to arrive. Don’t wait until the week before camp.
With the right labeling strategy in place, you can send your child off to camp in 2026 knowing their gear is protected — and dramatically increase the odds that everything comes home at the end of the session. 🏕️
References
[1] Guide To Labeling Camp Clothing – https://www.shipcamps.com/blog/guide-to-labeling-camp-clothing/
[2] 6 Best Ways To Label Your Childs Clothing For Camp – https://www.labeldaddy.com/blogs/news/6-best-ways-to-label-your-childs-clothing-for-camp
[3] Best Labels For Camp Gear – https://mabelslabels.com/guides/best-labels-for-camp-gear