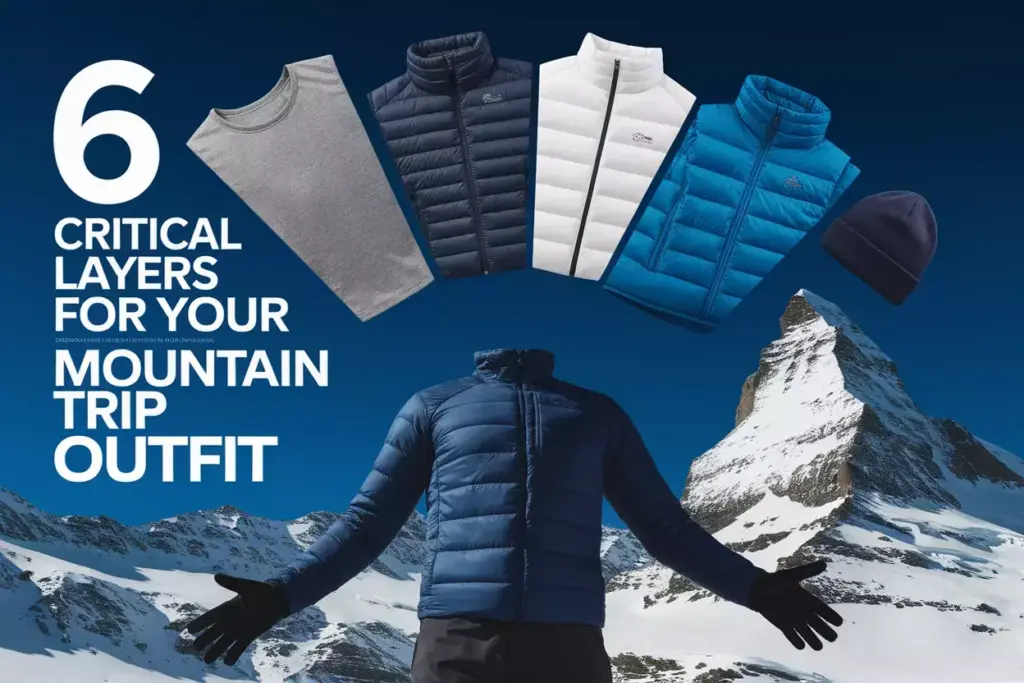
6 Critical Layers for Your Winter Mountain Trip Outfit
Picture this: you’re halfway up a snow-covered peak when the weather suddenly turns. The wind picks up, temperatures plummet, and what started as a beautiful winter day becomes a survival situation. The difference between a memorable adventure and a dangerous ordeal often comes down to one crucial factor—how well you’ve mastered the 6 Critical Layers for Your Winter Mountain Trip Outfit.
Disclosure: This post contains affiliate links. As an Amazon Associate, we earn from qualifying purchases, and at no extra cost to you.
Winter mountain environments are unforgiving, with temperatures that can swing dramatically and weather conditions that change in minutes. Whether you’re planning a day hike, backcountry skiing, or multi-day mountaineering expedition, understanding proper layering techniques isn’t just about comfort—it’s about safety and survival.
Key Takeaways
- Base layers form the foundation by managing moisture and maintaining core body temperature
- Insulation layers trap warm air while allowing moisture transfer to prevent overheating
- Shell layers provide critical protection from wind, snow, and precipitation
- Extremity protection prevents frostbite and maintains dexterity in hands and feet
- Proper layering system allows for quick adjustments as conditions and activity levels change
Understanding the Science Behind Winter Mountain Layering
Before diving into the 6 Critical Layers for Your Winter Mountain Trip Outfit, it’s essential to understand why layering works so effectively in mountain environments. The human body generates heat through metabolism and muscle activity, but it also loses heat through four primary mechanisms: conduction, convection, radiation, and evaporation.
In winter mountain conditions, these heat loss mechanisms become amplified. Cold surfaces draw heat away through conduction, while wind accelerates heat loss through convection. Your body radiates heat to the cold environment, and moisture from perspiration can rapidly cool you through evaporation.
“The key to staying warm isn’t wearing more clothes—it’s wearing the right clothes in the right combination.” – Mountain Safety Expert
A well-designed layering system creates microclimates around your body, trapping warm air while managing moisture. Each layer serves a specific purpose, and together they create a dynamic system that adapts to changing conditions and activity levels.
The Foundation: Base Layer System
1. Moisture-Wicking Base Layer

The first of the 6 Critical Layers for Your Winter Mountain Trip Outfit sits directly against your skin and serves as your body’s moisture management system. This layer’s primary job is to move perspiration away from your skin to prevent the dangerous cooling effect of wet fabric.
Material Options:
| Material | Pros | Cons | Best For |
|---|---|---|---|
| Merino Wool | Natural odor resistance, warmth when wet, comfort | Higher cost, slower drying | Multi-day trips, varying activity levels |
| Synthetic (Polyester) | Quick-drying, durable, affordable | Can retain odors, less comfortable | High-intensity activities, budget-conscious |
| Silk | Lightweight, compact, luxurious feel | Fragile, expensive, limited durability | Ultralight adventures, layering |
Key Features to Look For:
- Flat seam construction to prevent chafing
- Snug but not restrictive fit for optimal moisture transfer
- Extended length to prevent gaps when bending or reaching
- Thumb loops on sleeves to maintain coverage
2. Thermal Regulation Layer

The second layer in your winter mountain outfit focuses on thermal regulation while maintaining the moisture-wicking properties of your base layer. This often involves a slightly heavier base layer or a lightweight thermal layer that provides additional warmth without bulk.
Fabric Weight Categories:
- Lightweight (150-200 gsm): High-output activities, mild conditions
- Midweight (200-250 gsm): Variable activity levels, moderate conditions
- Heavyweight (250+ gsm): Low activity, extreme cold conditions
This layer should fit comfortably over your base layer without creating pressure points or restricting movement. Look for articulated designs that accommodate the natural movement patterns of mountaineering activities.
The Insulation System: Trapping Warmth Effectively
3. Primary Insulation Layer
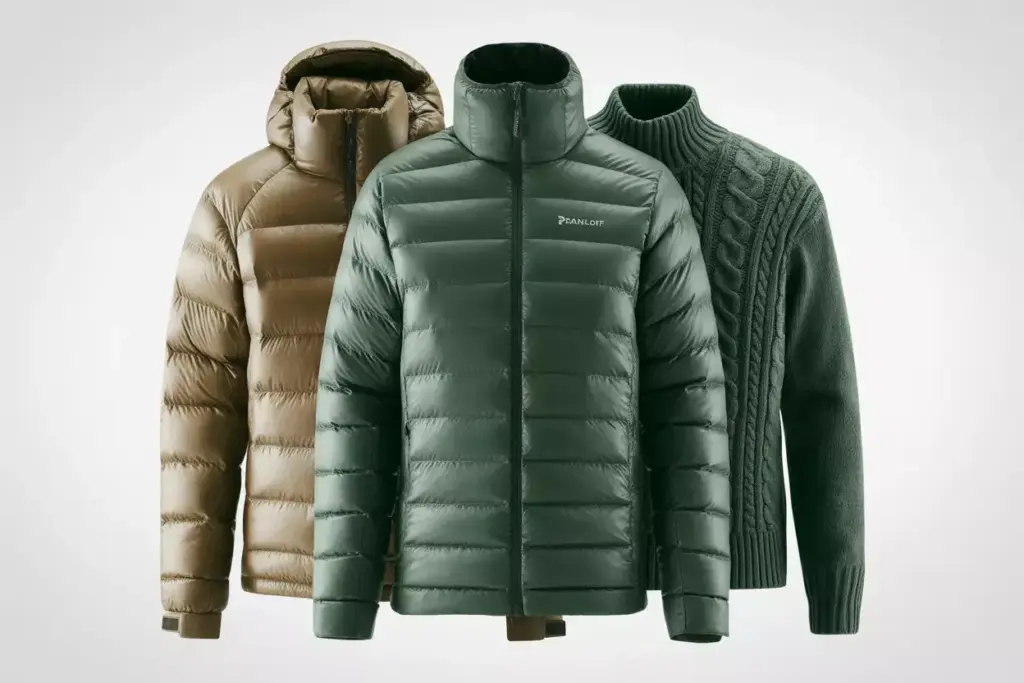
The third component of the 6 Critical Layers for Your Winter Mountain Trip Outfit is your primary insulation layer, responsible for trapping warm air while allowing moisture to continue moving outward. This layer provides the bulk of your warmth and must balance insulation efficiency with breathability.
Insulation Types:
Down Insulation:
- Fill Power: 600-900+ (higher numbers indicate better loft and warmth-to-weight ratio)
- Advantages: Superior warmth-to-weight ratio, highly compressible, long-lasting
- Disadvantages: Loses insulation when wet, expensive, slower drying
- Best Applications: Dry conditions, camp layers, lightweight adventures
Synthetic Insulation:
- Popular Options: PrimaLoft, Climashield, Coreloft
- Advantages: Maintains warmth when wet, quick-drying, hypoallergenic
- Disadvantages: Bulkier, heavier, less compressible than down
- Best Applications: Wet conditions, active insulation, budget-friendly options
Fleece and Wool Options:
- Fleece: Excellent breathability, quick-drying, affordable
- Wool: Natural temperature regulation, odor resistance, fire resistance
- Applications: Active layers, versatile mid-layers, backup insulation
4. Secondary Insulation Layer
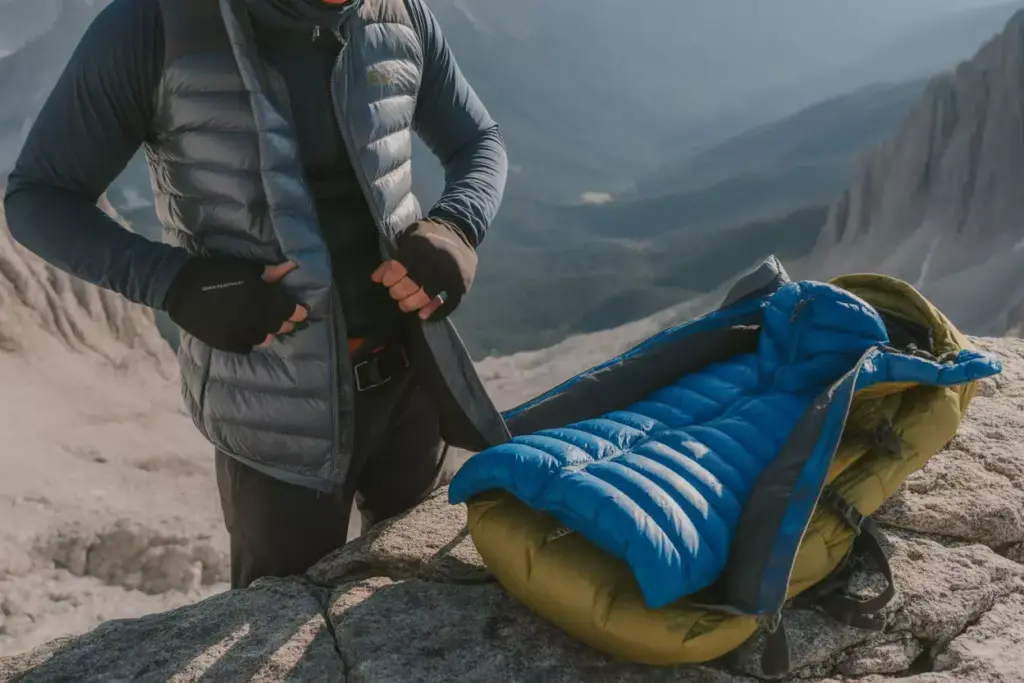
The fourth layer provides additional warmth capacity for extreme conditions or rest periods. This layer should be easy to add or remove as conditions change and should compress well when not needed.
Strategic Considerations:
- Vest options for core warmth without arm restriction
- Full jackets for comprehensive warmth in extreme conditions
- Modular systems that allow mixing and matching components
- Packability for carrying when not worn
This layer often serves as your emergency backup, providing crucial warmth if other layers become compromised or if conditions deteriorate beyond expectations.
The Protection System: Shielding from Elements
5. Weather Protection Shell
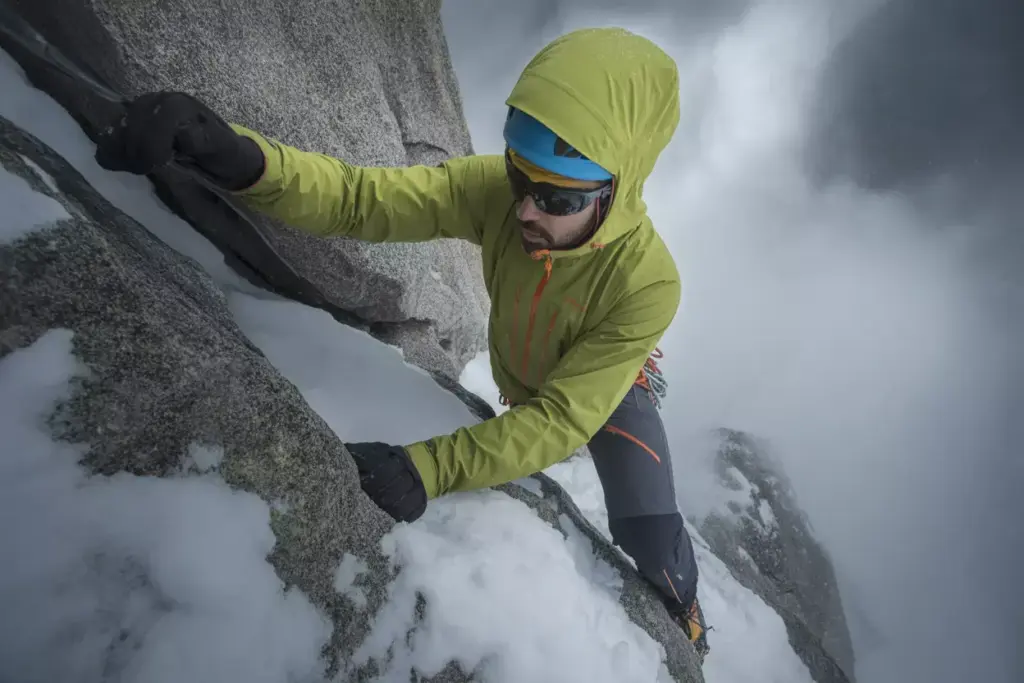
The fifth element of the 6 Critical Layers for Your Winter Mountain Trip Outfit is your outer shell system, which provides critical protection from wind, precipitation, and abrasion while allowing moisture vapor to escape from inner layers.
Shell Categories:
Hardshell Jackets:
- Materials: Gore-Tex, eVent, proprietary waterproof-breathable fabrics
- Features: Fully waterproof, windproof, highly durable
- Applications: Severe weather, technical climbing, extended exposure
- Considerations: Less breathable, higher cost, can feel clammy during high output
Softshell Jackets:
- Materials: Stretch woven fabrics with DWR coating
- Features: Highly breathable, flexible, comfortable
- Applications: Active pursuits, variable conditions, general mountaineering
- Considerations: Not fully waterproof, limited protection in severe weather
Key Features for Mountain Shells:
- Helmet-compatible hood with peripheral vision
- Pit zips for ventilation during high-output activities
- Napoleon chest pocket accessible with pack waist belt
- Reinforced high-wear areas (shoulders, elbows, lower back)
- Powder skirt for deep snow conditions
- Articulated sleeves for overhead reaching
Pant Considerations:
Your shell pant system should complement your jacket with similar weather protection while accommodating the specific demands of winter mountain travel:
- Side zips for ventilation and easy on/off over boots
- Reinforced cuffs and boot gaiters to prevent snow entry
- Articulated knees for comfortable movement
- Avalanche beacon compatibility for backcountry travel
6. Extremity and Accessory Protection
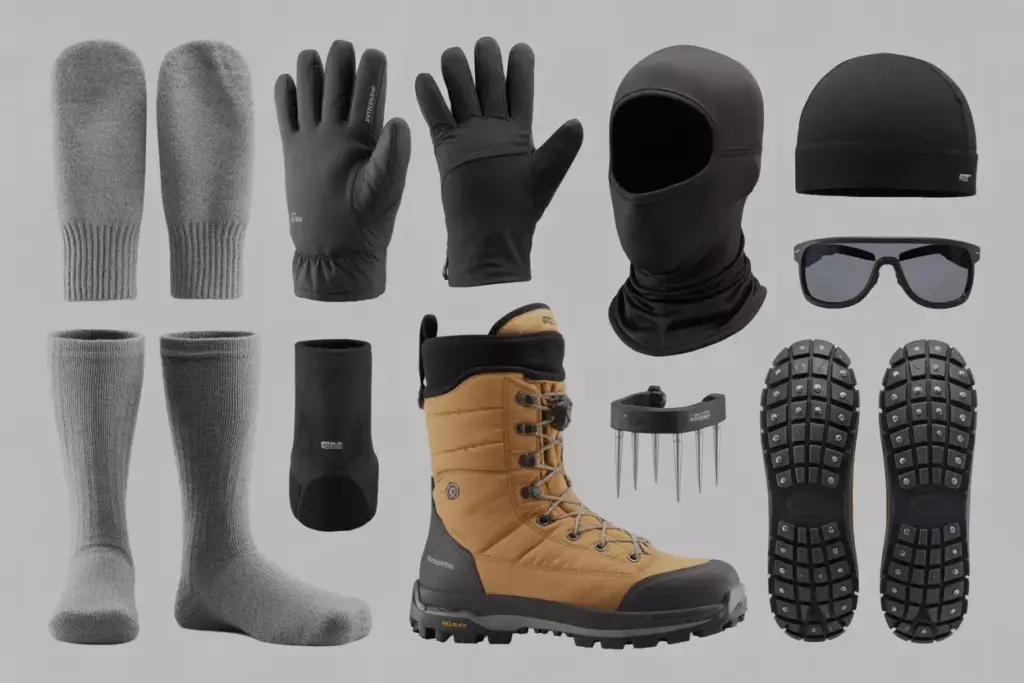
The final component of the 6 Critical Layers for Your Winter Mountain Trip Outfit focuses on protecting your extremities—hands, feet, head, and neck—where heat loss is most critical and frostbite risk is highest.
Hand Protection System:
- Liner gloves: Thin, dexterous base layer for fine motor tasks
- Insulated gloves: Primary hand protection with good dexterity
- Mittens or overmitts: Maximum warmth for extreme conditions
- Backup pair: Essential redundancy for safety
Foot Protection Strategy:
- Moisture-wicking socks: Merino wool or synthetic blend
- Insulated boots: Rated for expected temperature conditions
- Gaiters: Prevent snow entry and add warmth
- Microspikes or crampons: Traction for icy conditions
Head and Neck Protection:
- Insulating hat: Covers ears, fits under helmet
- Balaclava or face mask: Full face protection in extreme conditions
- Neck gaiter: Versatile protection for neck and face
- Sun hat and sunglasses: Essential for bright snow conditions
Advanced Layering Strategies for Mountain Conditions
Understanding the 6 Critical Layers for Your Winter Mountain Trip Outfit is just the beginning. Successful winter mountain travel requires mastering dynamic layering—the ability to adjust your system as conditions and activity levels change throughout the day.
Temperature Regulation Techniques:
Ventilation Management:
- Open pit zips before you start sweating
- Remove hat and gloves during high-output climbs
- Unzip neck areas for quick heat dump
- Use pants side zips for leg ventilation
Layer Timing:
- Pre-dawn: Full system for cold starts
- Climbing phase: Strip to base and light insulation
- Rest breaks: Add insulation quickly to prevent cooling
- Summit/camp: Full protection against wind and cold
Moisture Management:
- Change base layers if they become saturated
- Wring out or dry gloves during rest stops
- Use vapor barriers in extreme cold conditions
- Carry backup socks and gloves
Common Layering Mistakes to Avoid
Even experienced mountaineers can fall into layering traps that compromise safety and comfort. Understanding these common mistakes helps you optimize your 6 Critical Layers for Your Winter Mountain Trip Outfit:
Overdressing at the Start:
Many people dress for the parking lot temperature rather than their activity level. Starting too warm leads to early sweating, which can create dangerous cooling later in the day.
Cotton Clothing:
Cotton retains moisture and loses all insulating properties when wet. This creates a dangerous combination in winter mountain environments where hypothermia risk is high.
Ignoring Fit:
Layers that are too tight restrict blood flow and reduce insulation efficiency. Conversely, layers that are too loose create gaps where warm air can escape.
Inadequate Extremity Protection:
Focusing only on core warmth while neglecting hands, feet, and head can lead to frostbite and reduced dexterity when you need it most.
Single-Layer Thinking:
Relying on one heavy jacket instead of multiple adaptable layers reduces your ability to regulate temperature and moisture as conditions change.
Seasonal and Activity-Specific Adjustments
The 6 Critical Layers for Your Winter Mountain Trip Outfit must be adapted based on specific activities, conditions, and seasonal variations:
Early Season (November-December):
- Variable conditions require maximum versatility
- Focus on layers that pack well for temperature swings
- Emphasize waterproof protection for wet snow
Deep Winter (January-February):
- Prioritize maximum insulation and wind protection
- Consider vapor barriers for extreme cold
- Ensure all gear functions in sub-zero temperatures
Late Season (March-April):
- Prepare for intense sun and warm temperatures
- Include sun protection and ventilation options
- Plan for potential rain at lower elevations
Activity-Specific Considerations:
Alpine Climbing:
- Emphasize mobility and packability
- Include technical shell features
- Plan for extended exposure periods
Backcountry Skiing:
- Focus on breathability and ventilation
- Include avalanche safety considerations
- Plan for high-output and rest phases
Winter Camping:
- Include camp-specific insulation layers
- Plan for extended static periods
- Consider sleep system integration
Emergency Preparedness and Backup Systems
Your 6 Critical Layers for Your Winter Mountain Trip Outfit should include emergency backup options for critical components:
Essential Backups:
- Extra base layer top
- Emergency insulation (lightweight down jacket)
- Backup gloves and hat
- Emergency shelter (bivy or emergency blanket)
- Fire-starting materials
Emergency Protocols:
- Hypothermia recognition and treatment procedures
- Layer management during emergency situations
- Group gear sharing strategies
- Evacuation planning for gear failures
Maintenance and Care for Longevity
Proper care of your layering system ensures reliable performance when you need it most:
Cleaning and Storage:
- Follow manufacturer care instructions precisely
- Use appropriate technical detergents
- Restore DWR coatings regularly
- Store properly to maintain loft and function
Field Maintenance:
- Carry repair tape for shell layers
- Know basic field repair techniques
- Inspect gear regularly for wear and damage
- Replace worn items before critical trips
Budget-Conscious Layering Strategies
Building an effective 6 Critical Layers for Your Winter Mountain Trip Outfit doesn’t require breaking the bank:
Priority Investments:
- Base layers – Foundation of comfort and safety
- Shell jacket – Critical weather protection
- Insulated boots – Prevent frostbite and maintain mobility
- Quality gloves – Essential for dexterity and warmth
Budget-Friendly Options:
- Synthetic insulation over down for cost savings
- Previous season models for significant discounts
- Multi-use items that serve multiple functions
- Gradual system building over multiple seasons
Conclusion
Mastering the 6 Critical Layers for Your Winter Mountain Trip Outfit is fundamental to safe and enjoyable winter mountain adventures. From the moisture-wicking base layer against your skin to the weather-resistant shell protecting you from the elements, each layer serves a crucial purpose in maintaining your body’s thermal balance and protecting you from the harsh mountain environment.
The key to success lies not just in having the right gear, but in understanding how to use it dynamically as conditions change. Practice with your layering system before heading into serious mountain terrain, and always carry backup options for critical components.
Your Next Steps:
- Assess your current gear against the six-layer framework
- Identify gaps in your layering system and prioritize upgrades
- Practice layering techniques in controlled environments
- Test your complete system on progressively more challenging trips
- Refine and adjust based on real-world experience
Remember, the mountains will always be there, but the opportunity to enjoy them safely depends on your preparation. Invest in understanding and implementing these six critical layers, and you’ll be prepared for whatever winter mountain conditions throw your way.