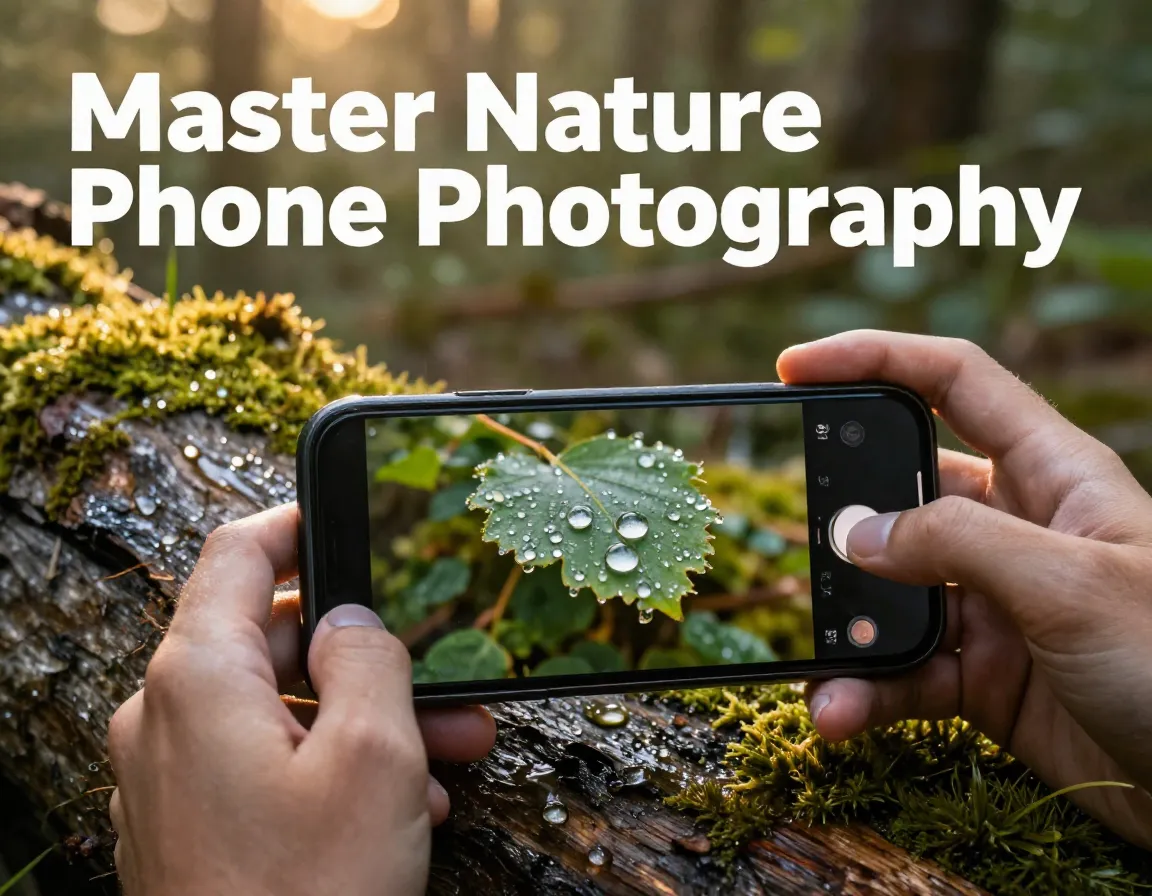
9 Pro Tips for Taking Pretty Nature Pics on Your Phone
Have you ever stood in front of a breathtaking waterfall or a field of wildflowers, snapped a photo on your phone, and then felt completely let down by the result? You are not alone. The good news is that stunning nature photography does not require a $3,000 camera. In 2026, the smartphone in your pocket is more powerful than ever — and with the right techniques, you can capture images that genuinely stop people mid-scroll. These 9 Pro Tips for Taking Pretty Nature Pics on Your Phone will help you get there, no matter what device you own.
Key Takeaways
- 📸 Lighting is everything — shoot during golden hour for dramatic, flattering results
- 🎯 Composition rules like the rule of thirds transform ordinary shots into eye-catching images
- 🔍 Use your phone’s built-in modes (macro, HDR, burst, Night Mode) instead of relying on flash or digital zoom
- 🌧️ Timing and conditions matter — shooting after rain adds color and texture you cannot fake in editing
- ✂️ Free editing apps like Snapseed can elevate even a good photo into a great one
The Foundation: Composition and Camera Settings
Before you even think about pressing the shutter button, getting your settings and framing right is what separates a forgettable snapshot from a truly pretty nature pic. Here is how to build that foundation.
1. Apply the Rule of Thirds
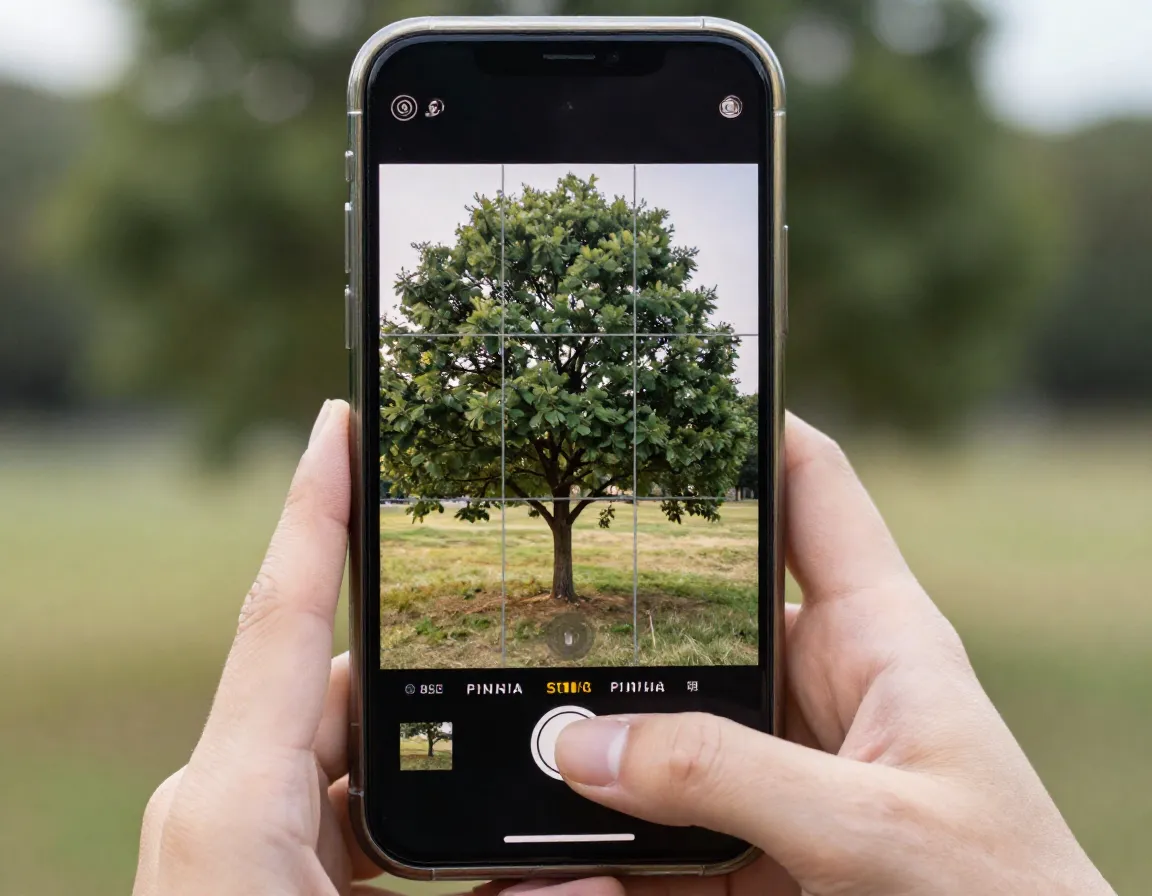
Turn on the grid overlay in your phone’s camera settings right now. This simple grid divides your screen into nine equal sections using two horizontal and two vertical lines. Place your main subject — a lone tree, a bird, a mountain peak — along one of those lines or at an intersection point rather than dead center. This creates natural visual tension that draws the eye in. The rule of thirds is one of the most fundamental principles in landscape and nature photography, regardless of what equipment you use [2].
“The grid is the single fastest free upgrade you can make to your nature photography.”
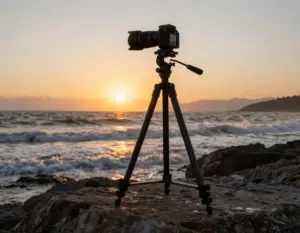
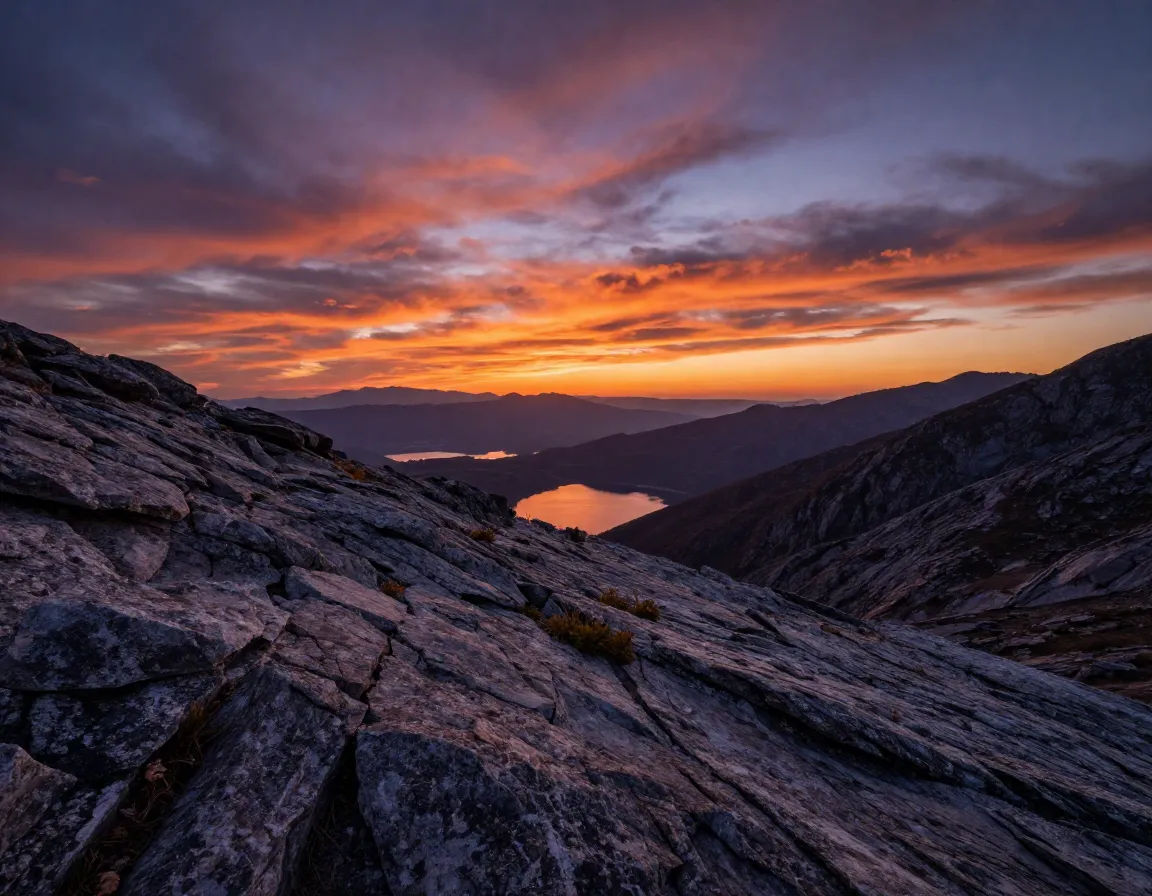
2. Shoot During Golden Hour
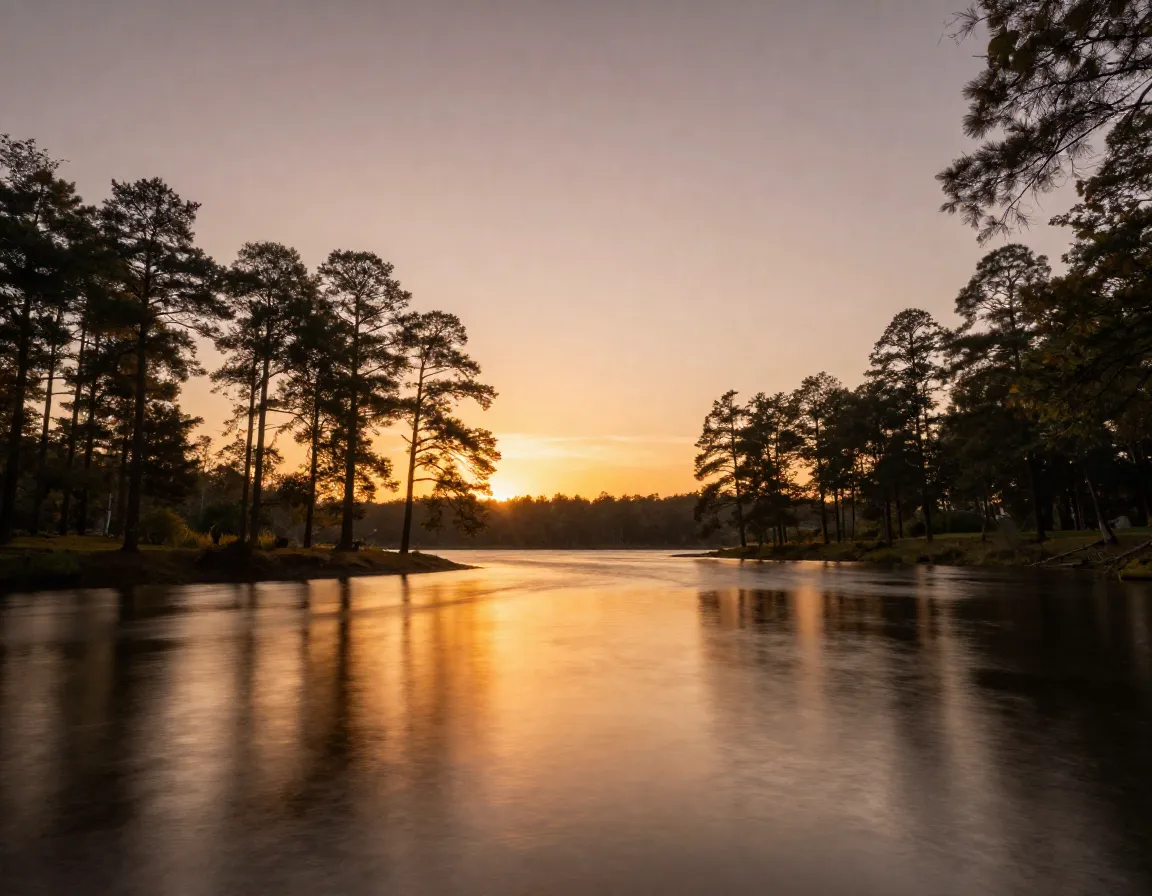
Midday sun is the enemy of pretty nature pics. Harsh overhead light creates deep, unflattering shadows and washes out color. Instead, plan your shoots for early morning or late evening — the so-called golden hour — when the sun sits low on the horizon and bathes everything in warm, soft, directional light [2]. This makes landscapes look more dramatic and gives subjects like flowers and leaves a beautiful, almost glowing quality. Set an alarm if you have to. It is worth it.
3. Use All Available Lenses (Never Digital Zoom)

If your phone has multiple camera lenses — and most phones released in the last three years do — use them all [2]. Switch between wide-angle, standard, and telephoto lenses by tapping the 0.5x, 1x, or 2x (or higher) buttons on your camera app. Here is the critical rule:
| Action | Result |
|---|---|
| Switch to telephoto lens | Full optical quality, no data loss |
| Pinch to zoom digitally | Crops the image, loses sharpness |
| Use wide-angle lens | Great for sweeping landscapes |
Digital zoom is essentially just cropping your photo in real time. Always physically move closer or switch lenses instead.
4. Tap to Focus and Brighten Your Subject
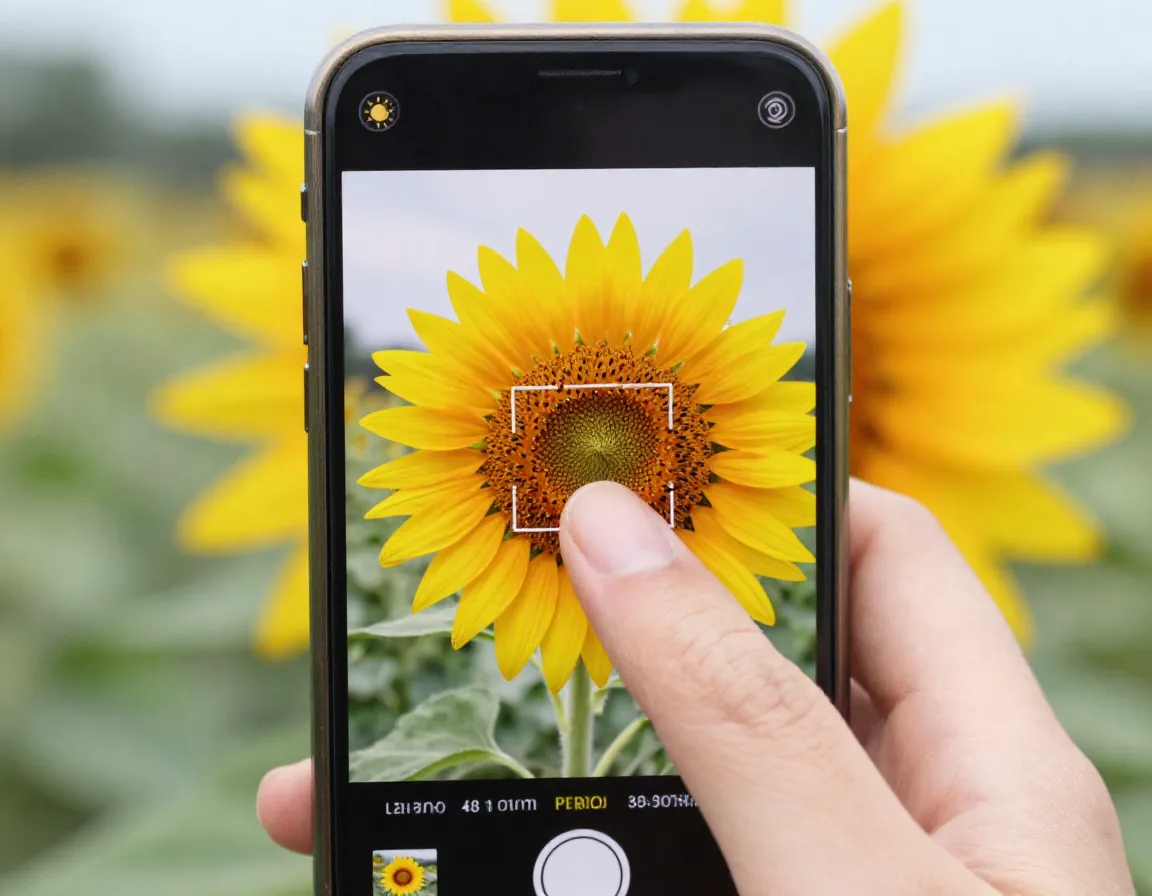
This one is simple but game-changing. Before you shoot, tap directly on your subject on the screen. This tells your phone’s camera exactly what to focus on and what exposure level to use. Without this step, your phone guesses — and it often gets it wrong, turning a beautiful bird or flower into a dark silhouette [1]. After tapping, you will usually see a small sun icon or slider appear. Drag it up slightly to brighten the subject if needed.
5. Turn Off Your Flash

Unless you are shooting extreme macro photography in very deep shade, turn your flash off [1]. Flash in nature photography almost always looks artificial and harsh. It flattens your subject and destroys the natural mood of the scene. If you are shooting in low light — say, a forest floor at dusk — use Night Mode instead. Night Mode takes two to three seconds to process, but the result looks far more natural and retains the ambient light beautifully [1].
Advanced Techniques for Stunning Nature Shots
Once you have the basics locked in, these next four tips will push your pretty nature pics to a genuinely professional level.
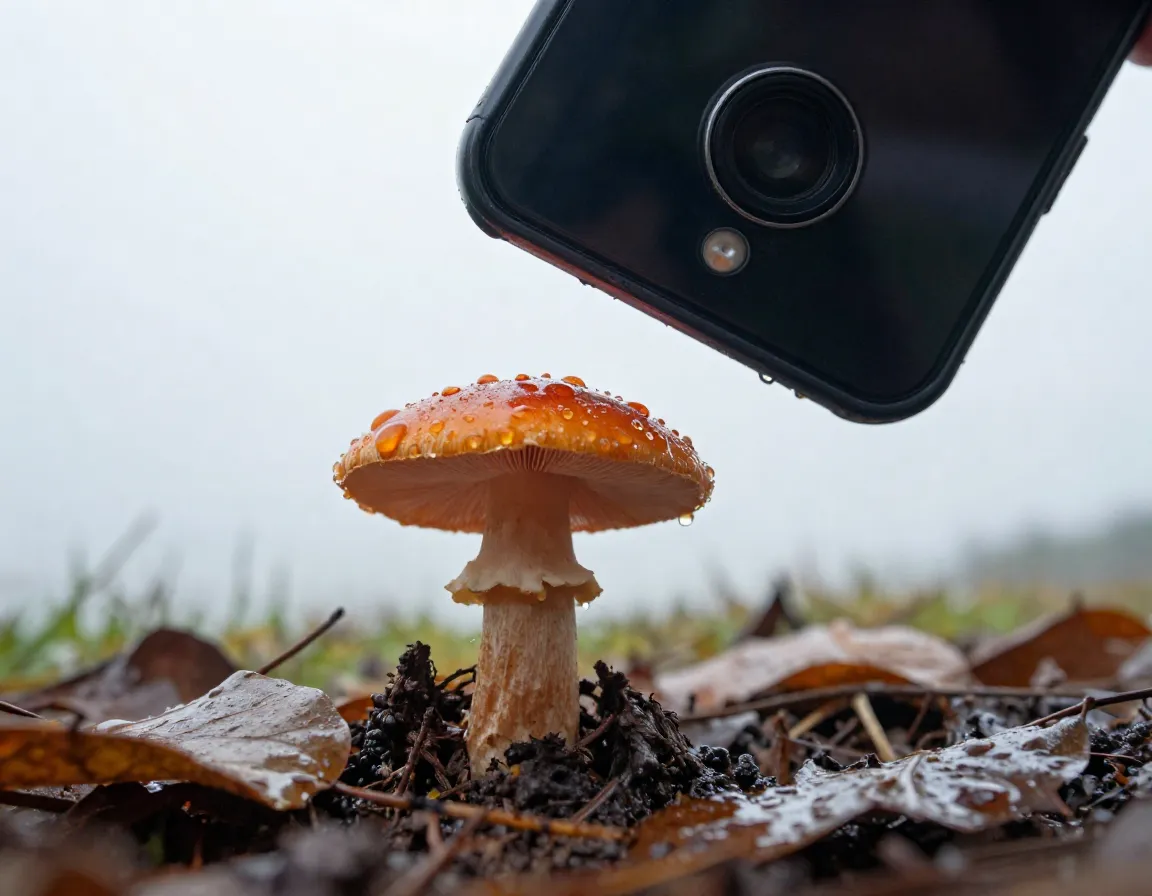
6. Use Macro Mode for Tiny Subjects
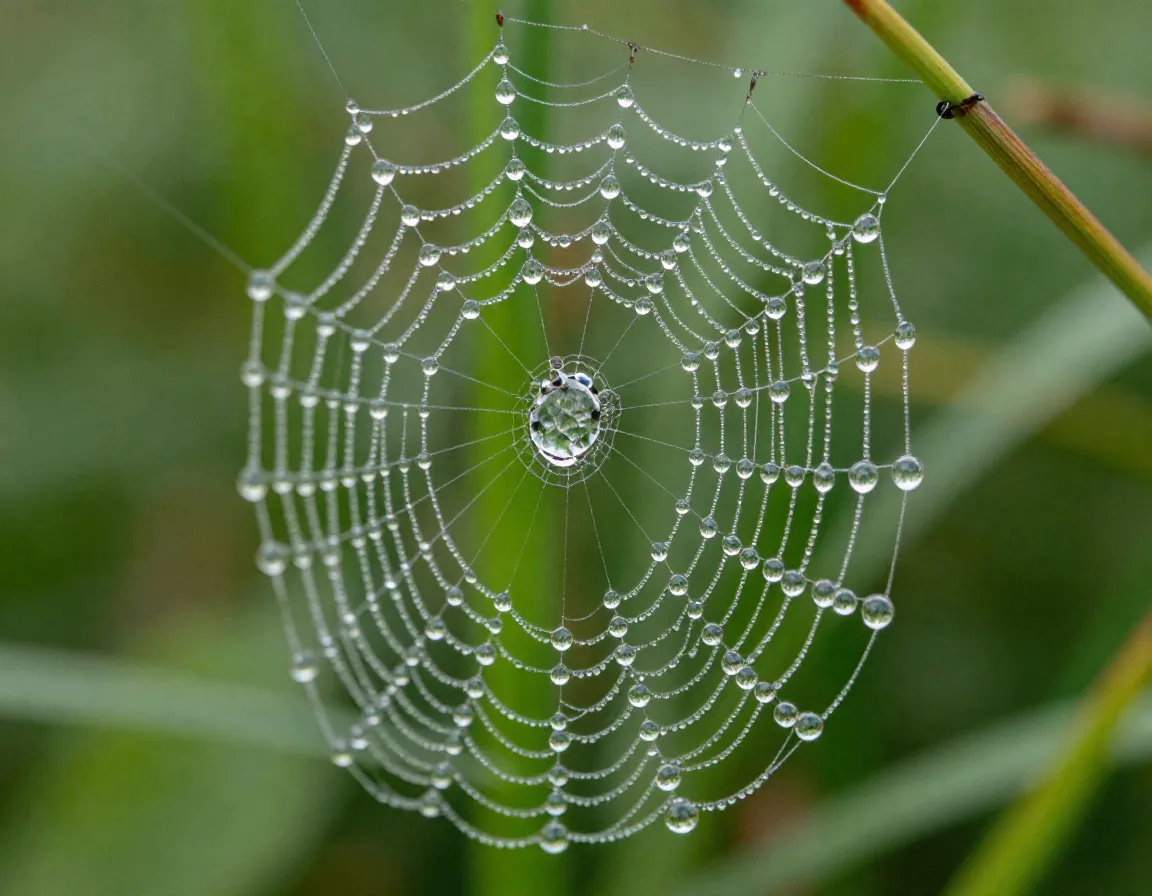
If you own an iPhone 13 Pro or newer, or a Samsung S21 Ultra or newer, you have a dedicated macro lens that can focus as close as two inches from a subject [1]. This opens up an entirely different world of nature photography — dewdrops on a spider web, the texture of a butterfly wing, the stamens inside a wildflower. Enable macro mode (it often activates automatically when you get close) and get in tight. The results are consistently jaw-dropping.
Best macro subjects to try:
- Dewdrops on grass or petals in the morning
- Insects resting on leaves
- Lichen and moss on rocks or tree bark
- Small mushrooms after rain
7. Use Burst Mode for Moving Wildlife
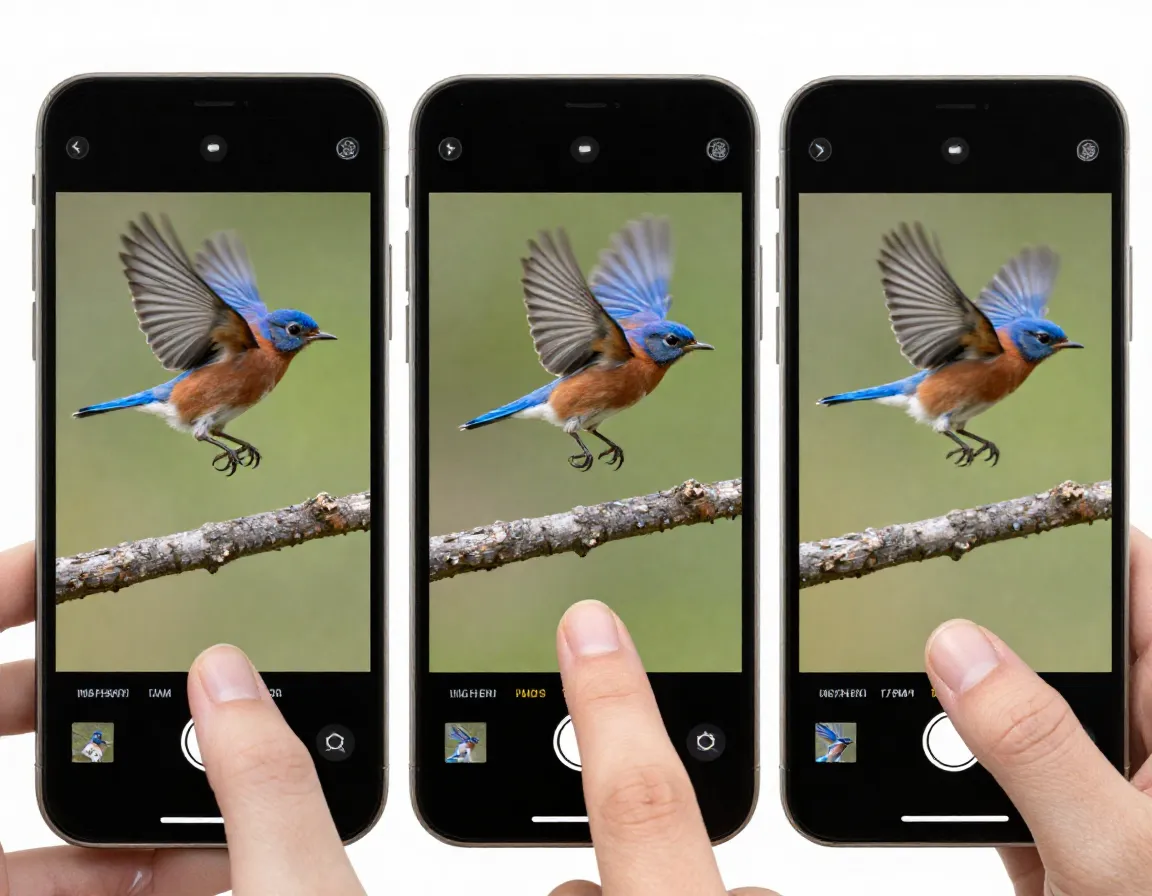
Birds in flight, a deer mid-leap, a wave crashing on a rocky shore — moving subjects are notoriously hard to capture cleanly. Burst mode solves this by taking a rapid series of photos in quick succession [3]. On most phones, you hold down the shutter button to activate it. You then review the burst and pick the single best frame. This dramatically increases your odds of getting that perfect, sharp moment. Do not try to time a single shot with fast-moving wildlife. Use burst mode and let math work in your favor.
8. Leverage HDR Mode for Landscapes
High Dynamic Range (HDR) mode is one of the most underused tools in smartphone nature photography. When you photograph a landscape, the sky is often much brighter than the ground. Without HDR, you either get a well-exposed foreground with a blown-out white sky, or a beautiful sky with a pitch-dark foreground. HDR mode captures multiple exposures and blends them into one balanced image [2], preserving detail in both the highlights and shadows. Turn it on whenever you are shooting landscapes with sky in the frame.
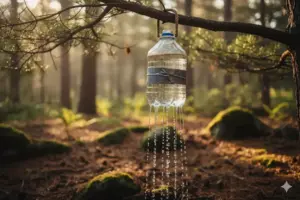
9. Invert Your Camera and Shoot After Rain
Two bonus techniques that work brilliantly together:
Invert your camera by rotating your phone 180 degrees so the lens points upward or at a very low angle. This lets you photograph small flowers, insects, and fungi from below or at eye level, making them look far more dramatic and prominent against the sky [3]. It feels awkward at first, but the perspective shift is remarkable.
Shoot after light rain whenever you can [4]. Rain-soaked landscapes have richer, more saturated colors. Water droplets on petals and leaves add stunning texture and visual interest that no filter can replicate. The soft, overcast light that often follows rain is also ideal — no harsh shadows, no blown-out highlights.
“Post-rain light is nature’s built-in softbox. Use it.”
Edit Your Photos Like a Pro (For Free)
Taking a great photo is step one. Editing it properly is step two. Snapseed (free on iOS and Android) is the go-to app for nature photographers on a budget [3]. Here is a simple editing workflow:
- Crop and straighten the horizon first
- Adjust brightness and contrast to set the overall mood
- Use the Shadows slider to reveal detail in dark areas
- Boost Saturation slightly — but do not overdo it
- Apply a gentle sharpening pass to bring out fine details
These tips work on virtually any smartphone released in the last five years [1]. You do not need the newest flagship model to take beautiful nature photos — you need the right techniques.
Conclusion
Mastering the 9 Pro Tips for Taking Pretty Nature Pics on Your Phone is less about gear and more about intention. Start by enabling your grid and planning shoots around golden hour. Tap to focus, ditch the flash, and use your phone’s built-in modes — macro, HDR, burst, Night Mode — rather than fighting against them. Get low, invert your camera, and wait for the rain. Then take your best shots into Snapseed and give them a final polish.
Your actionable next steps for this week:
- Turn on the grid overlay in your camera app today
- Set one early morning or late evening shoot this week
- Download Snapseed and practice editing three photos
- Try macro mode on a flower or insect in your backyard
The best nature photo you have ever taken is still ahead of you. Go get it. 🌿📱
References
[1] Smartphone Photography Tips For Nature – https://ishots.cc/smartphone-photography-tips-for-nature/
[2] Smartphone Landscape Photography – https://digital-photography-school.com/smartphone-landscape-photography/
[3] How To Use A Smartphone For Nature Photography – https://www.naturettl.com/how-to-use-a-smartphone-for-nature-photography/
[4] Nine Tips Taking Brilliant Nature Photos Your Smart Phone – https://thesca.org/nine-tips-taking-brilliant-nature-photos-your-smart-phone